Remote Billing in Zoho Assist
The Billing feature manages periodic customer billing for any remote service a support technician has provided. This feature allows organizations to track and compute bills based on both session count and session hours. For hassle-free automatic billing:
- Create a billing plan
- Associate customers to the billing plan
To create a billing plan
Based on the services provided, create a unique billing plan to associate with individual customers. To create a billing plan:
- Log in to Zoho Assist using your credentials.
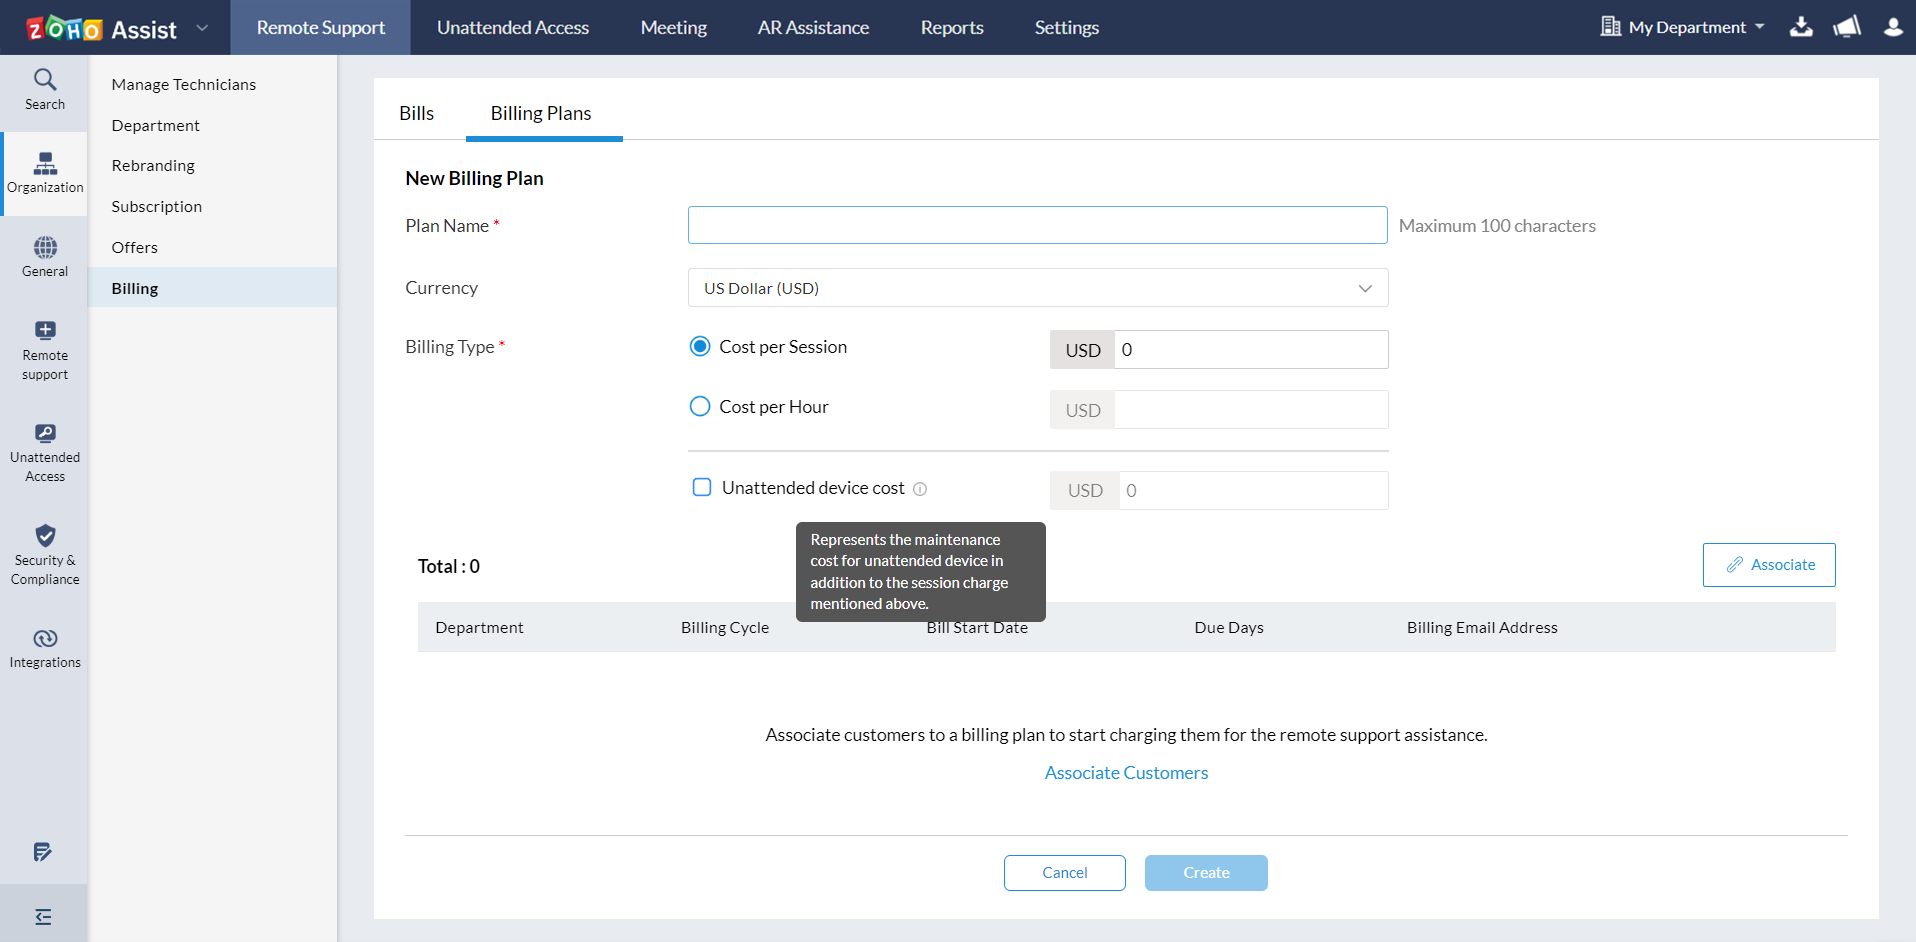
- Navigate to Settings > Organization > Billing > Billing Plans and click Get Started.
- Enter the Plan name and currency, and choose the billing type. The billing type defines the cost per session, cost per hour, and unattended device cost.
- Define your rate as cost per hour or per session count in the billing plan.
- You can either associate the billing plan with the customer now or later.
To associate customers
To associate now
- Click Associate. The Associate Customers window will appear as shown below.
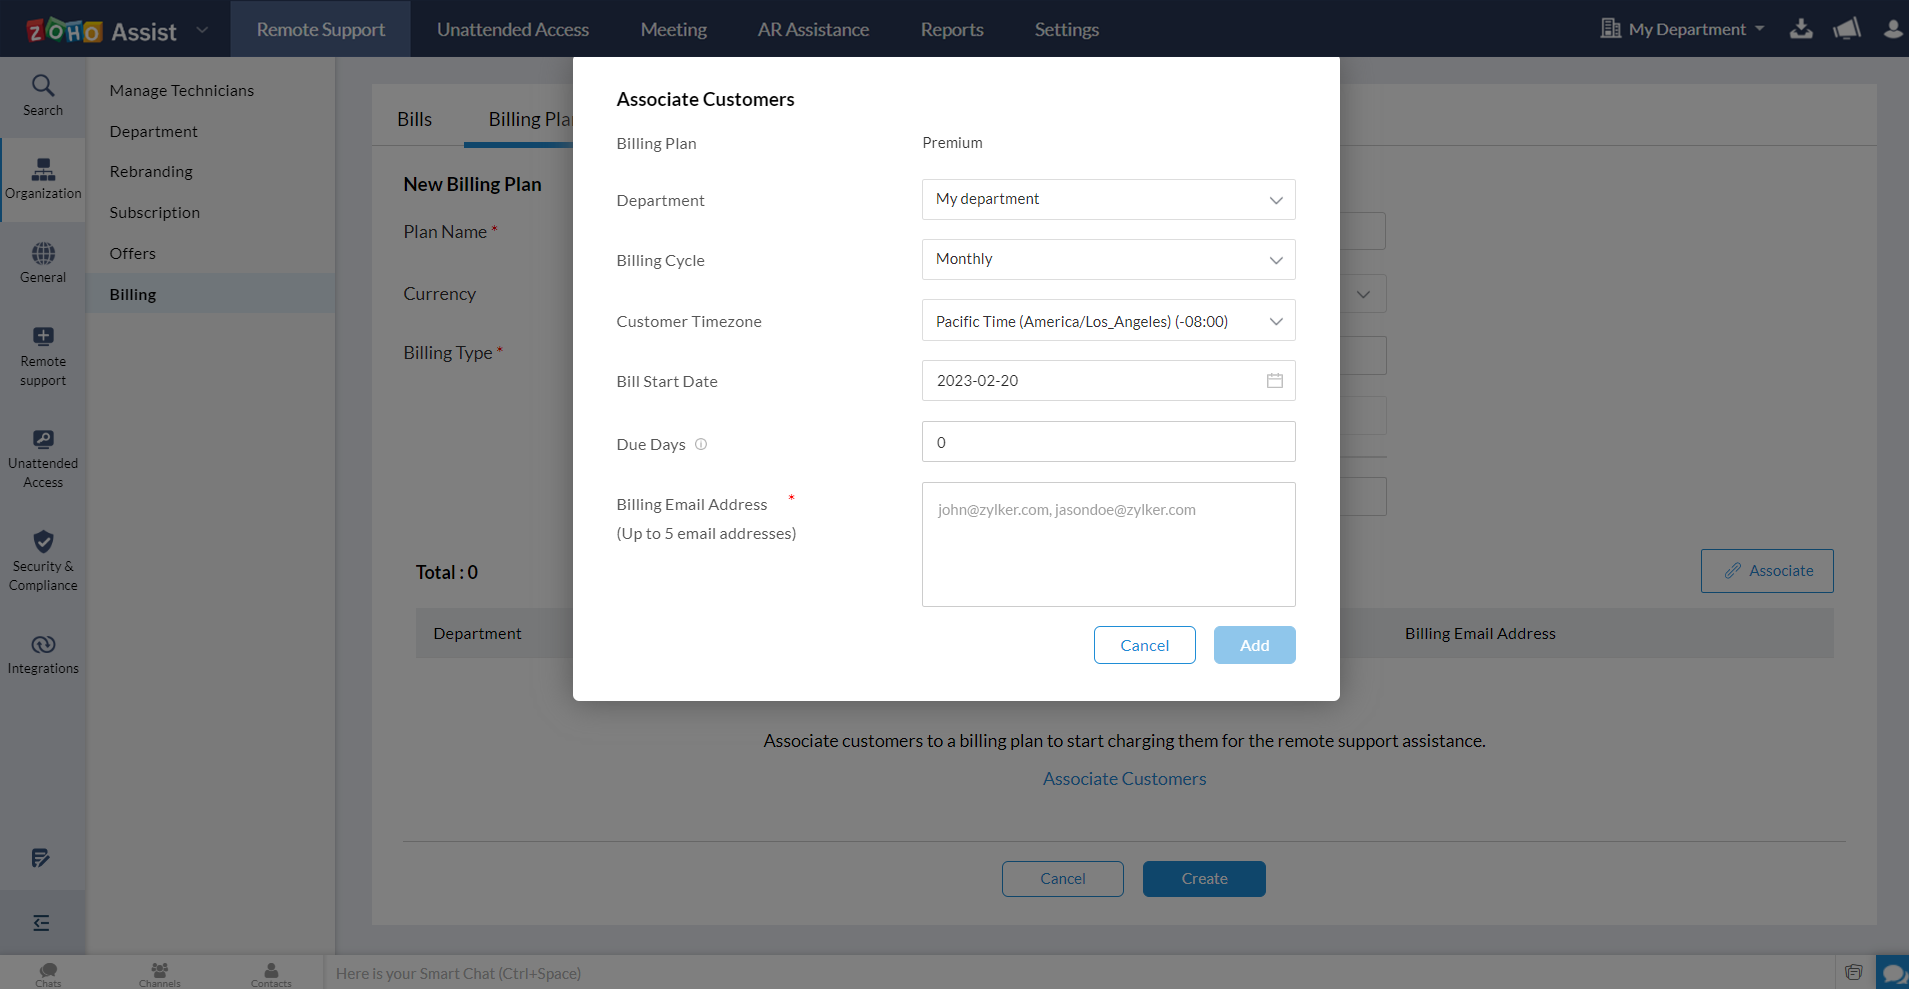
- Choose Department, Billing Cycle, Bill Start Date, and enter due days and the billing address for the customer. Click Add.
- Click Create.

To associate later
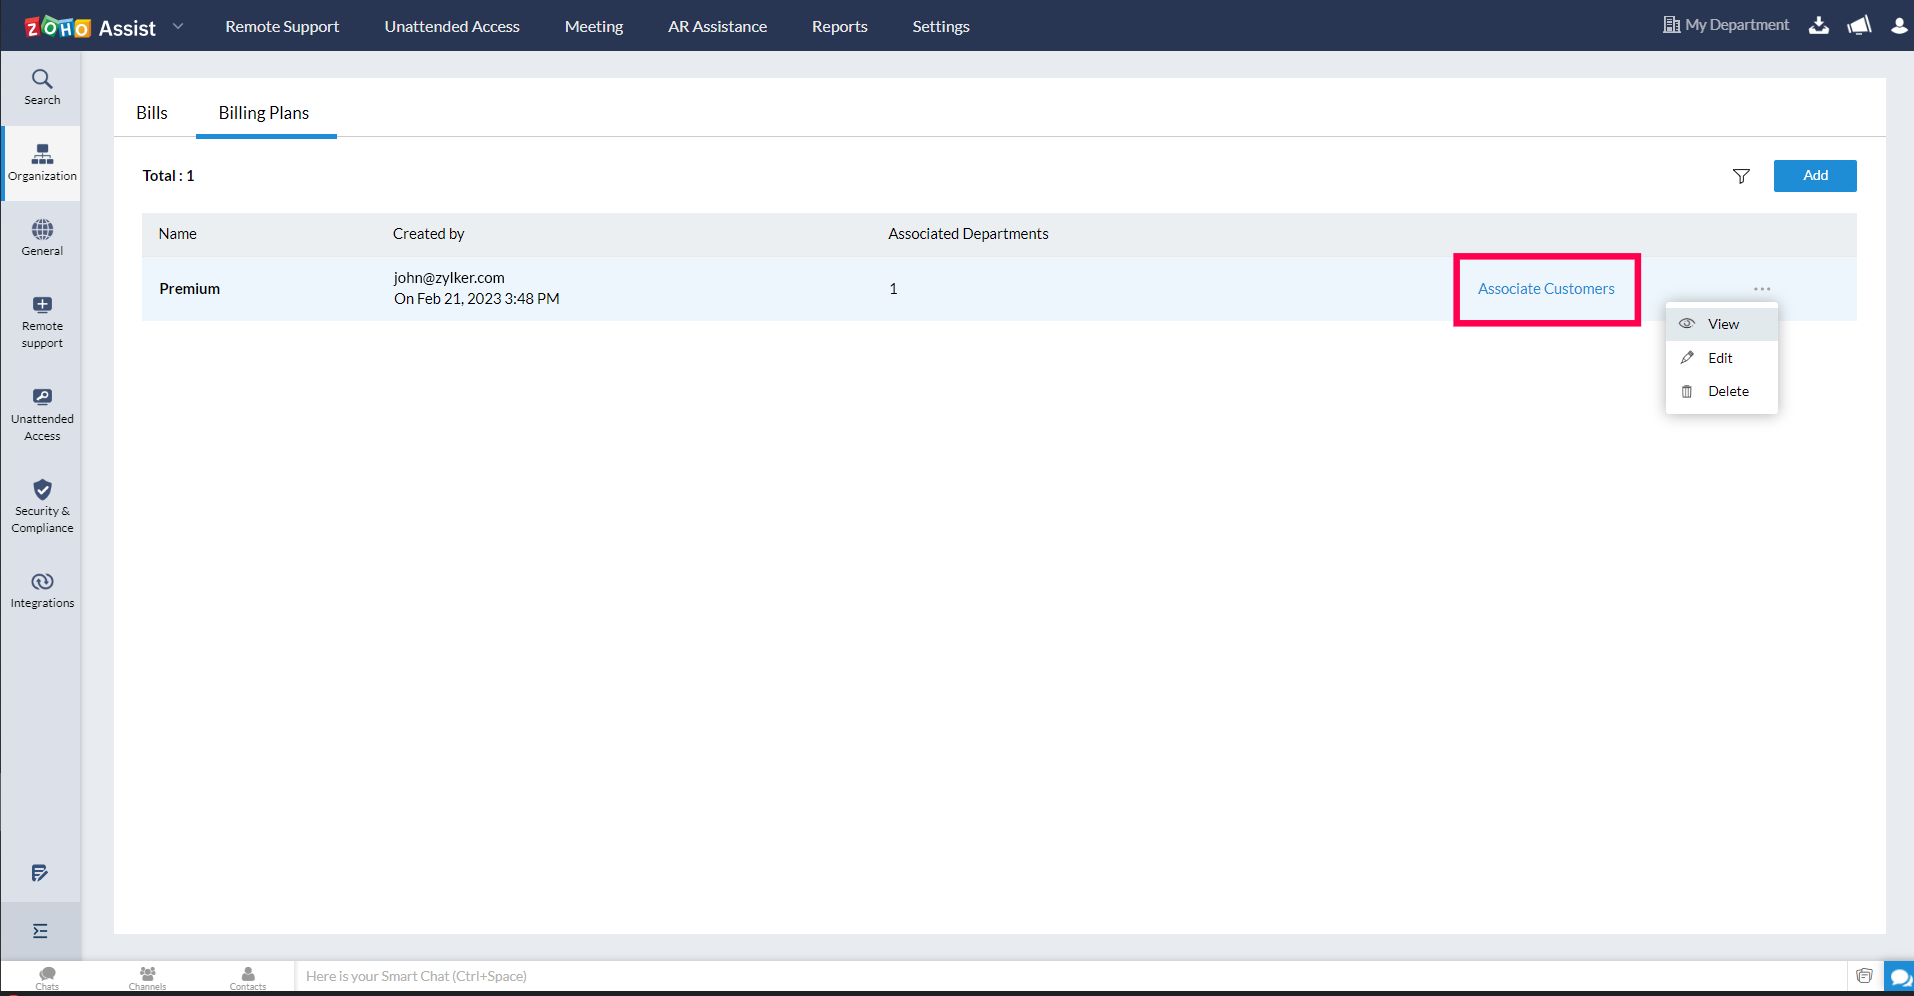
- Once a billing plan is created, it will be listed under Billing Plans. To associate, click Associate Customers.
- Choose Department, Billing Cycle, Bill Start Date, and enter due days and the billing address for the customer.
- Click Add.

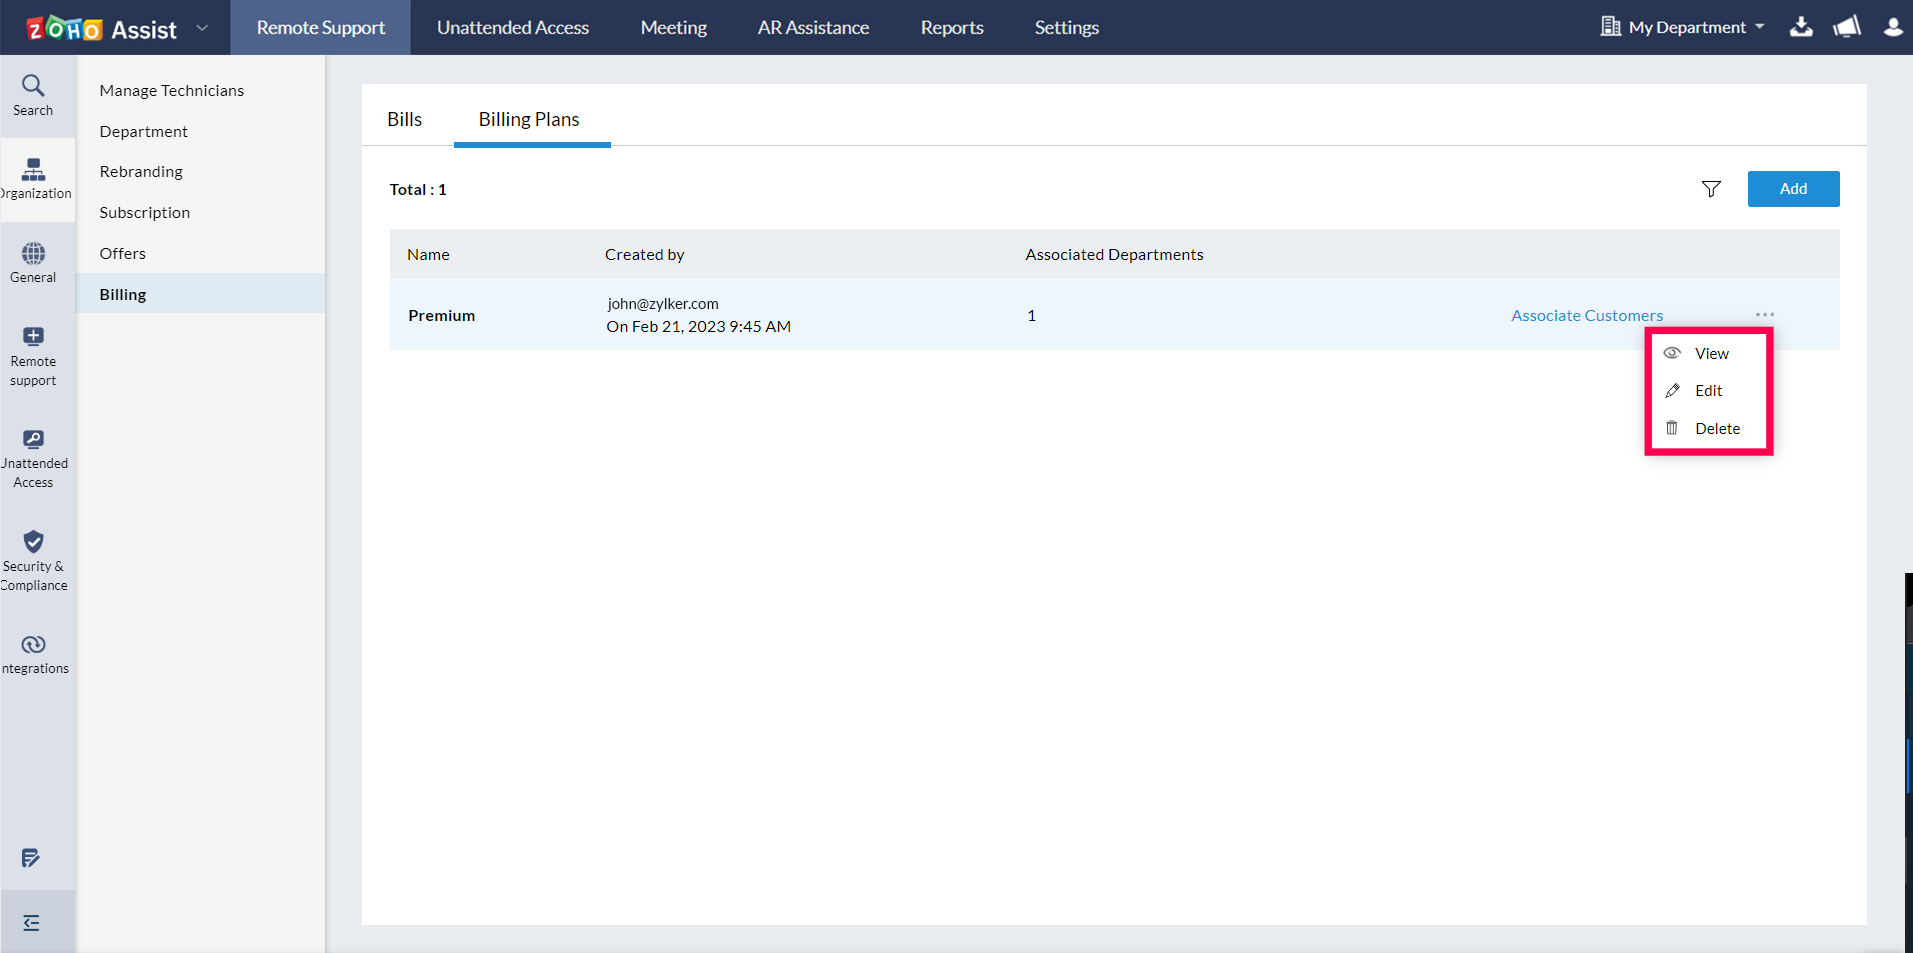
To view, edit, and delete the billing plan
You can view, modify the plan details, and delete the billing plan by clicking the three-dot icon and choosing View, Edit, or Delete respectively.
Manage invoices
You can organize and manage auto-generated bills and set up customer invoicing cycles after associating a plan with a customer. You can also:
- Change the payment status
- Make adjustments (additional charges or discounts)
- Download and mail the bill
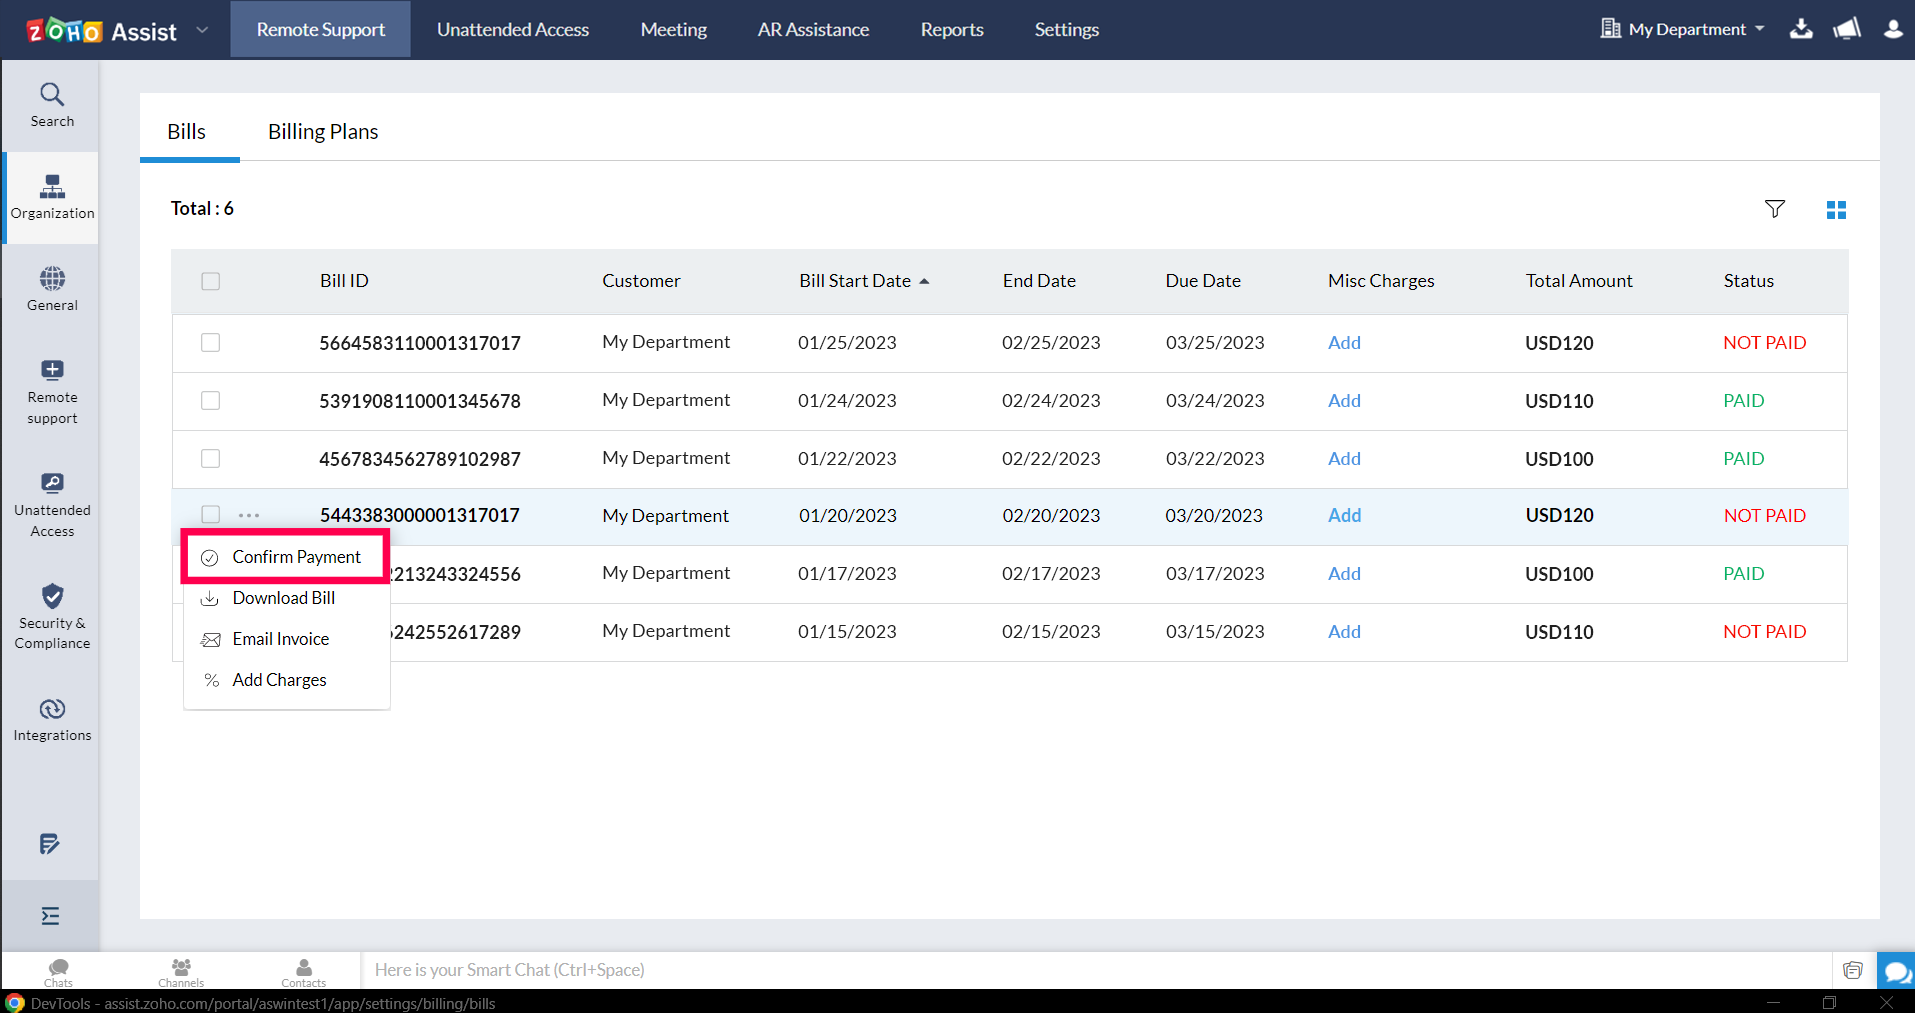
To change the payment status
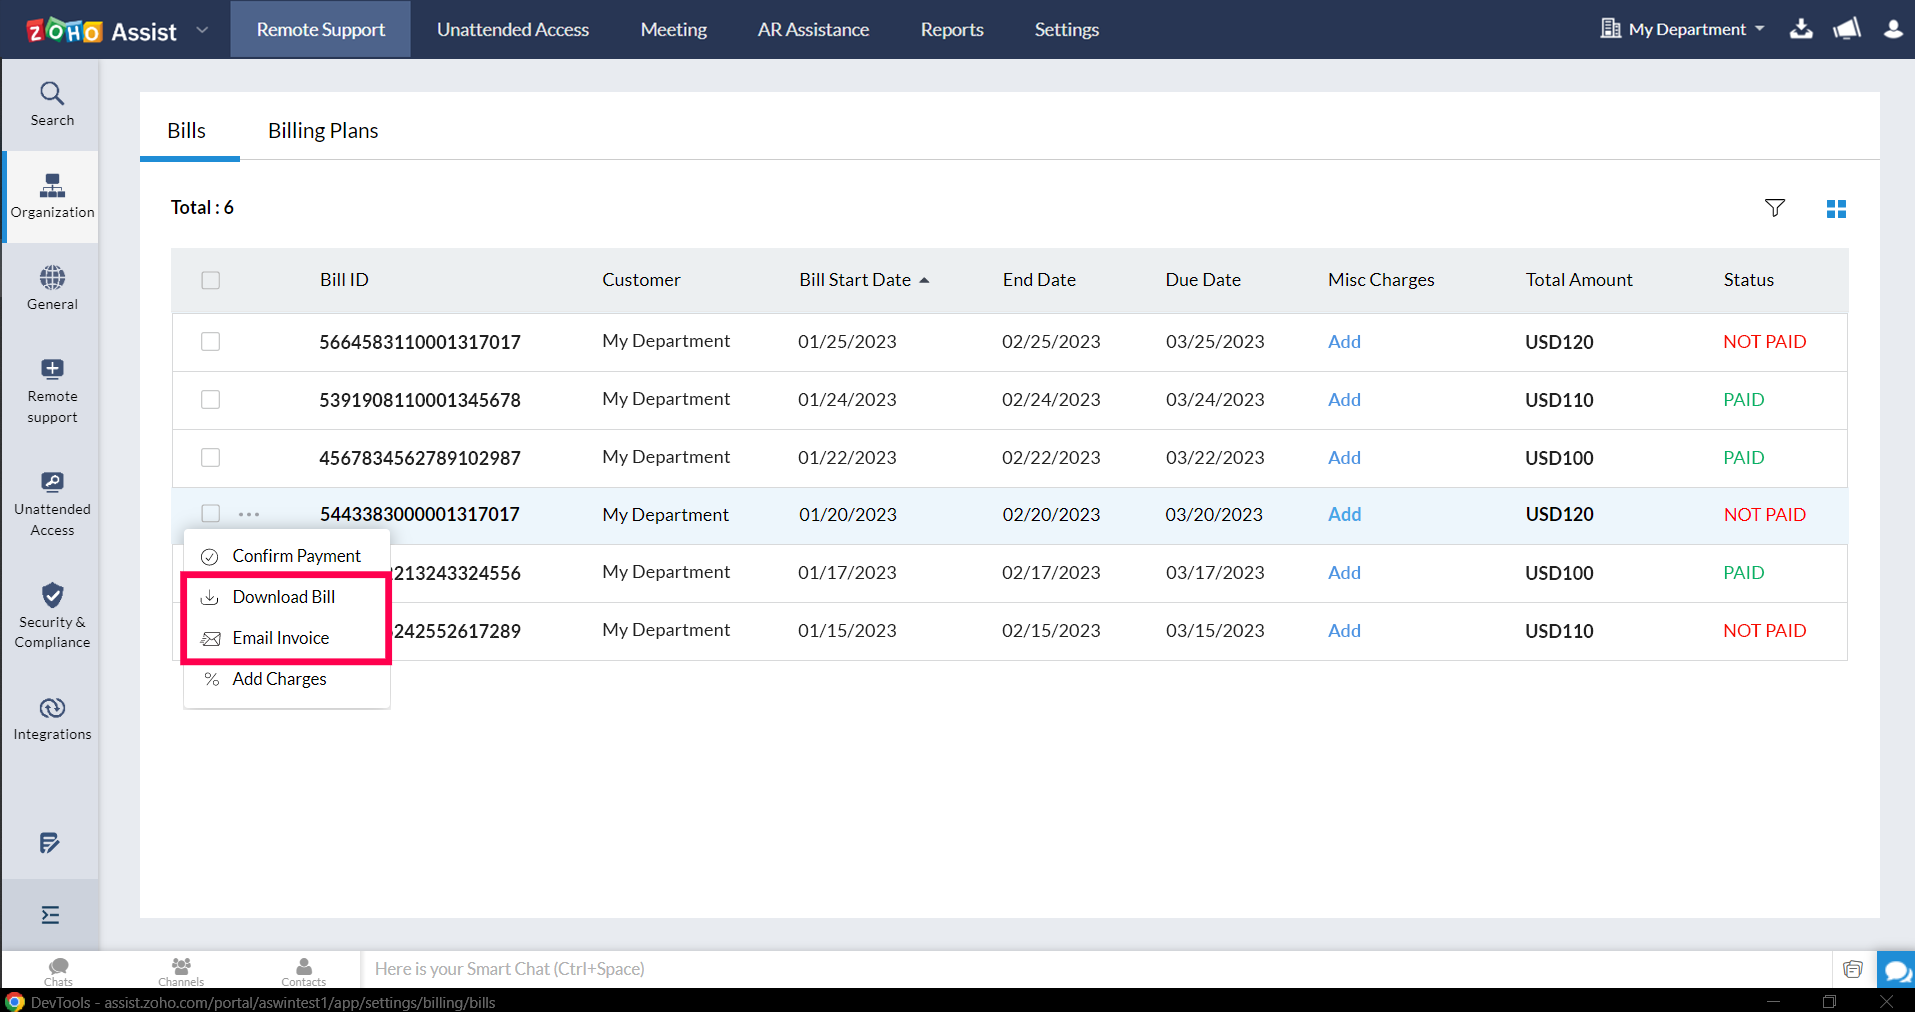
Bills are listed along with their charge details and billing status under the Bills tab, as shown below. To change the payment status, click the three-dot icon and select Confirm Payment.
To make adjustments
- You can adjust the total session charge by adding charges or discounts to any bill listed. To do this, click the three-dot icon and select Add Charges.
- A window will appear. Choose the adjustment type and enter a value. Click Add to include the adjustment value in the total session charge.

To download and mail the bill
To download or mail a bill, click the three-dot icon and select either Download Bill or Email Invoice.