Zapier
Automate your remote support workflows by integrating Zoho Assist with hundreds of apps via Zapier, no coding required. Create triggers and actions to schedule sessions, update device info, and streamline your support operations.
What is Zapier?
Zapier is an automation platform that connects Zoho Assist with thousands of other apps using customizable workflows called Zaps.
Each Zap is made up of two key components:
- Trigger: An event that occurs in one app, such as a remote support session starting in Zoho Assist.
- Action: The task that Zapier automatically performs in another app in response to the trigger, like sending a notification in Slack or creating a record in Zoho CRM.
Supported Triggers in Zoho Assist - Zapier integration
- Remote Support Session Start / End: Triggers when a remote support session begins or ends in Zoho Assist.
- Screen Share Session Start / End: Triggers when a screen sharing session begins or ends.
- Customer Joining a Remote Session: Triggers the moment a customer joins an active remote support session.
- Inbound Request Created, Transferred, Delegated, Picked, Declined, Dropped, Expired: Triggers when any status change occurs to an inbound support request.
- Unattended Device Added, Deleted, Online, Offline: Triggers when an unattended device is added or removed, or when its online status changes.
- Unattended Session Start / End: Triggers when a session with an unattended device begins or ends.
Supported actions in Zoho Assist - Zapier integration
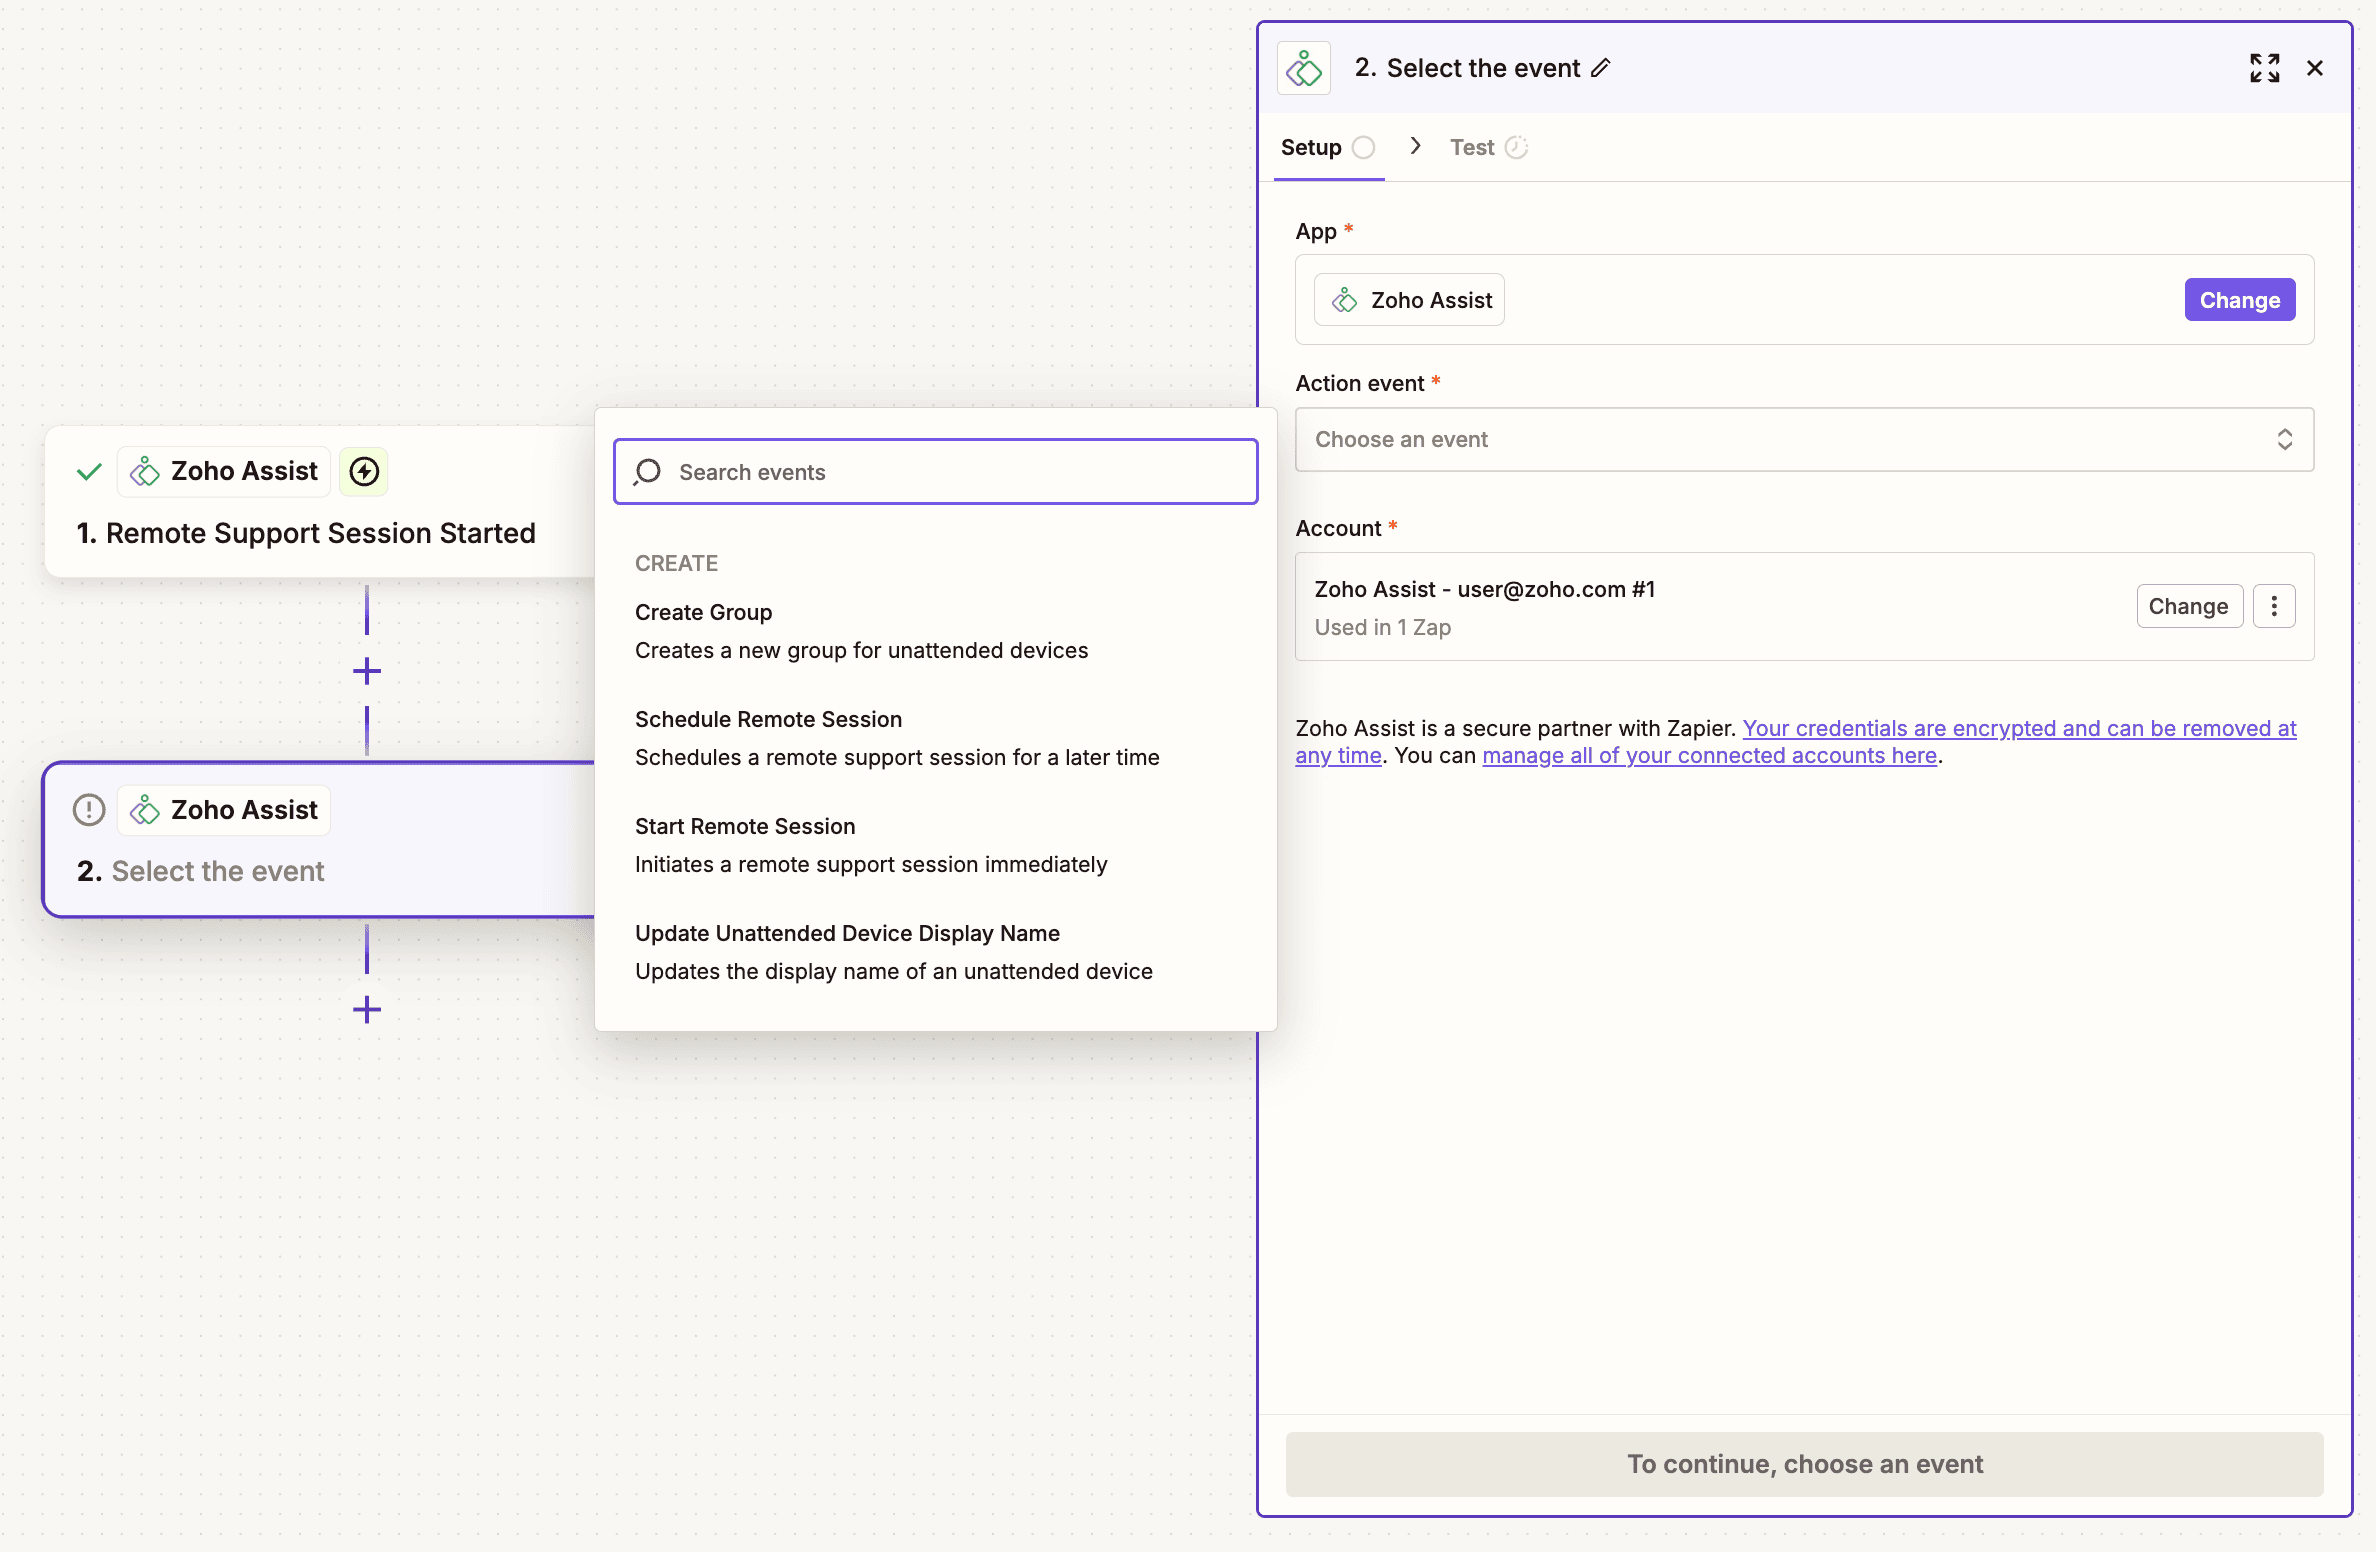
- Create Remote Session: Instantly initiates a new remote support session.
- Schedule Remote Support Session: Automatically schedules a remote support session in Zoho Assist.
- Create Unattended Group: Creates a new group to organize unattended devices.
- Update Unattended Device Display Name: Changes the display name of a specific unattended device.
Creating a custom Zap
Log in to your Zapier account.
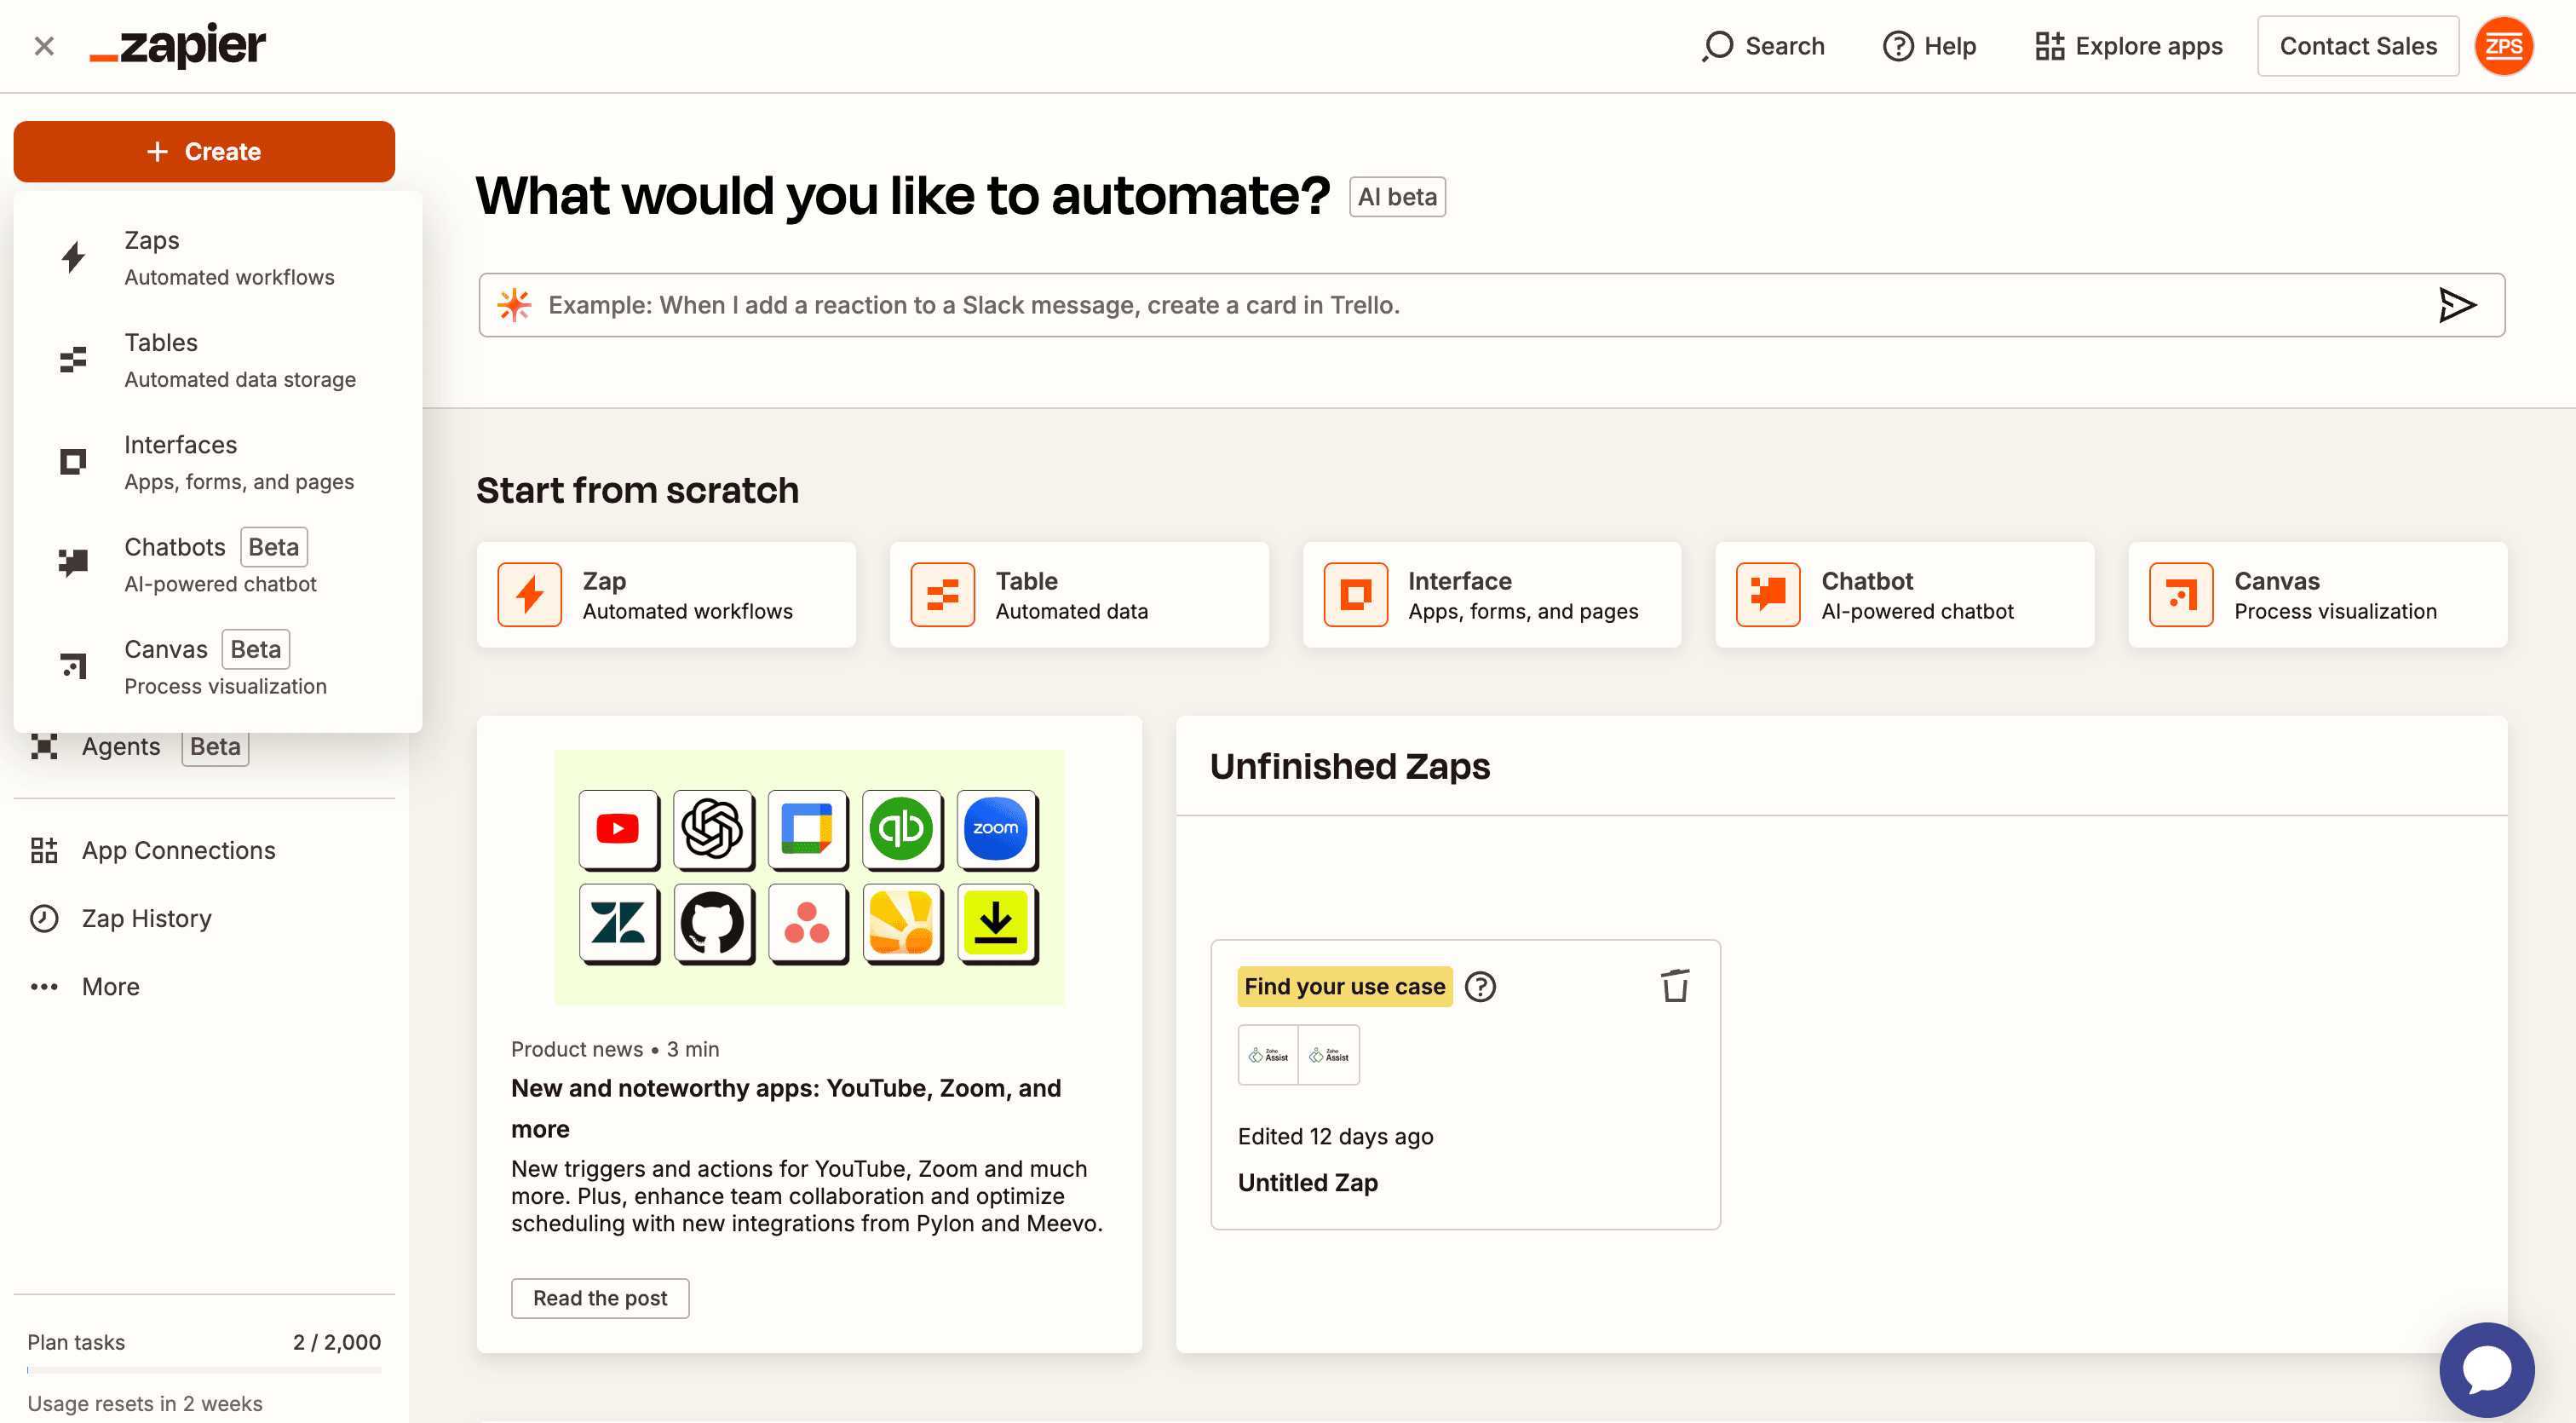
On the left sidebar, click the + Create and select Zap button to begin building a new automation.
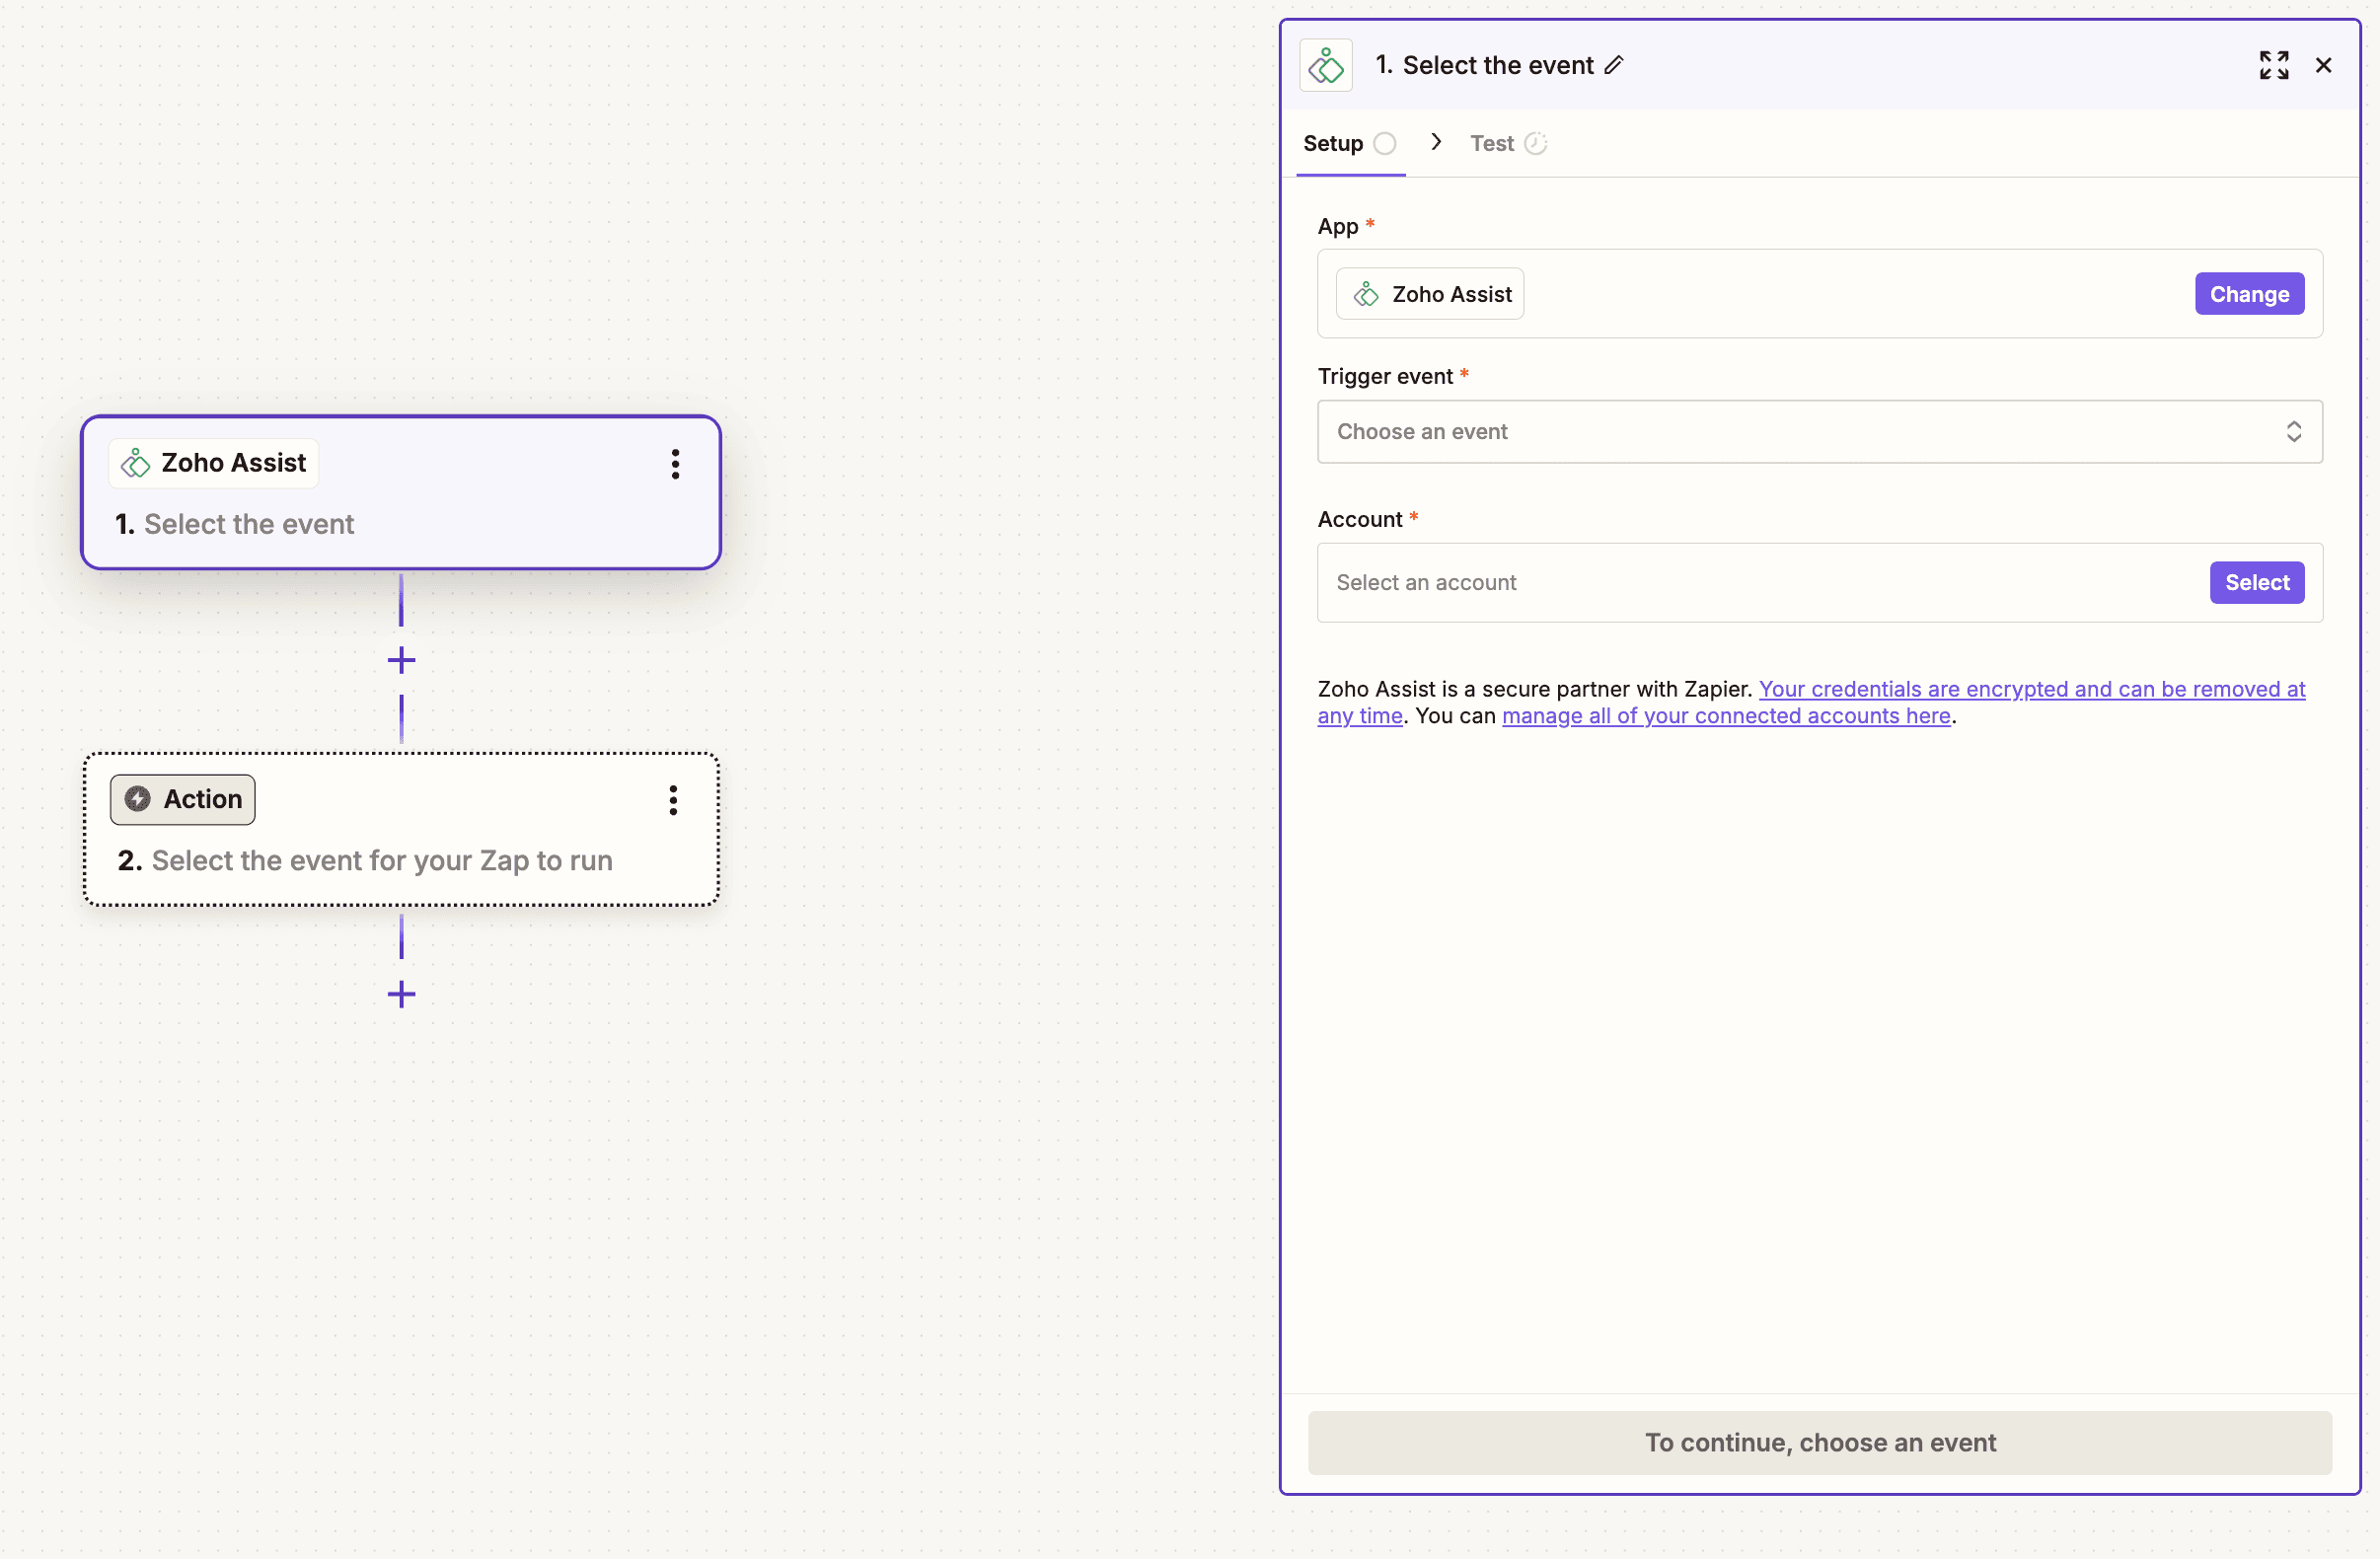
- In the Trigger section, search for and select Zoho Assist. This defines Zoho Assist as the app where the automation starts.
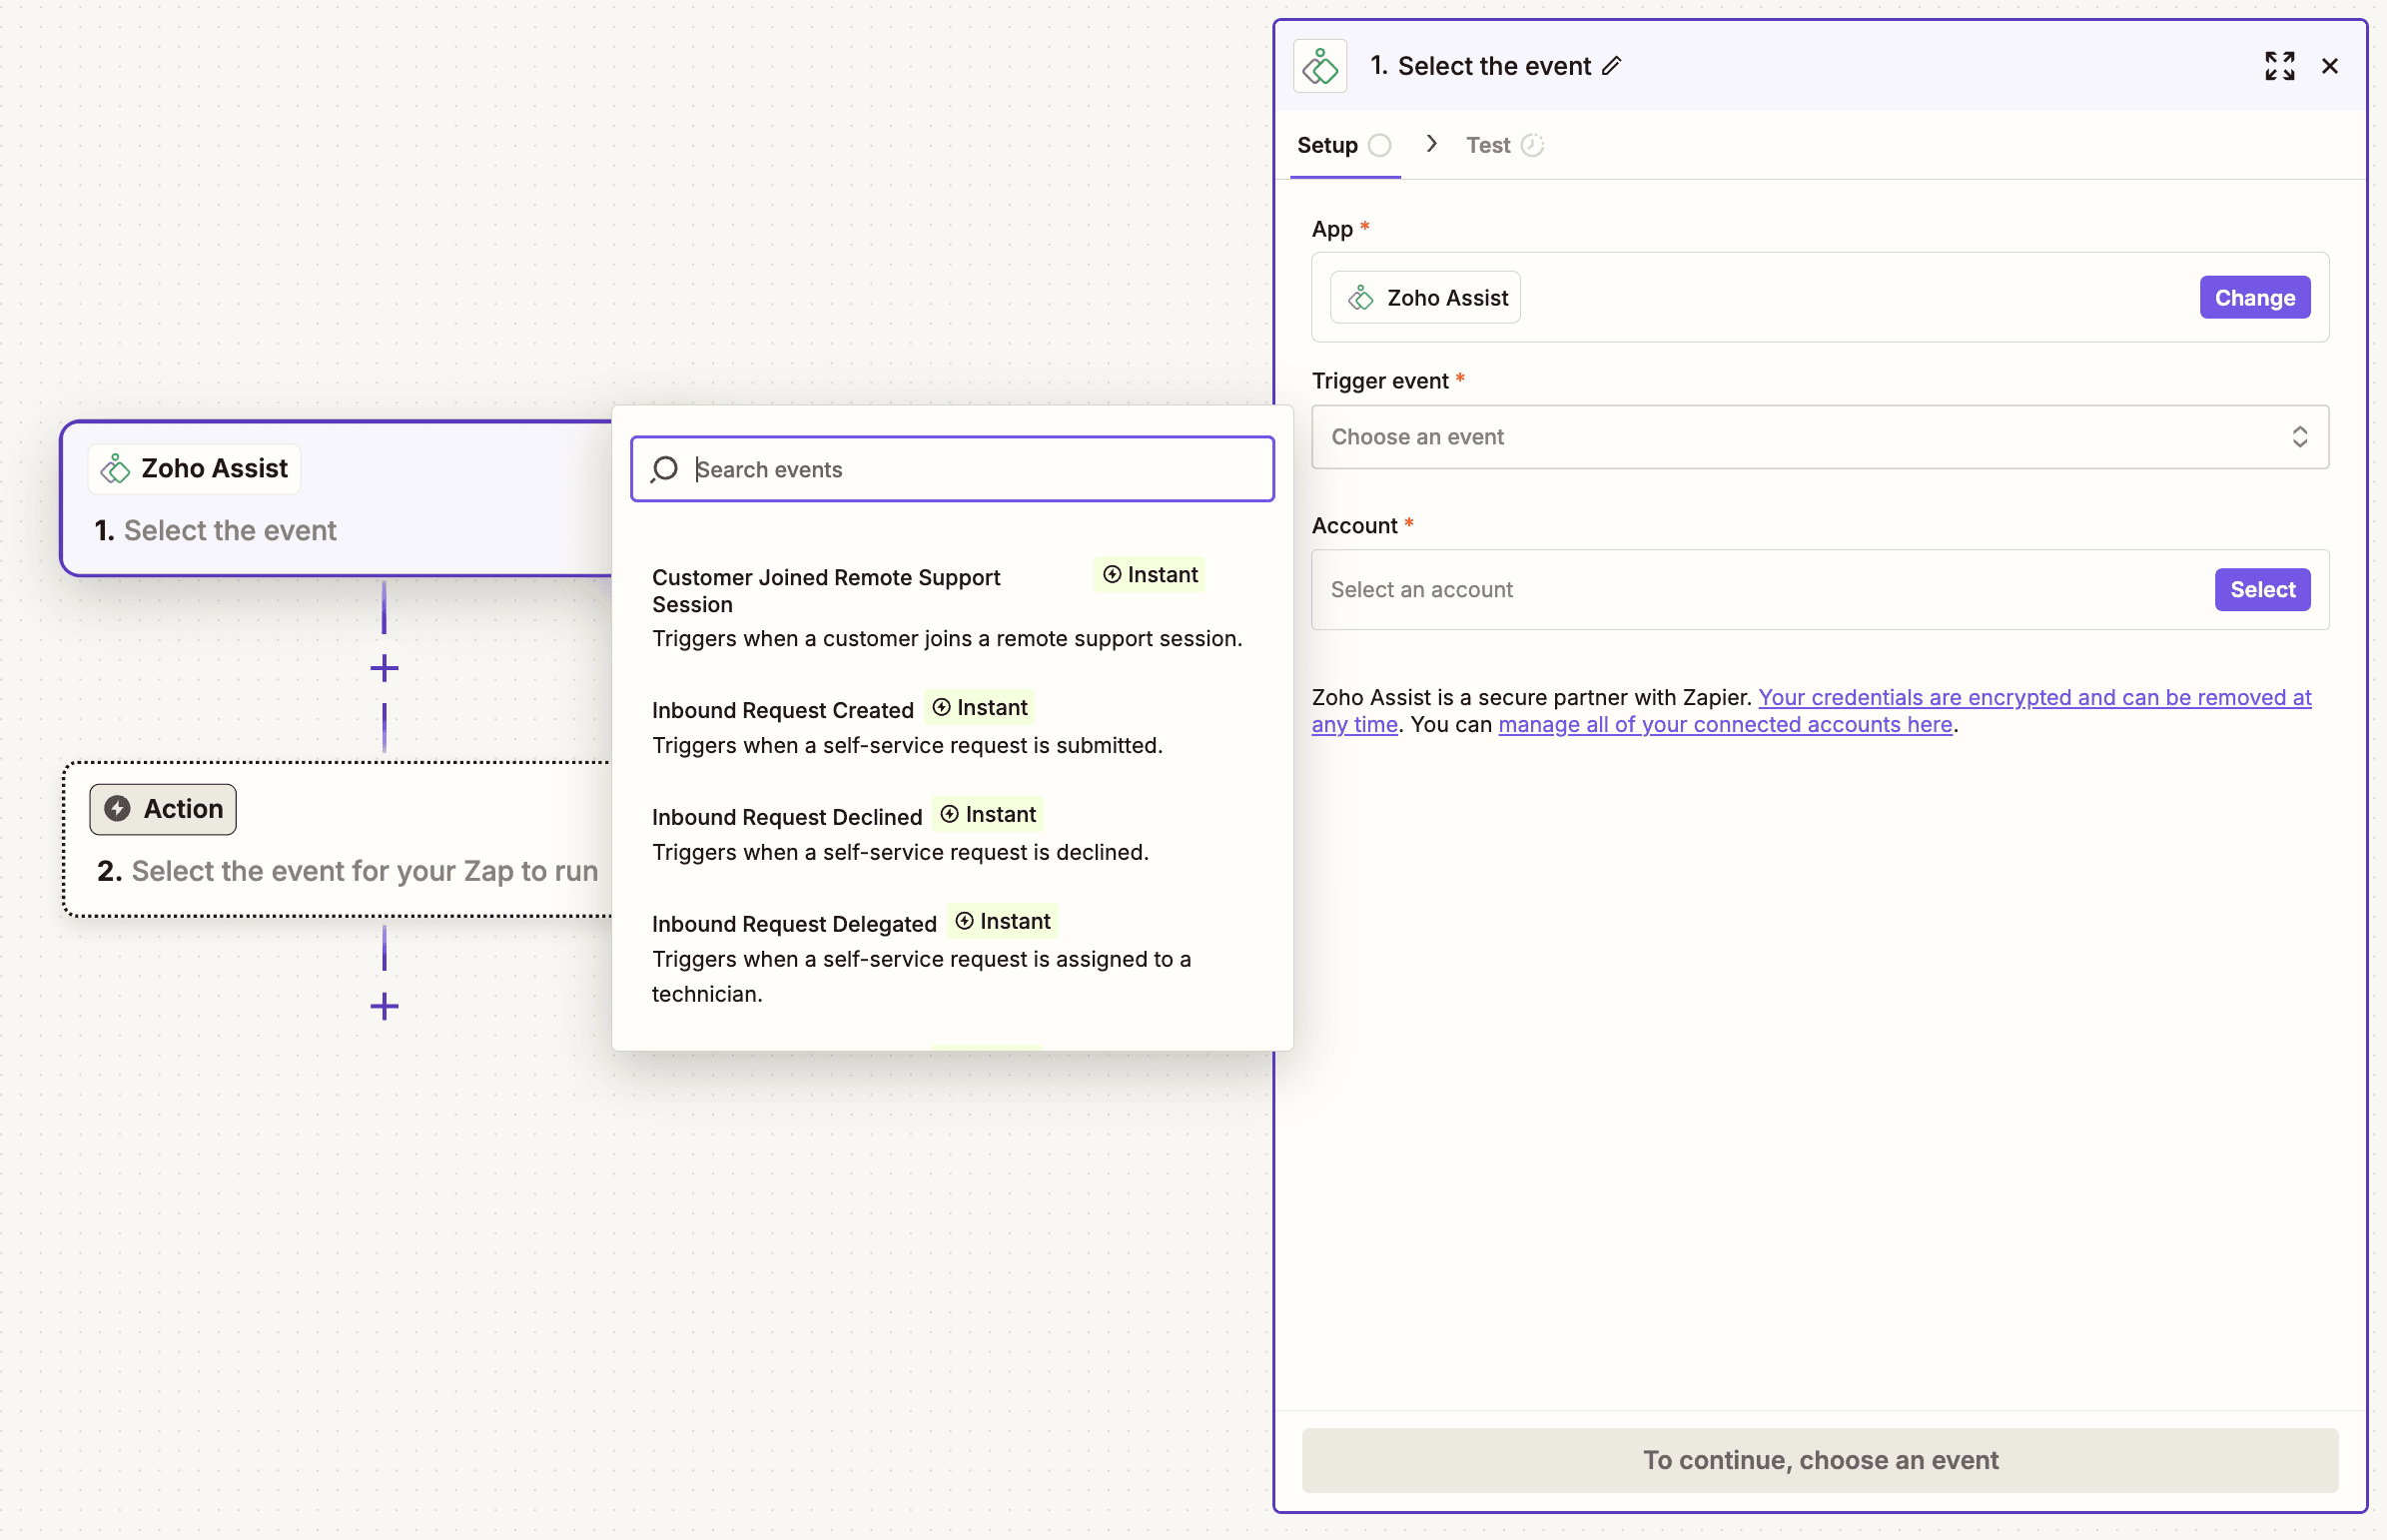
- You'll see a list of available trigger events. Choose the one that fits your workflow use case.
- Connect and test your Zoho Assist account.
- In the next section, click + Add Action and choose the destination app where the task should happen.
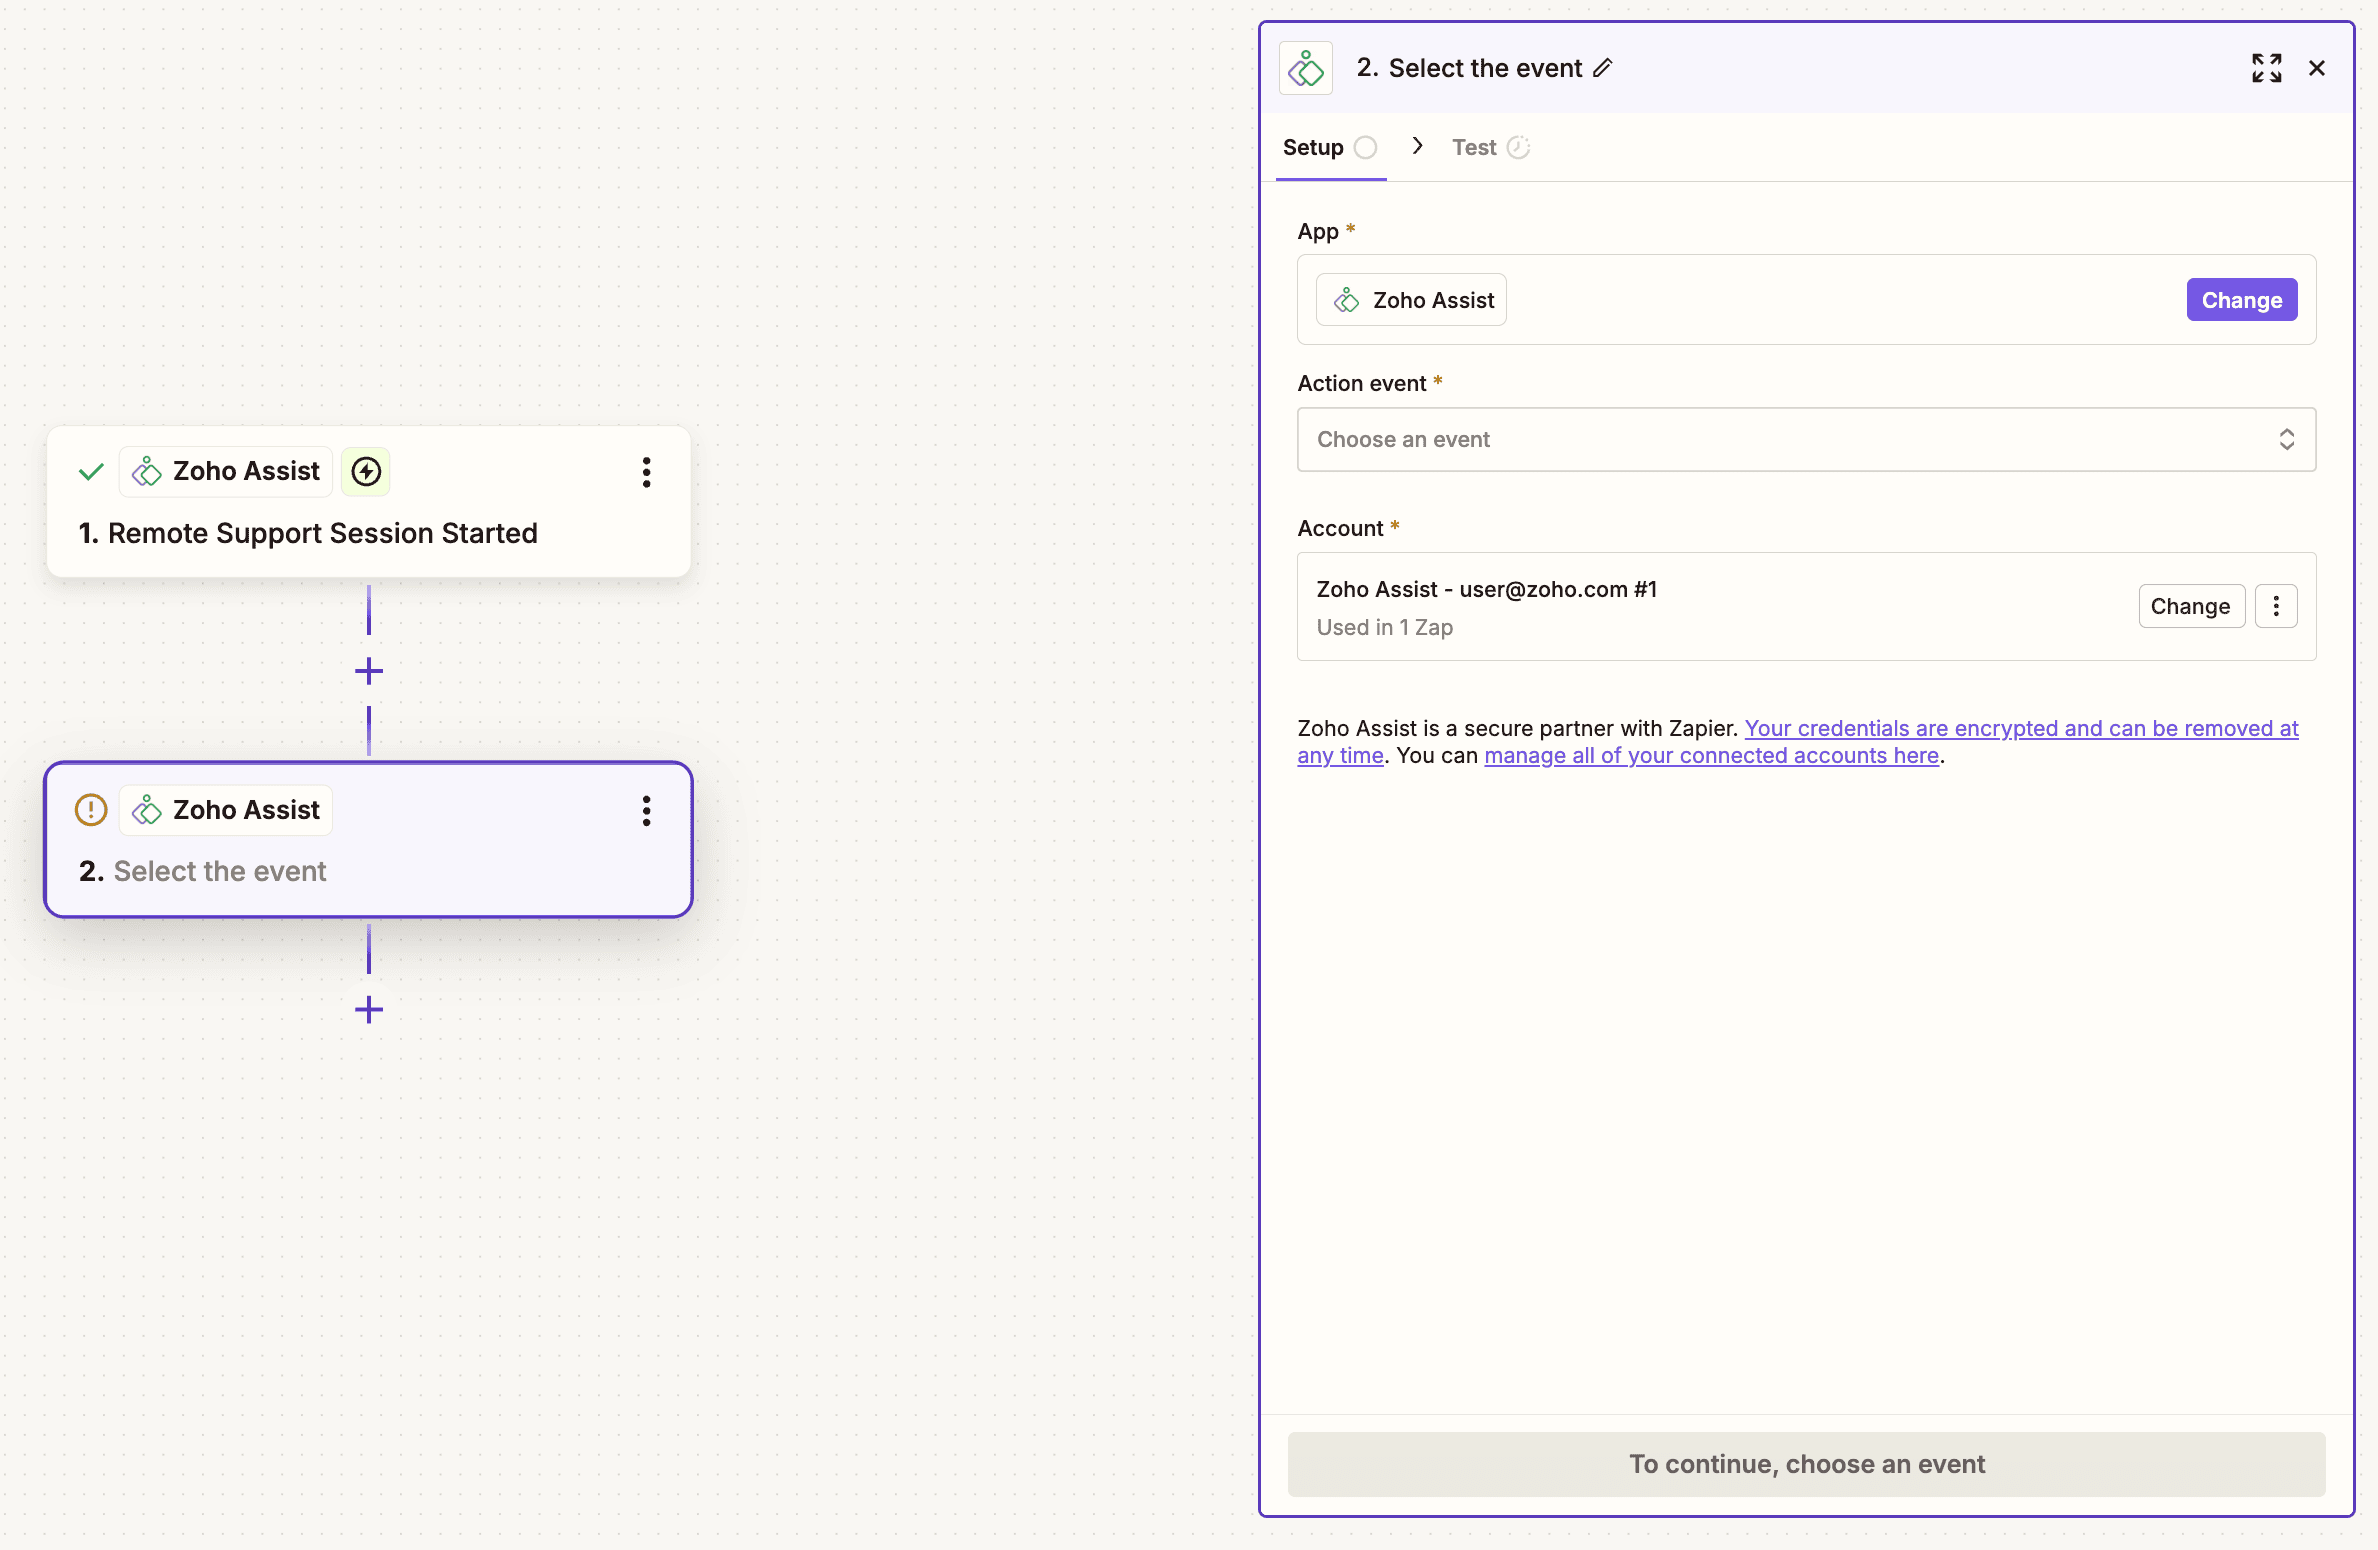
- Customize the fields using data from the trigger.
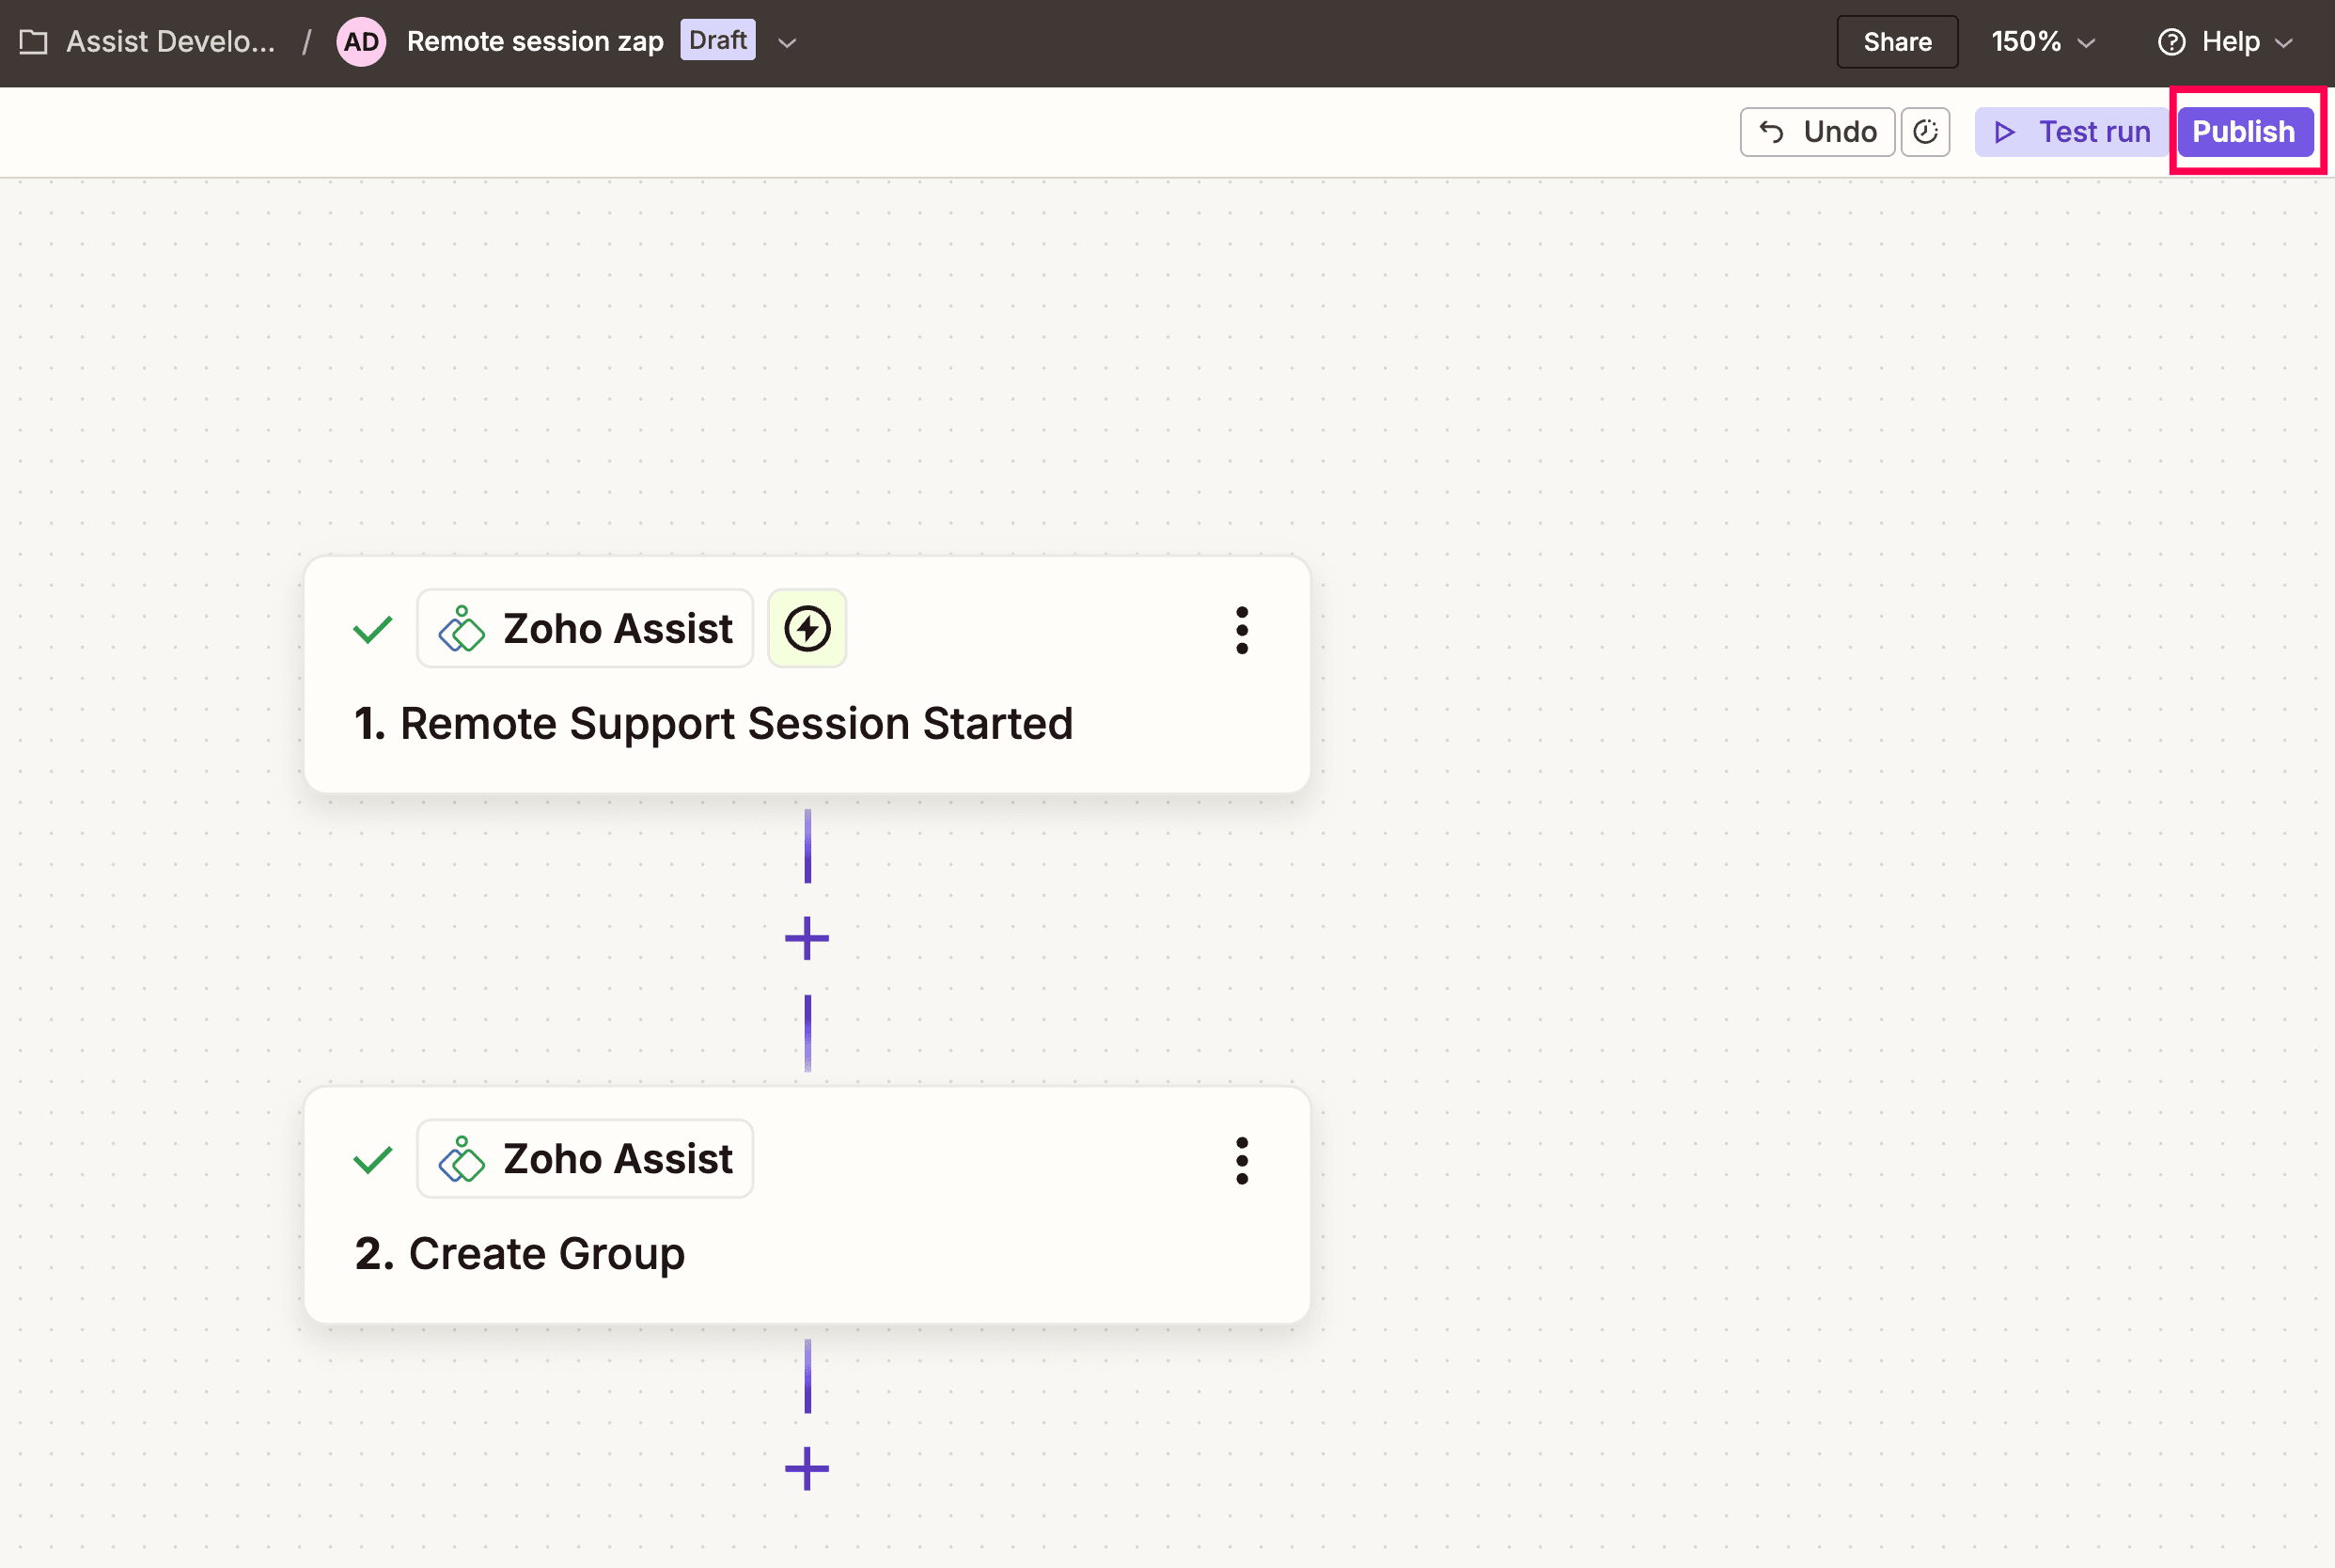
- Click Publish Zap to activate it.
