How to Configure Cobrowse Widget
The Cobrowse feature in Zoho Assist allows you to guide customers on your website in real-time. Before you start a session, you’ll need to configure the cobrowse widget and embed it into your website.
To configure
Log in to your Zoho Assist account using your credentials.
In the top menu bar, click Cobrowse, then select Configure Now.
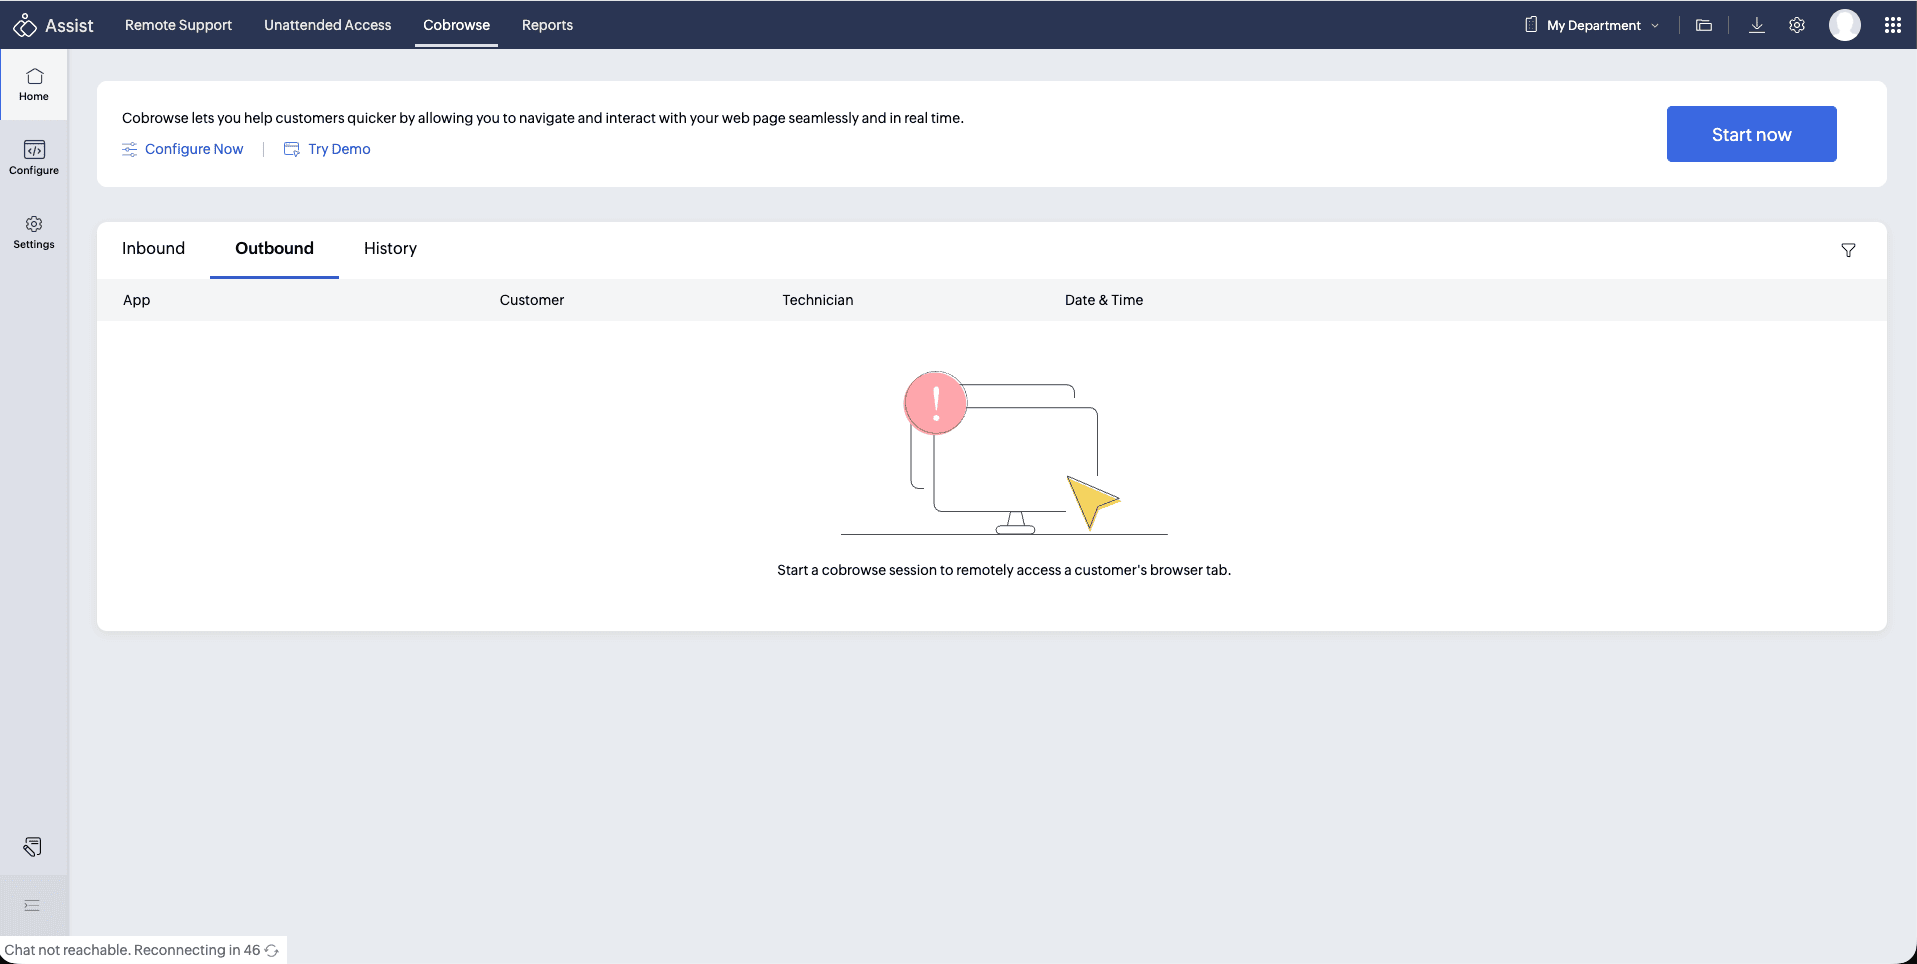
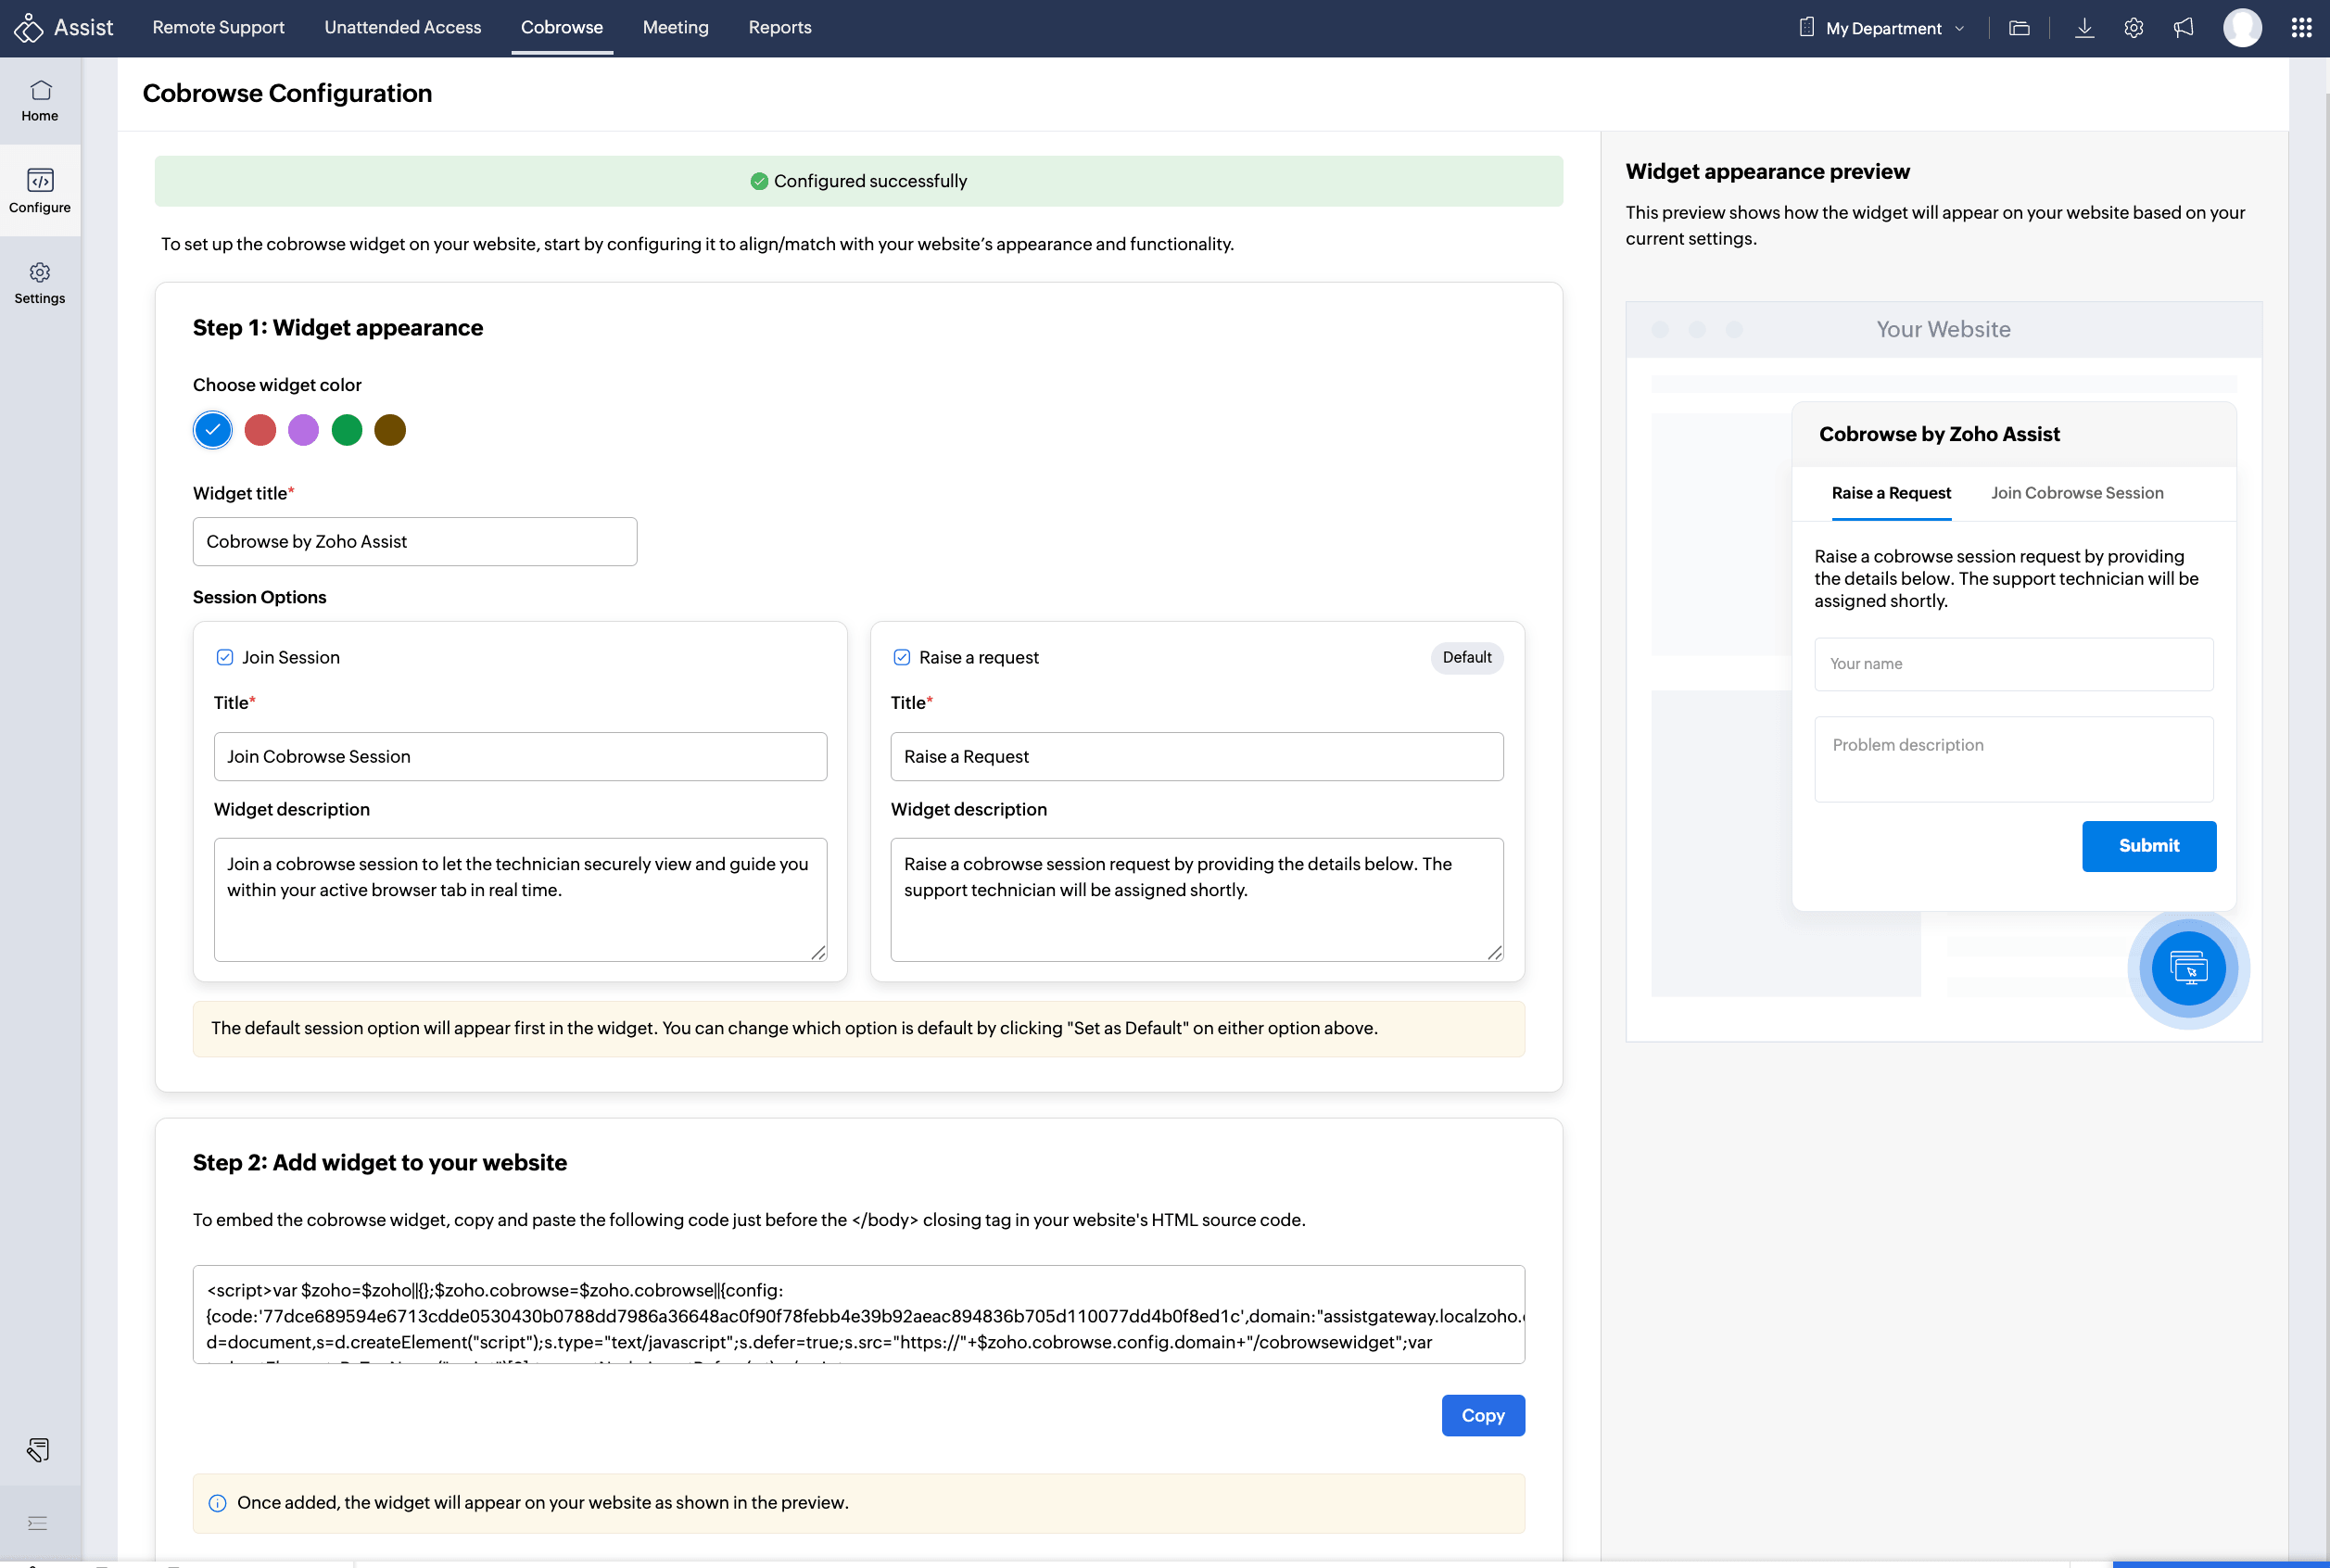
You’ll see the Configuration page, where you can customize the widget that will appear on your website.
Edit the title and description as needed. You can preview your changes in the right-hand panel.
Under Session Options, enable the session mode you want to offer to your customers. You can enable Join Session, Raise a Request or both.
For each enabled session option (Join Session, Raise a Request, or both), enter a Title and Description. Customers will see this text when they interact with the widget.
- Join a Session - Customers can join a cobrowse session using a session key shared by the technician.
- Raise a Request - Customers can submit a support request directly through the widget. The request is added to a queue, and a technician can accept it to initiate a session.
Once you’ve made changes, click Save to update the widget.
Under Add your widget to the website, click Copy to copy the widget code.
Share the copied code with your website developer or technical team. They must embed this code within your website’s script to activate the cobrowse widget.
After it’s embedded, your customers can join a cobrowse session or request a cobrowse session directly from your website via the widget .
To protect sensitive information, you can mask personal or confidential data on your website. Go to Settings, enable Redact Elements, and add the CSS selectors of the elements you want to hide during a session.


Once this setup is complete, you’re ready to offer smooth, secure cobrowse support to your website visitors.