Feature Control
The Feature Control tab helps you to manage the functionalities of the following features,
Accessing the Feature Control Tab
Follow the below steps to access the Feature Control tab,
- Click the Organization Settings icon on the top left corner of the header tab.
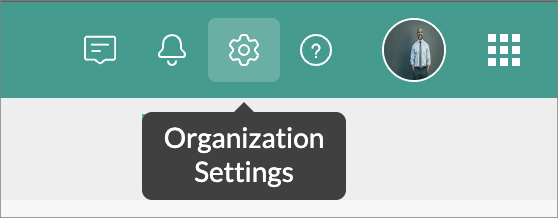
- The Organization Settings tab will open.
- Click Controls & Configuration > Feature Control.
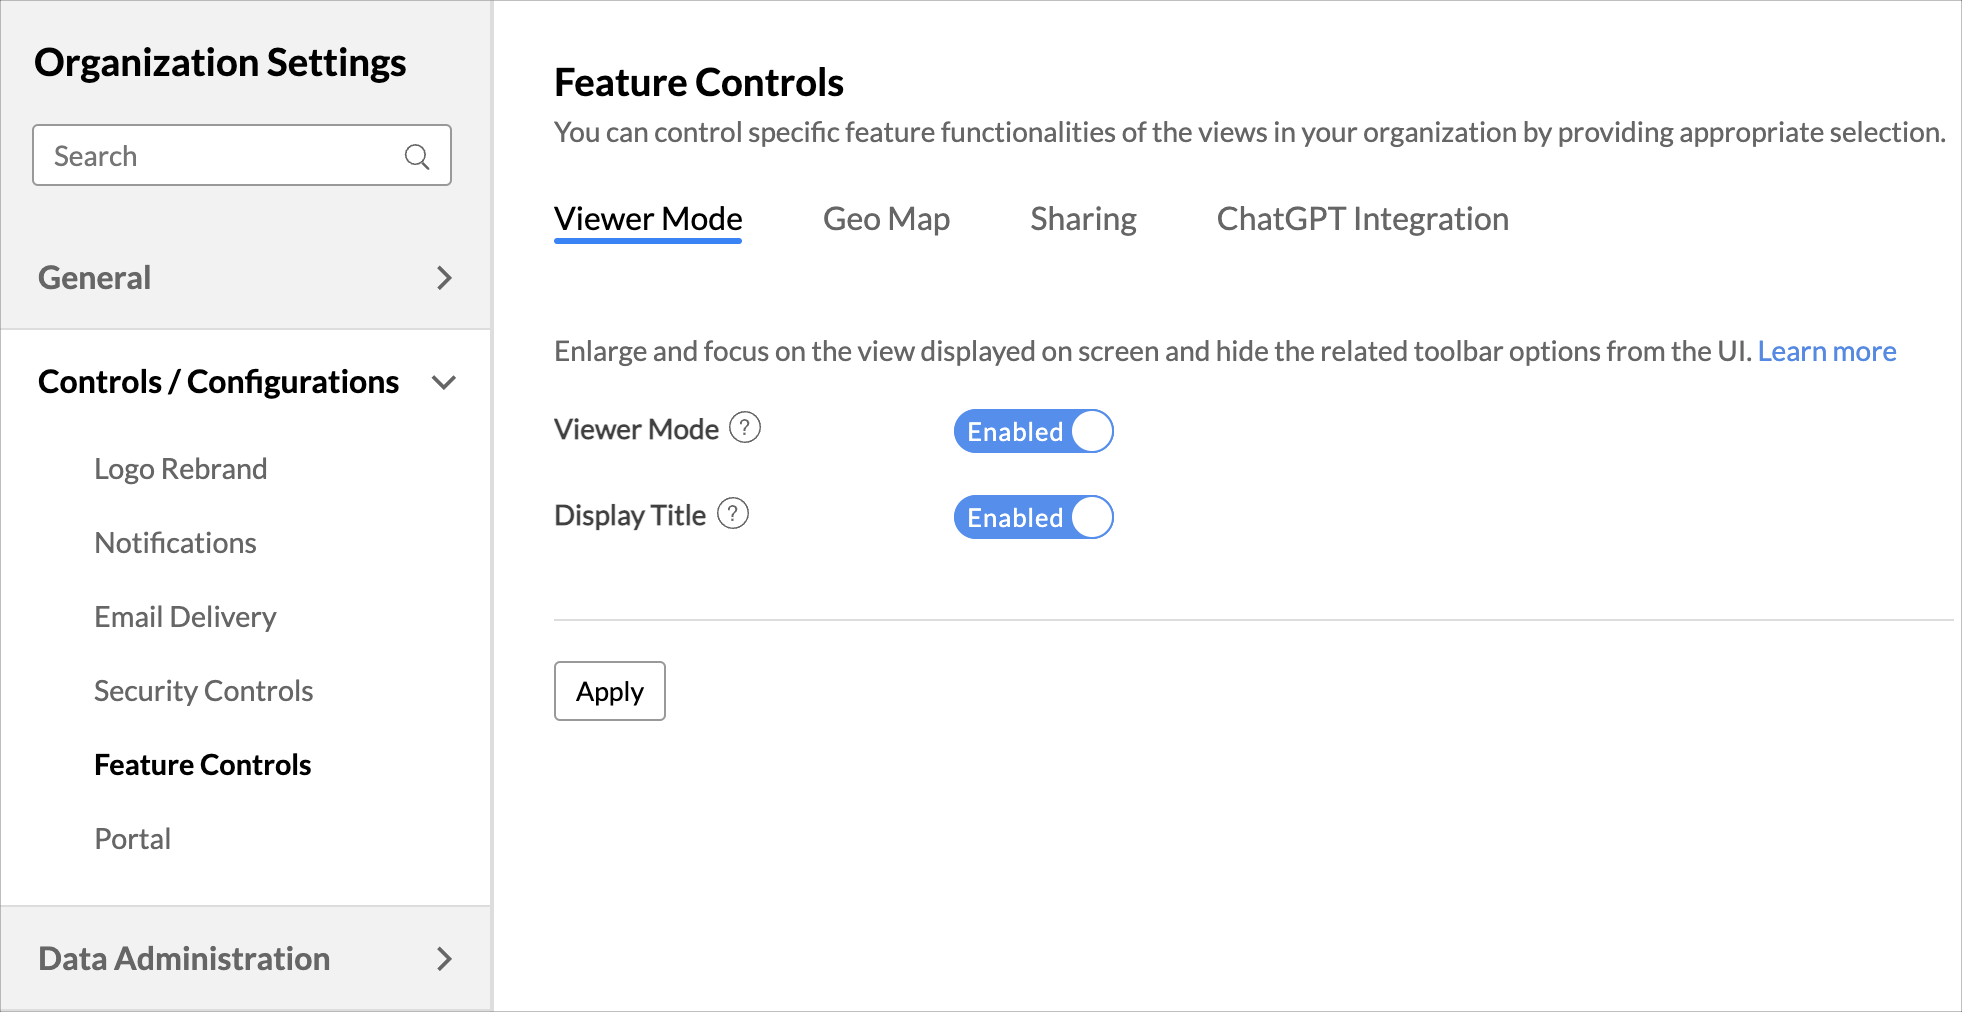
- Configure the settings as needed and click Apply to save the changes.

Viewer Mode
The Viewer Mode toggle button allows you to specify whether to allow Viewer Mode in your workspace. The Display Title toggle button allows you to specify whether the title of the views should be displayed in viewer mode.
Workspace with Viewer Mode Option
Enable the Viewer mode toggle button on the side navigation panel to switch to viewer mode.
Workspace without Viewer Mode Option
Title Enabled
Title Disabled
Geo Map
The Geo Map section allows you to specify the map to be followed in Geo Visualization. You can choose one of the following maps.
- UN (default) - This draws the Boundary for countries based on the UN map.
- India - This draws the Boundary for countries based on the Indian map.
- China - This draws the Boundary for countries based on the China map.
By default, the Boundary Variant will be selected based on the nationality specified in your account. You can choose to change it as needed.
Sharing
The Sharing section allows you to control sharing and collaboration features.
Sharing to New Users
The Allow sharing to new users toggle button allows you to specify whether views can be shared with new users who are not part of your Organization.
Note: This applies to the Workspace Admins and the Shared Users. Account administrator and Organization administrators can still add new users when this option is disabled.
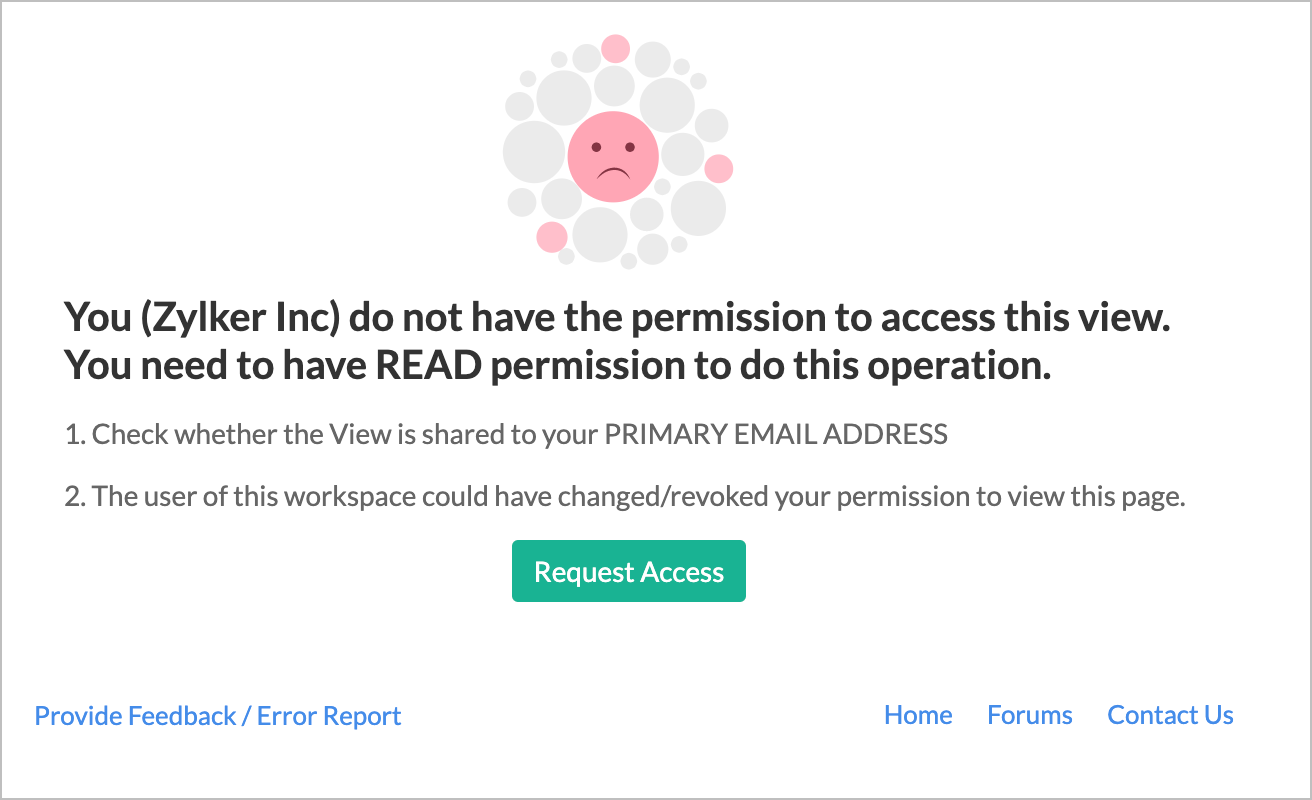
Request Access
The Request Access section controls whether to allow users to request access for a view and whom to send the request email to.
- Enable the Request Access toggle button to add an Access Request button to the views which are not shared with your users.
- In the Send an email notification to section, select the checkboxes of the Admins to whom you want to send the access request email.

Share To Support
The Share to Support section allows you to specify whether the workspace can be shared with the Zoho Analytics tech support team. 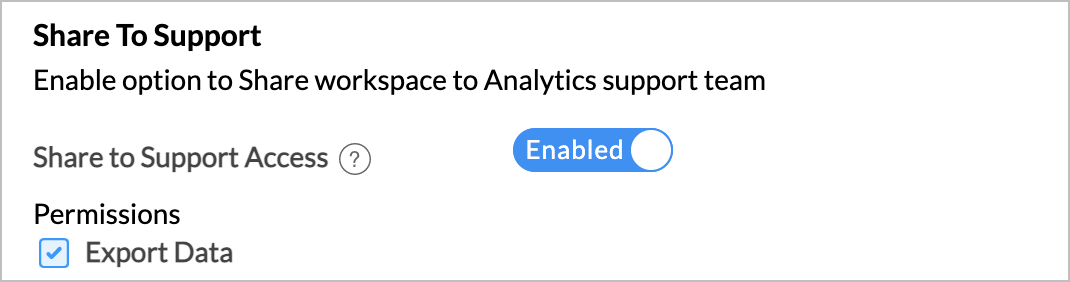
- Enable the Share to Support Access toggle button to allow the admins to share the workspace with the Zoho Analytics support team.
- In the Permissions section, specify whether data can be exported using the Export Data checkbox.
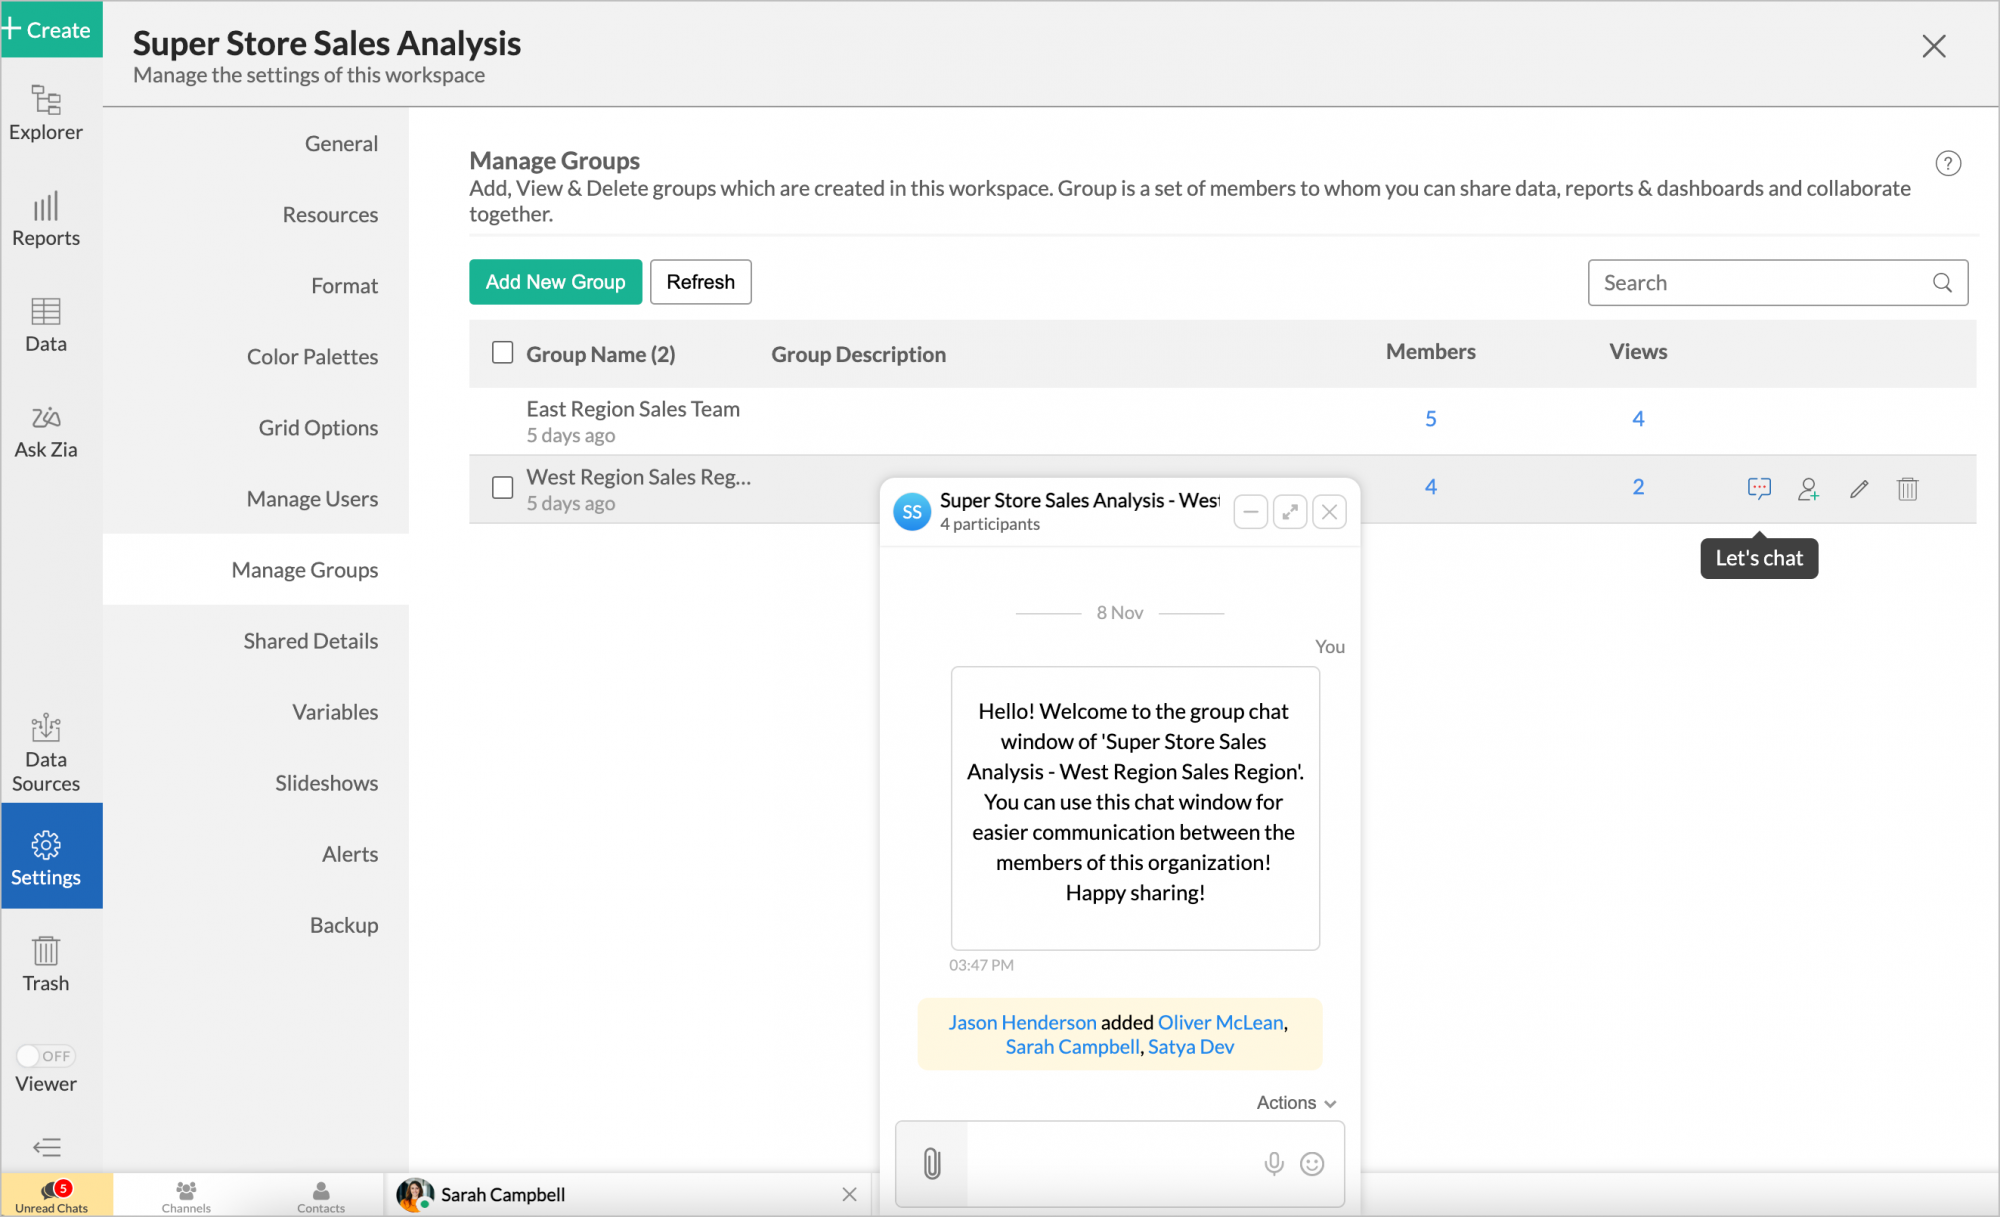
Cliq Integration
The Cliq Integration section allows you to add Cliq messaging service into Zoho Analytics. This allows you to easily collaborate among the members of the organization.
- Chat Bar - Select this checkbox to add the Cliq messaging service into Zoho Analytics. You will be able to chat with your organization members using the chat bar at the bottom.
- Cliq Group - Select this checkbox to allow creating Cliq group based on the workspace group. This checkbox will be in disabled mode if the Chat Bar checkbox is unselected.