Registering New Client
Before you get started with authorization, you need to register with Zoho Developer Console. Follow the below steps to register with Zoho's Developer console.
- Visit Developer Console and click GET STARTED.
- Choose Client Type that suits your application type.
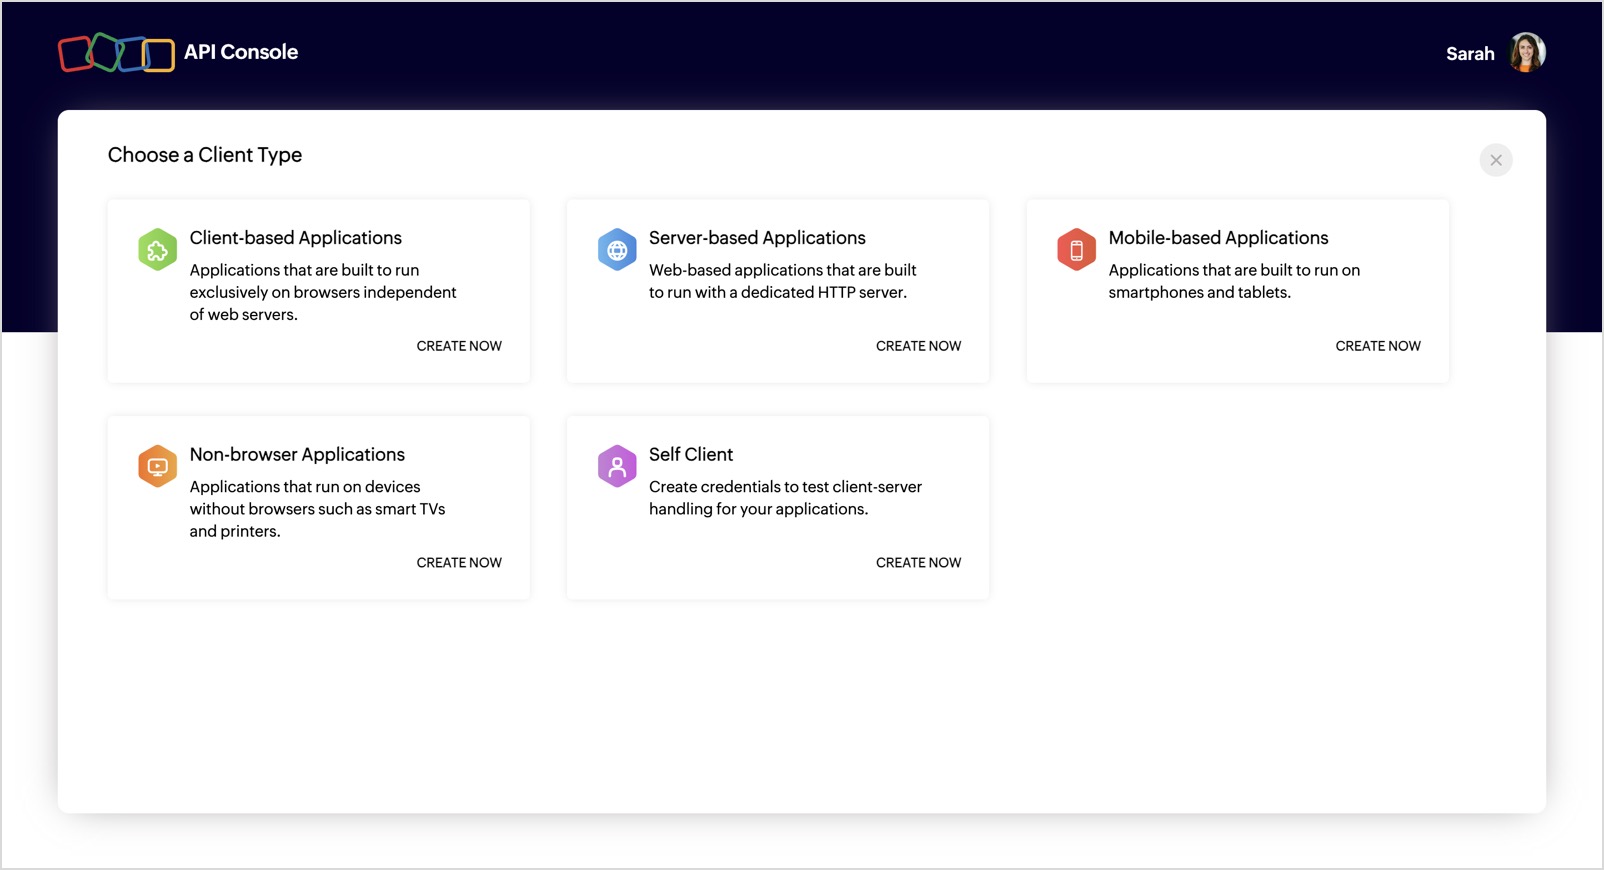
- Client-based Applications: Applications that are built to run exclusively on browsers independent of web servers.
Server-based Applications: Web-based applications that are built to run with a dedicated HTTP server.
NOTE:Server-based applications are chosen when your application is used by multiple users and requires user intervention during authorization.- Mobile-based Applications: Applications that are built to run on smartphones and tablets.
- Non-browser Applications: Applications that run on devices without browsers such as smart TVs and printers.
Self Client: For standalone server-side application performing a back-end job, and you do not have a domain and a redirect URL.
NOTE:Self Client type is recommended for users using ZohoAnalytics UploadTool and ZohoAnalytics Client Libraries.
- After choosing the client type, provide the required details and click Create.

On successful registration, you will be provided with a set of OAuth 2.0 credentials such as <Client_ID> and <Client_Secret> that will be only known to Zoho and your application. (Do not share this credentials anywhere.)