Connections
What is a connection?
A connection is how you give a tool permission to access a specific service. When your agent calls an API (say, to fetch a deal from CRM or create a ticket in Desk), it needs to authenticate with that service first. That's what a connection handles.

Every connection ties together three things: the service it connects to, the OAuth scopes (permissions) it carries, and the credentials it uses to authenticate. For a tool to work, its connection must match the service and have the scopes that the tool requires. Without that alignment, the tool won't execute.
Where you can create connections
There are three places in Zia Agents where connections come up:
- Settings > Connections is the main place to manage them. This is where you can pre-configure connections based on your requirements, review existing ones, or troubleshoot authentication issues. If you're setting up your environment before building agents, you can start here.
- While testing your custom tools: Before you can save a custom tool group for usage, you need to test the tools. The pop-up for testing asks you to associate a connection. You can pick an existing one, click Auto Create to generate one automatically, or click New to set one up on the spot.
- Agent configuration is the third entry point. When you're testing or deploying an agent, you may need to connect tools to services as part of that setup.
All three paths end up creating the same kind of connection. The difference is just when and where you're doing it.
Managing connections
The Connections page is available under Settings in the left sidebar. It's organized into a few sections:
- My Connections shows all connections created by you or your organization's administrator. Each connection displays its service name and status. Active connections are marked with a green dot, inactive ones are grayed out.
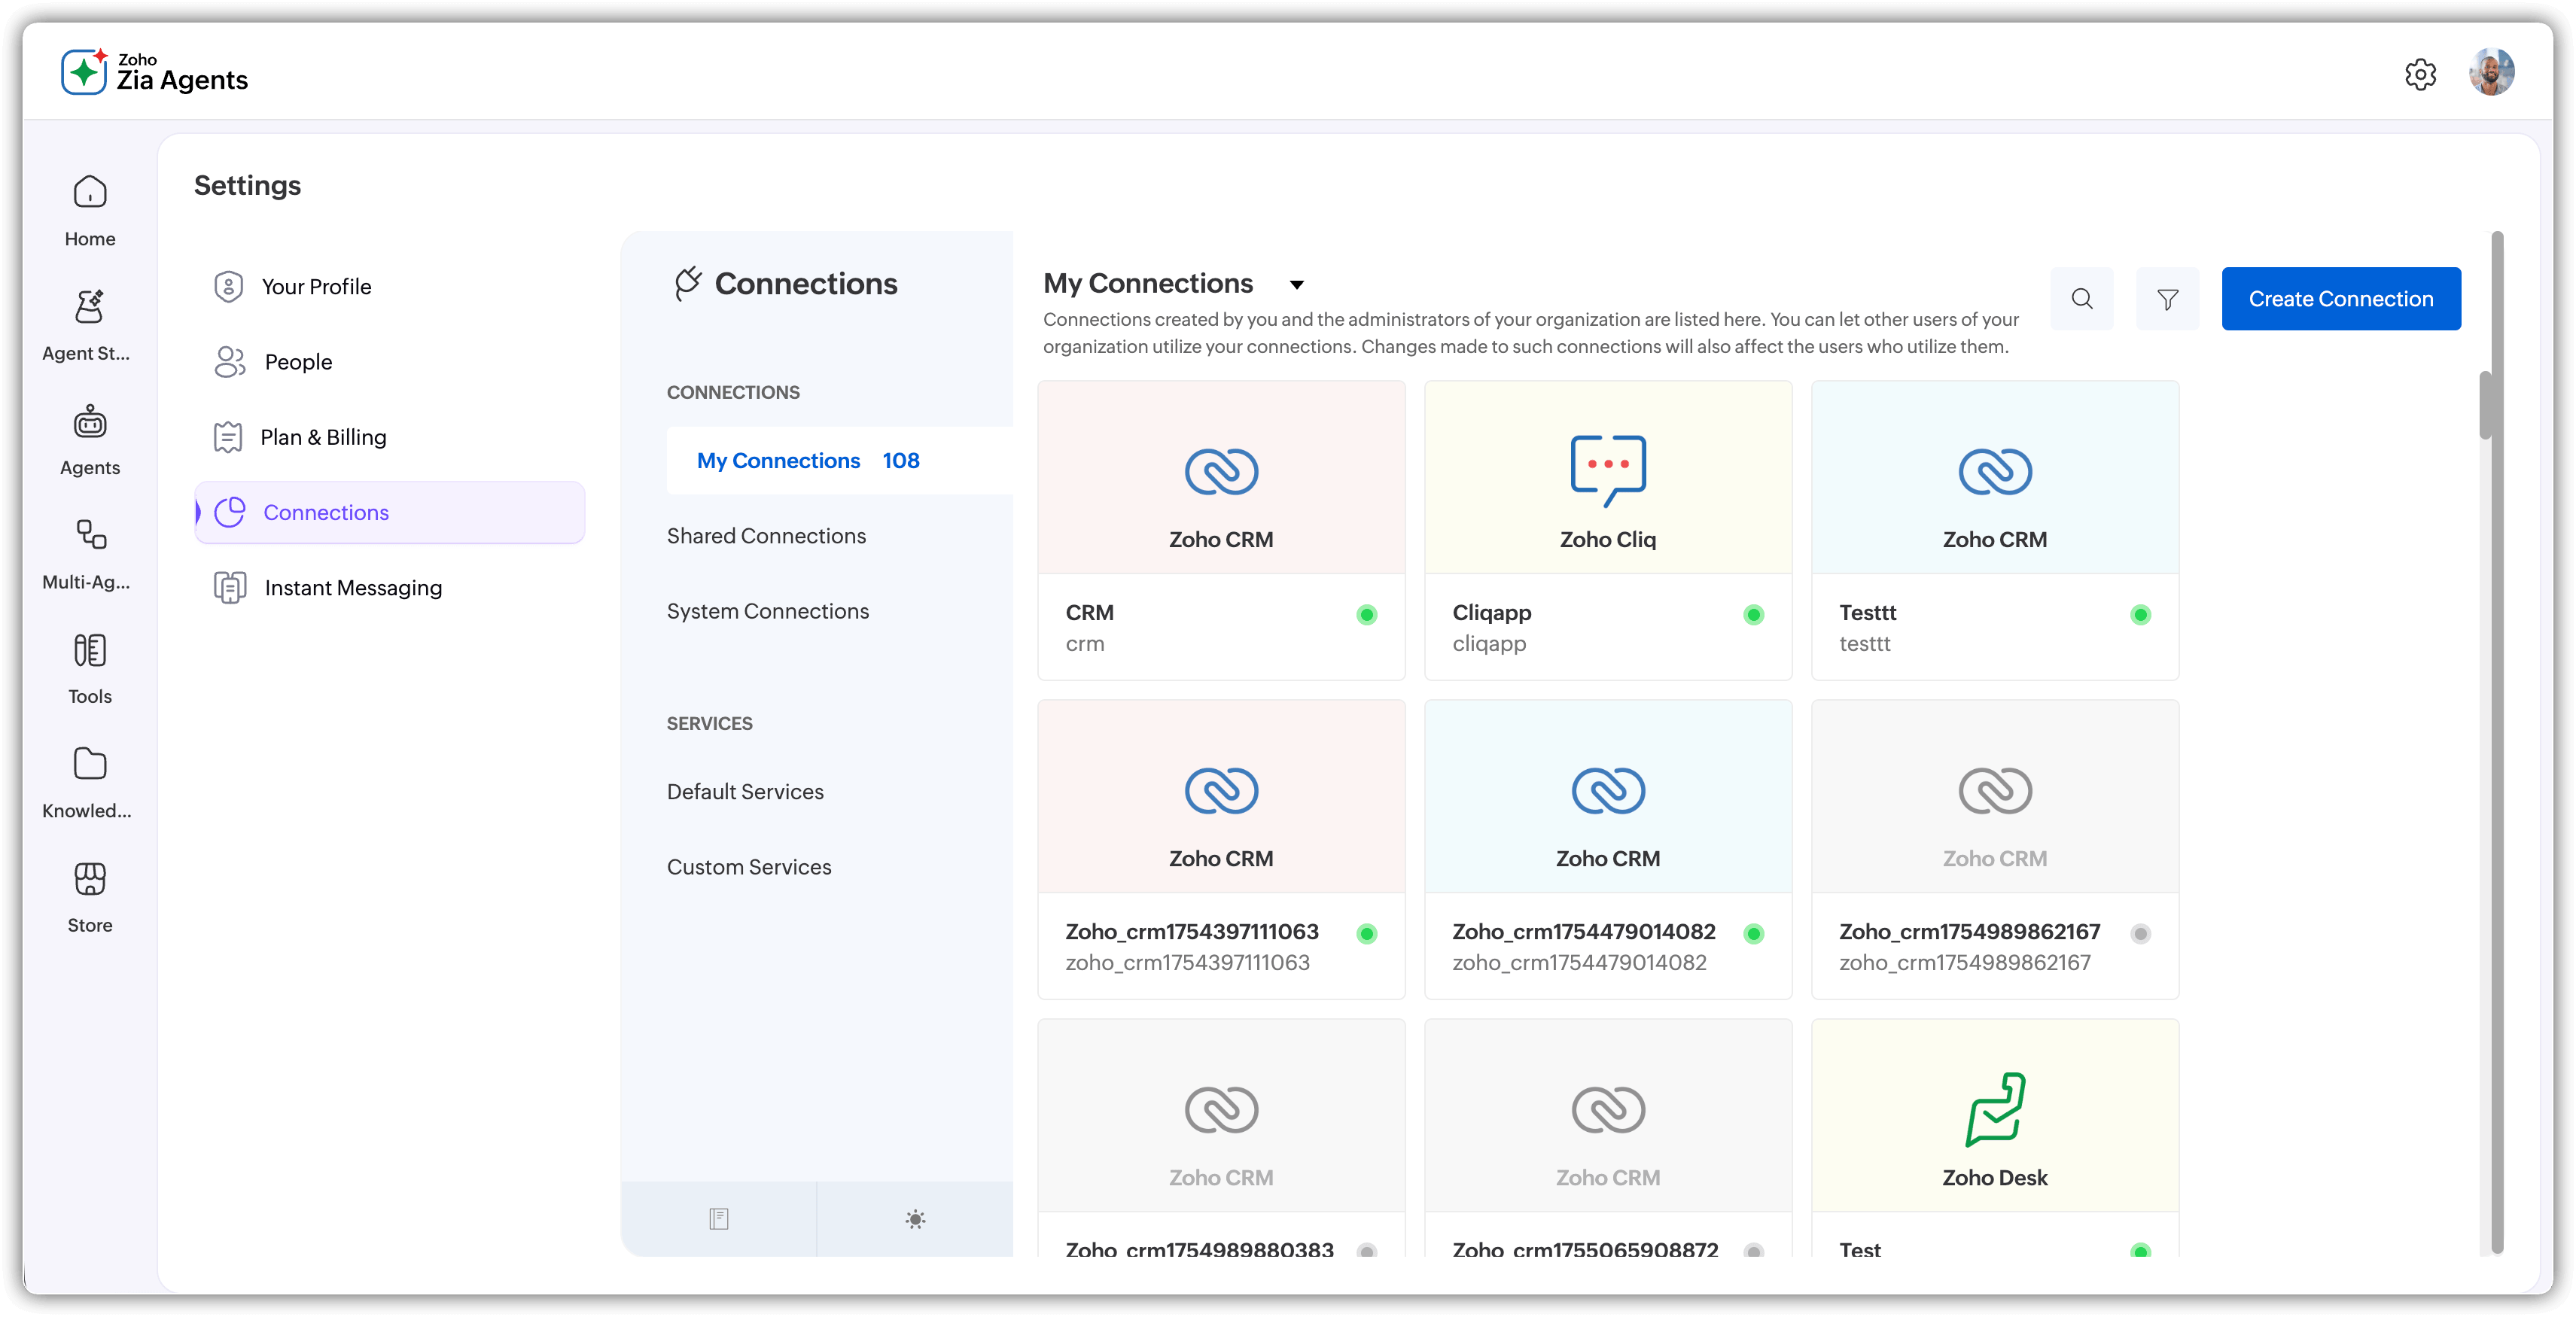
- Shared Connections lists connections that have been shared across your organization.
- System Connections shows connections that are set up at the system level.

Under Services, you'll find Default Services (Zoho's built-in services) and Custom Services (anything you've added manually).

Creating a connection
Here's how to create a connection from the Settings page:
To create a connection
- Navigate to Settings > Connections.
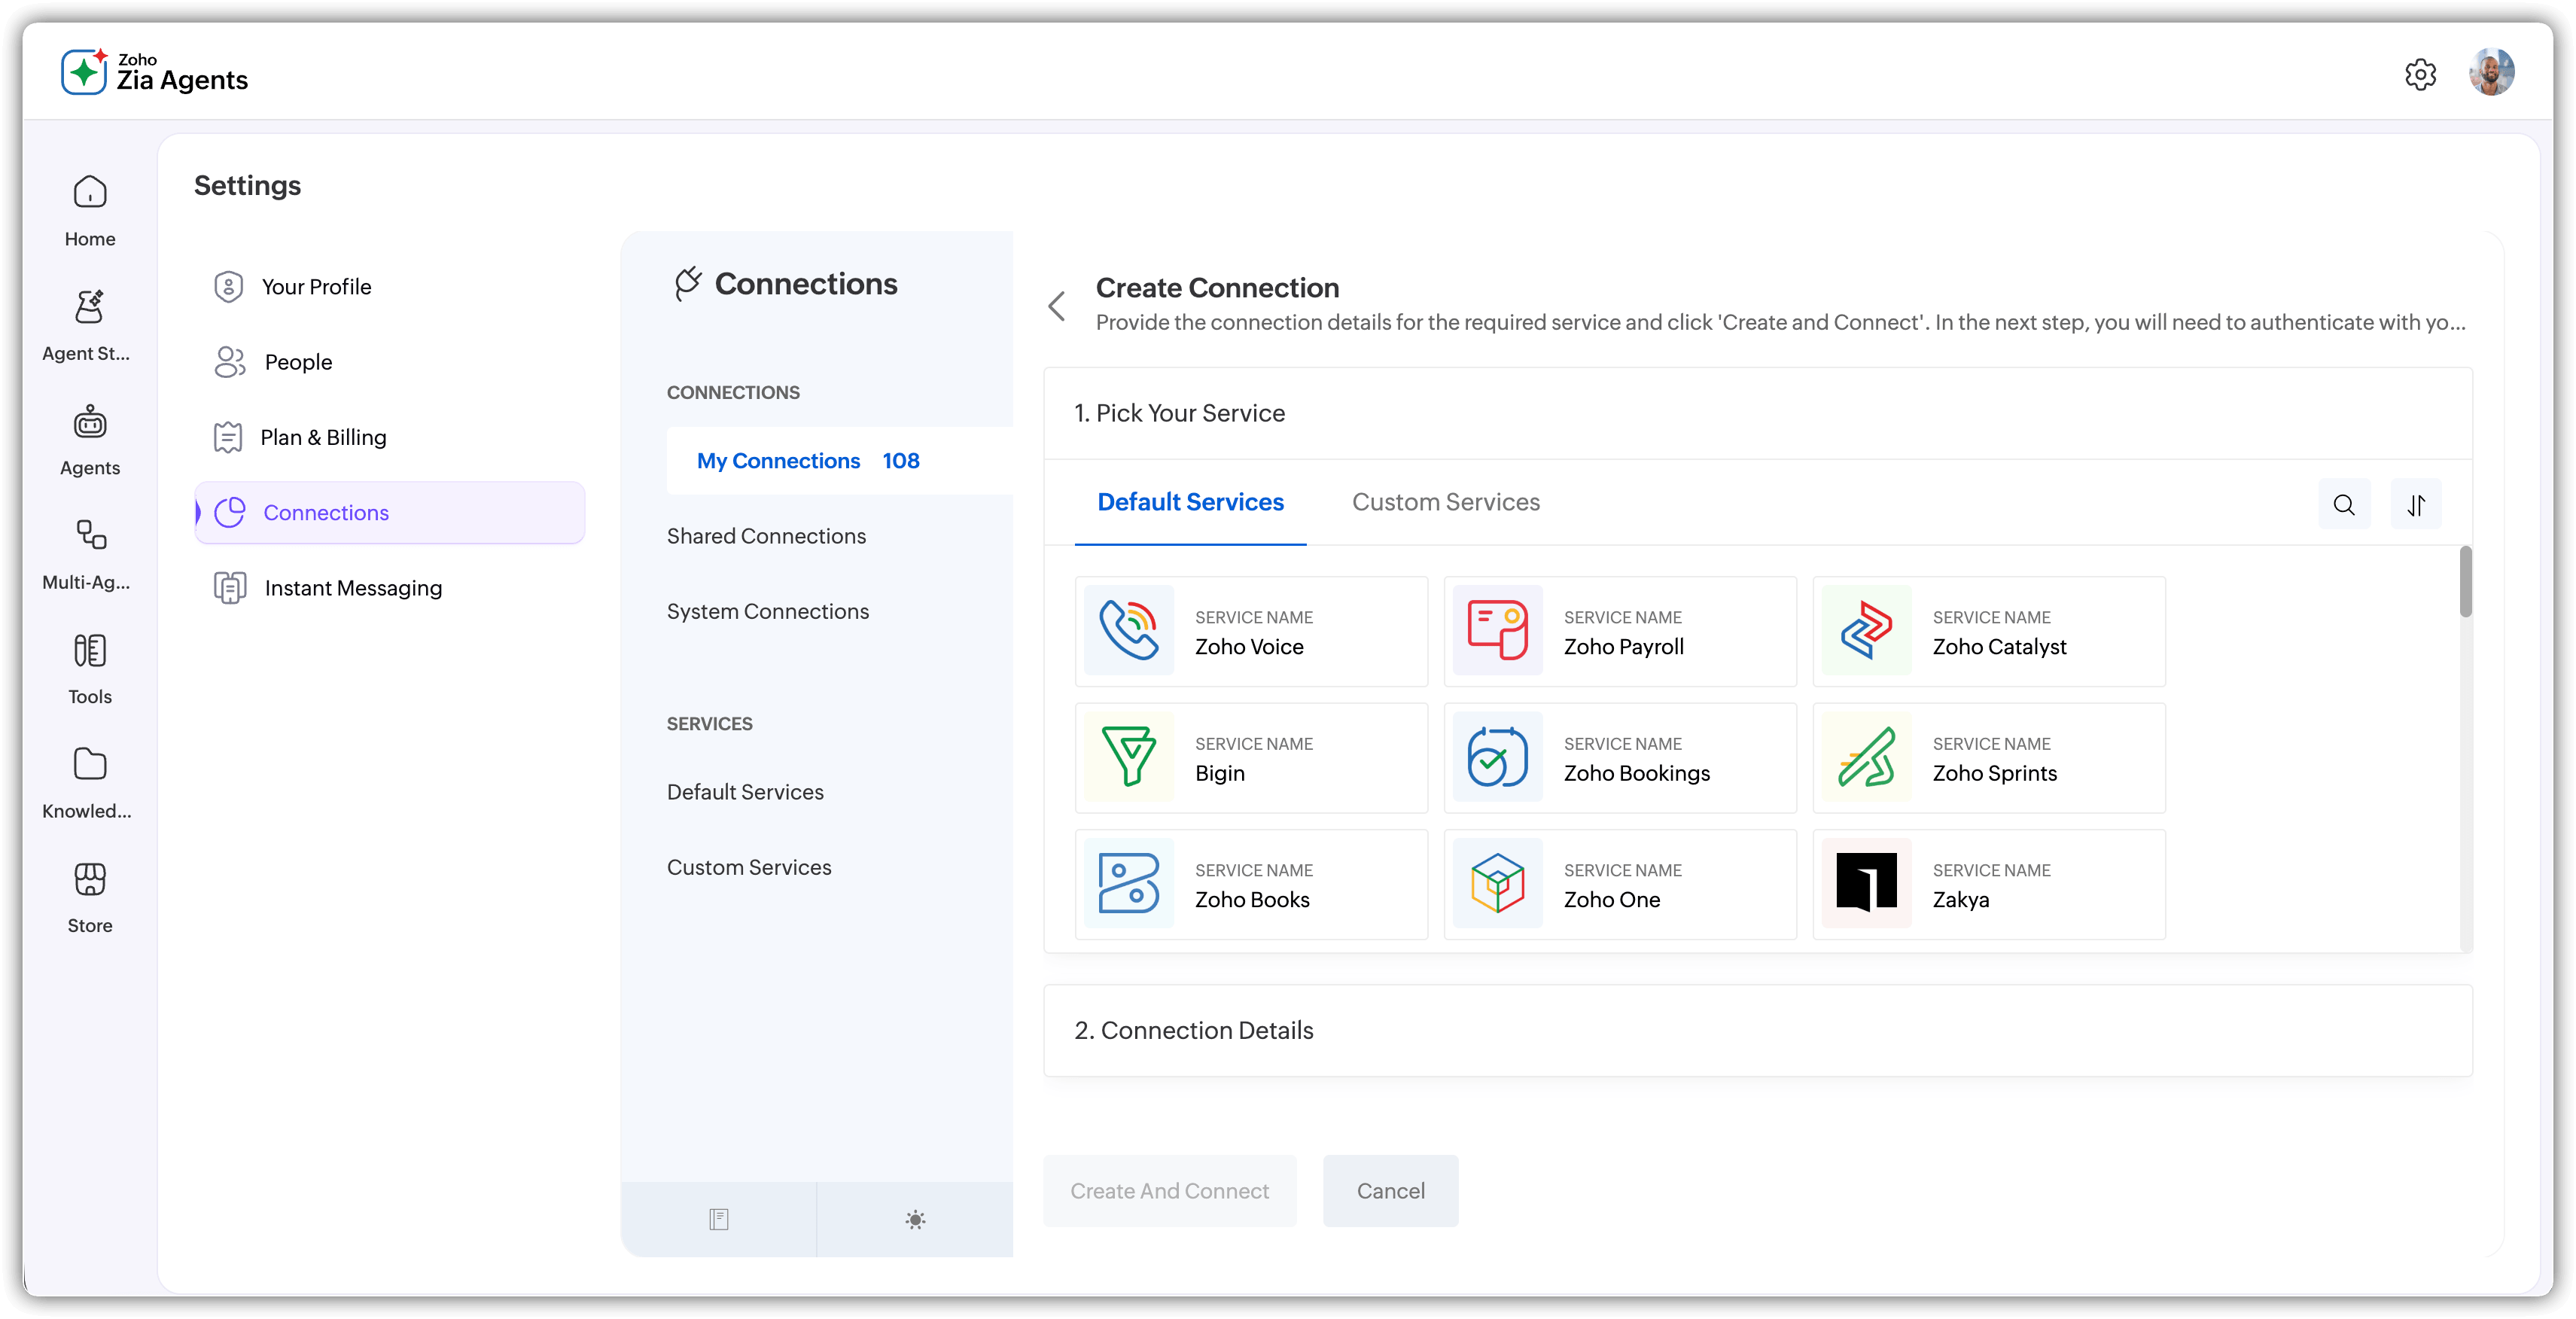
- In the My Connection slide-out panel, click the Create Connection button and do the following:
- Pick Your Service. You'll see two tabs: Default Services (Zoho Voice, Zoho Payroll, Bigin, Zoho Bookings, Zoho Books, Zoho One, etc.) and Custom Services. Choose the service your tool needs to connect to. If your service isn't listed under defaults, create a custom one.
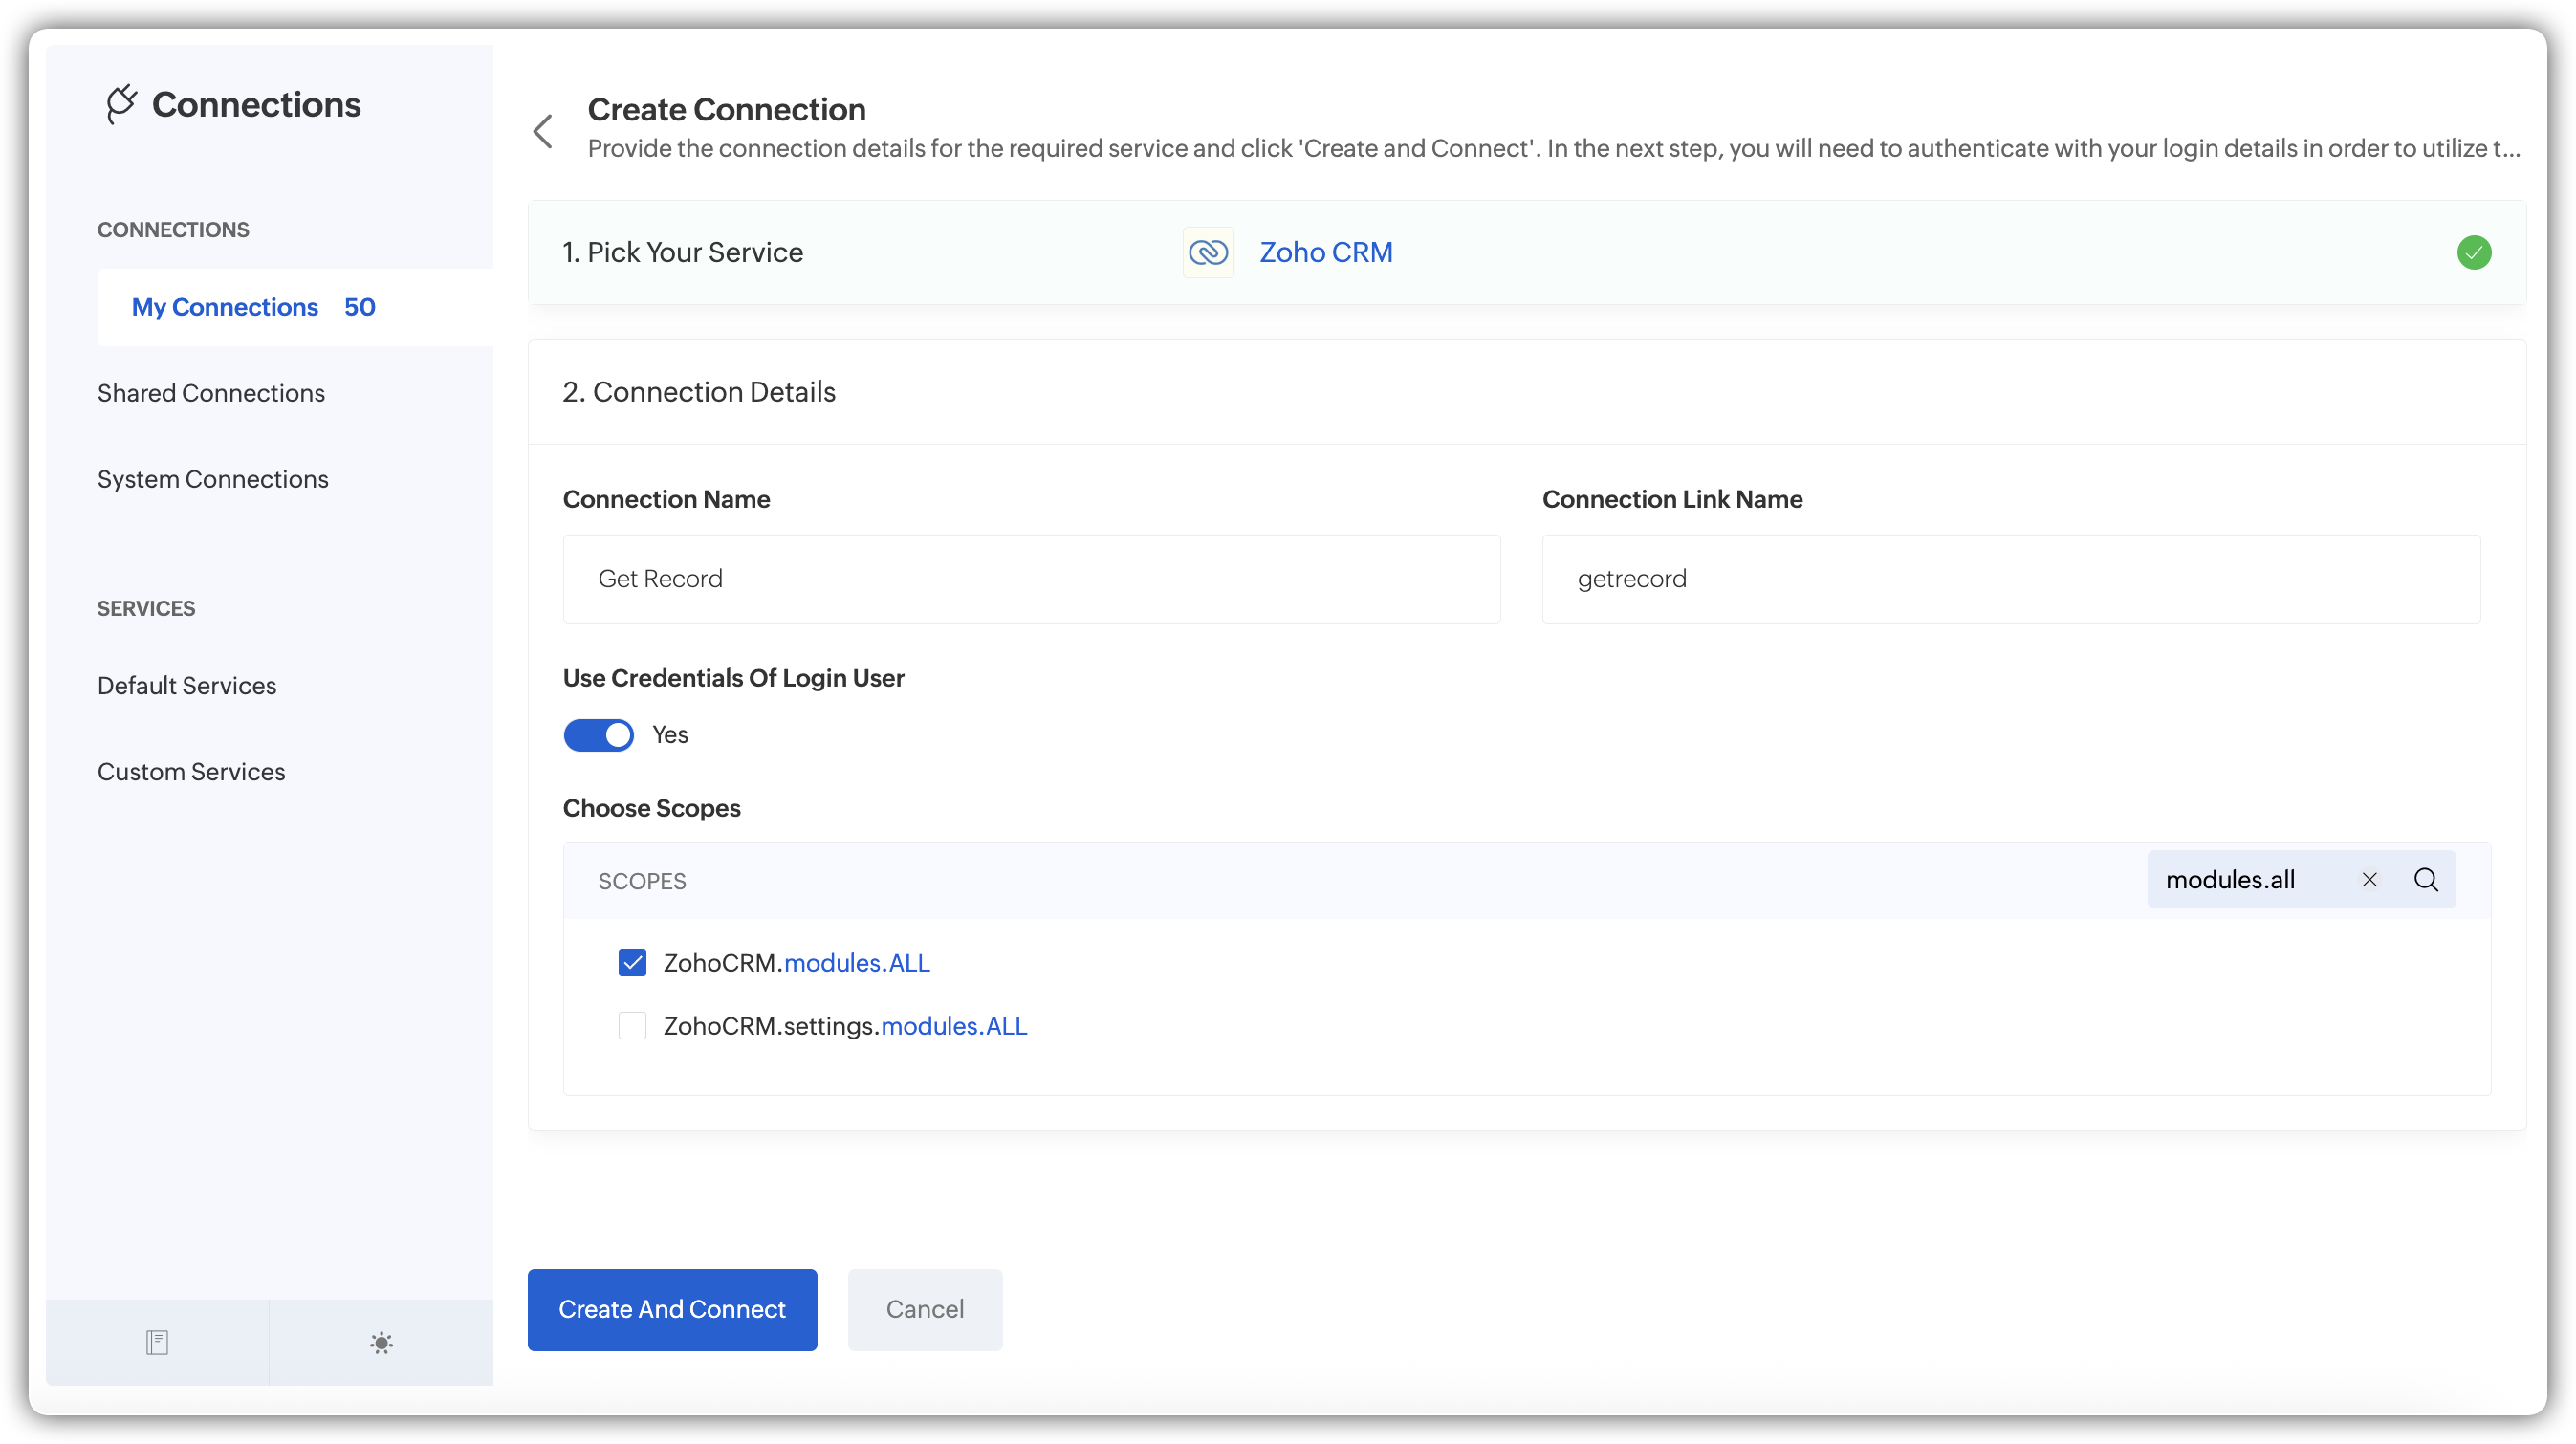
Connection Details:
- Connection Name: Give it a descriptive name (e.g., "Get Record" or "CRM Lead Access"). The connection link name auto-generates based on what you enter.
- Use Credentials of Login User: This toggle is on by default. Turn it off if you want the connection to use different credentials.
- Choose Scopes: Select the OAuth scopes your tools require. This is important. The scopes you pick here must align with what your tools need. For example, if your tool fetches CRM records, you'd select ZohoCRM.modules.ALL. Only grant what's necessary.
Refer here to choose the right scopes for CRM.
- Pick Your Service. You'll see two tabs: Default Services (Zoho Voice, Zoho Payroll, Bigin, Zoho Bookings, Zoho Books, Zoho One, etc.) and Custom Services. Choose the service your tool needs to connect to. If your service isn't listed under defaults, create a custom one.
- Click Create and Connect.
You can now connect with your credentials. In the next page, you can reuse an existing connection that has the selected service and scopes, or create a new one.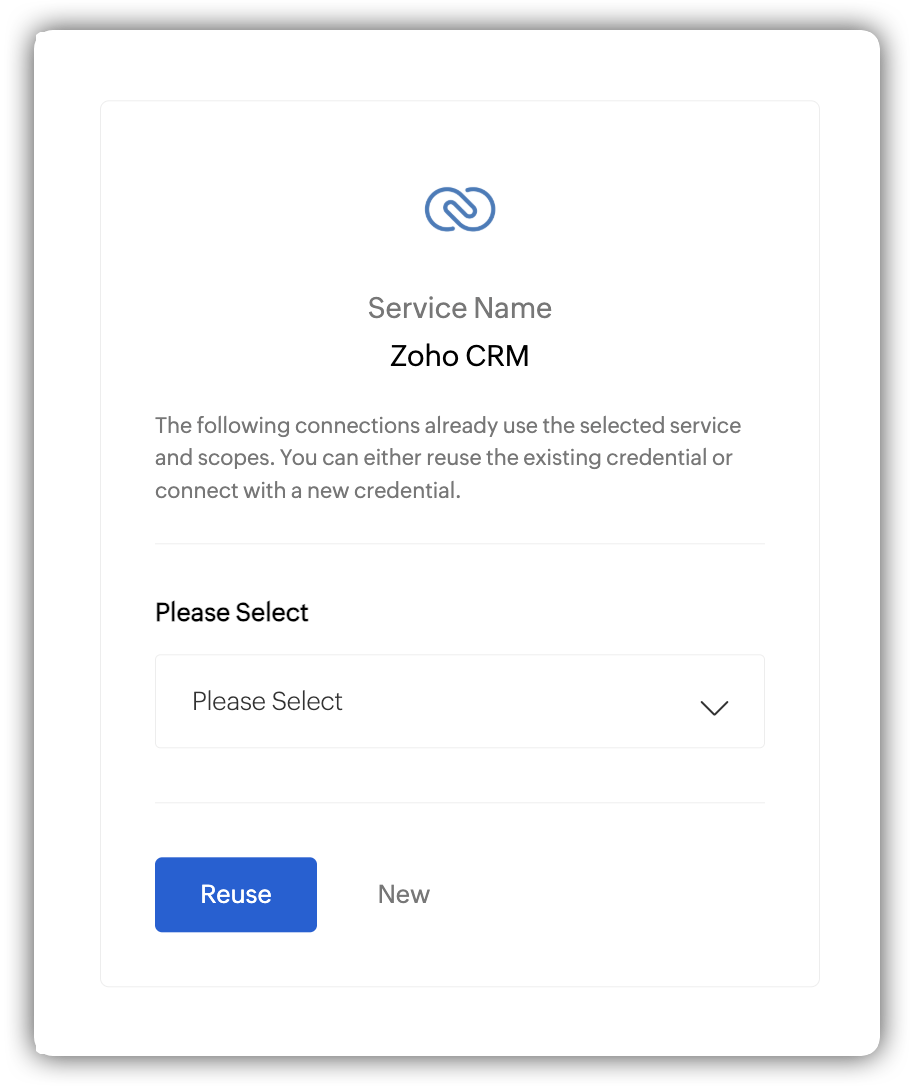
- For new connection, choose one of the organizations that you want and click Submit.
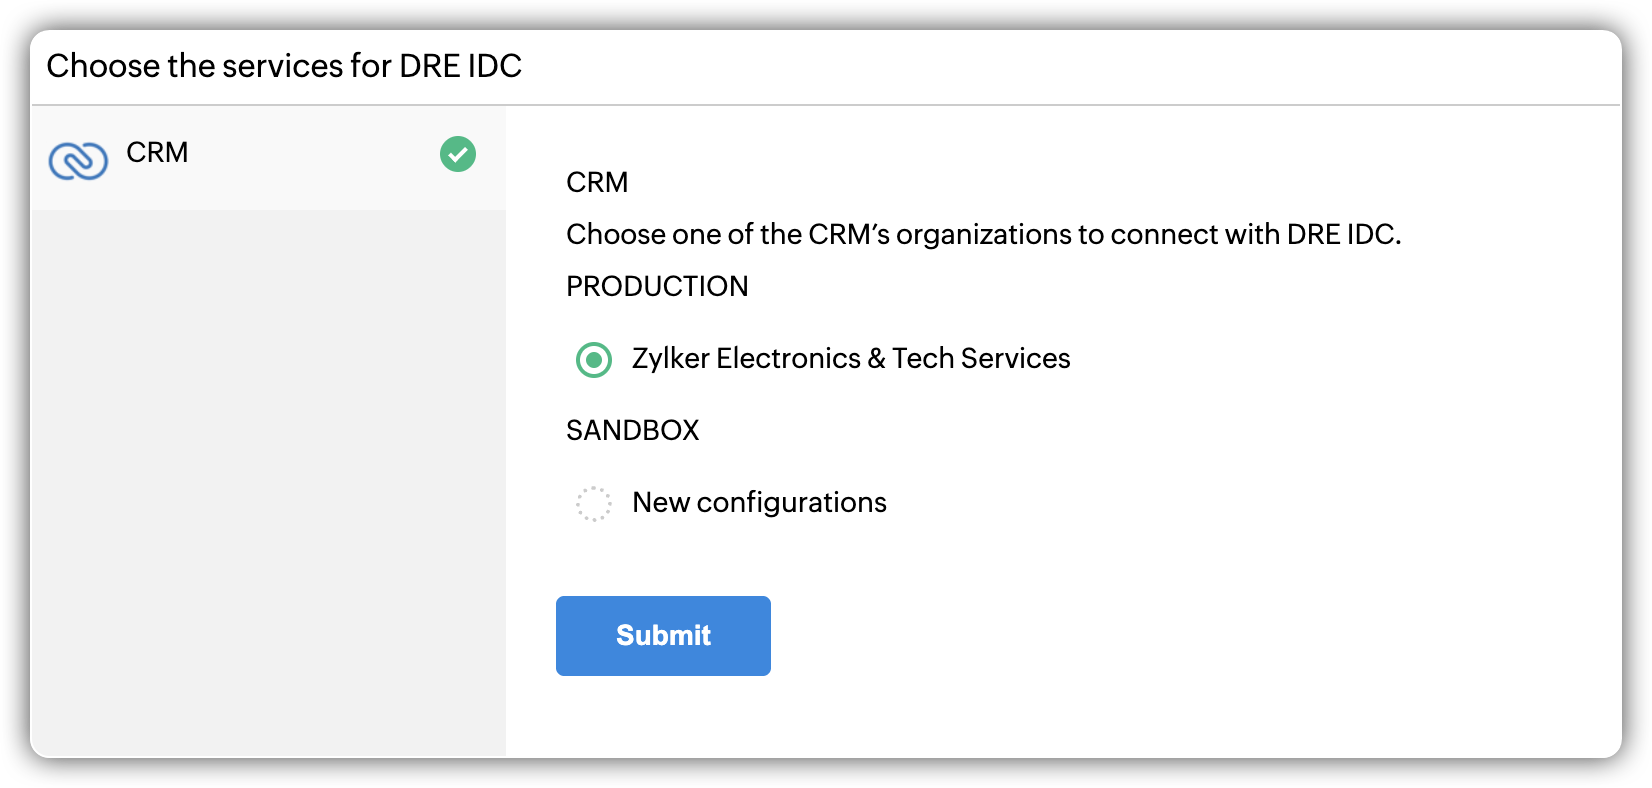
- Acknowledge Deluge's authorization prompt seeking consent to allow Deluge to perform CRUD operations by clicking Accept.


Once the authorization is done, the connection is created. You'll see it listed under My Connections with a connection summary showing the connection name, link name, service name, status, scopes, and whether it's using login user credentials.

The panel will now include sample codes in Deluge and Json to test how the agent uses the connection.
Choosing the right scopes
Scopes control what a connection is allowed to do. Pick too few, and your tools won't have the access they need. Pick too many, and you're granting broader permissions than necessary.
A practical approach: Check the Required Scopes info button in the Test APIs dialog when testing your custom tools. It tells you exactly which scopes a tool needs. Use that as your guide when setting up the connection.

If you're working with CRM tools, common scopes include ZohoCRM.modules.ALL for read/write access to modules, and more specific ones like ZohoCRM.send_mail.all.CREATE for sending emails. Match the scope to the action.