


Overview
Hosted Payment Page is a secure, customizable checkout page that lets your customers purchase a plan, service or product and pay for it online. You can embed it in your website or share its URL directly with your customers.
Hosted Payment Pages in Zoho Billing let you set up a branded checkout page for which you can choose a template, configure your logo, colors, checkout fields, and also share in different modes with your customers. Every purchase completed through the Hosted Payment Page is recorded automatically in your Zoho Billing organisation, keeping your subscriptions, invoices and payments in sync without any manual work.
Need for a Hosted Payment Page
You might ask “Why do I need a Hosted Payment Page? Can’t I set up a page myself and collect payments?” The answer is, setting up your own page and collecting payments requires your website to be PCI-compliant and the process can sometimes be long and tedious.
But, deploying a Hosted Payment Page for your website can be done within minutes and you don’t have to worry about PCI-compliance since the Hosted Payment Pages are by default PCI-compliant in Zoho Billing, which means they are highly secure and comply with all security standards. Also, the Hosted Payment Pages are mobile-friendly which makes them easily accessible via mobile phones.
Patricia manages subscriptions at Zylker Technologies and wants to let customers subscribe using a Hosted Payment Page URL. In just a few steps, she creates a Hosted Payment Page in Zoho Billing, picks a template, adds her company logo and brand colors, and shares the URL with her customers. Her customers open the link, fill in their details, and subscribe. Every new subscription is automatically recorded in Zoho Billing, providing her customers a secure and seamless checkout experience while saving Patricia time and eliminating manual effort.
Hosted Payment Page Templates
When you create a Hosted Payment Page, you can select a template that determines how the checkout page appears and how customers move through the payment process. Zoho Billing offers two templates:
| Template | Description |
|---|---|
| Single Page | All checkout details appear on one page, letting customers review and complete their purchase without moving between steps. This offers a quicker, more streamlined experience. |
| Multi-Page | Information is organized into separate pages, guiding customers step-by-step through the checkout process. This provides a clean, focused experience and makes it easier to review each section thoroughly. |
The template you choose defines the checkout experience for every customer who uses the Hosted Payment Page.
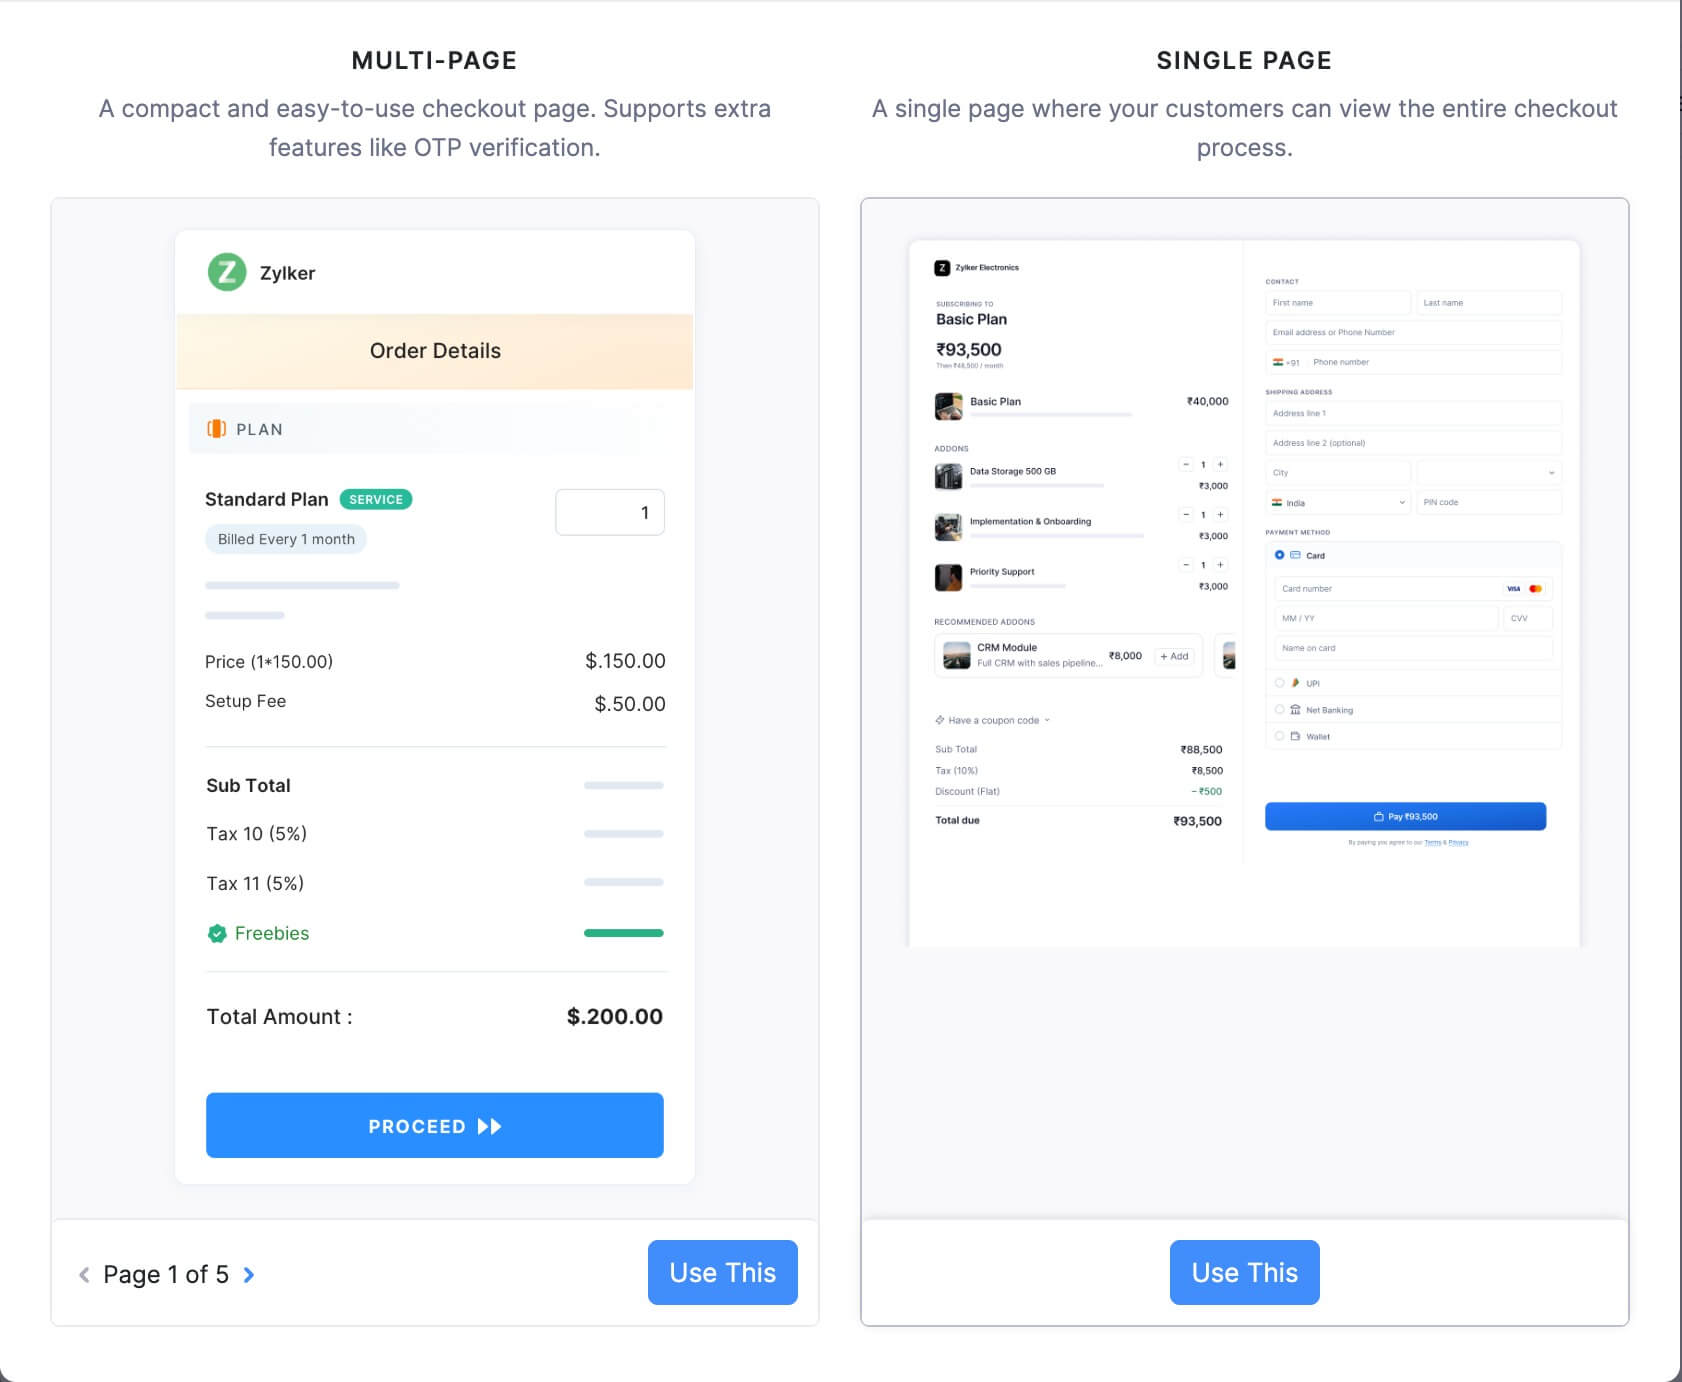
For organisations created after 24 July 2026, the Single Page layout is now organized with the order summary on the left and the checkout fields which includes account information, billing address, and payment details on the right. For existing organisations, contact us at support@zohobilling.com to enable this layout.
For a detailed comparison and guidance on choosing the right template, read more about template.
Get Started with Hosted Payment Pages
Set up your first Hosted Payment Page by following these steps:
- Create a template - Pick a layout and give the template a clear, relevant name so you can identify and select it from the template dropdown when you share it.
- Customise the appearance - Configure your logo, brand colors, checkout fields, and payment options so the checkout page meets your business requirement.
- Add languages (optional) - Translate your checkout labels so your customers can complete their purchase in their preferred language.
- Share the payment page - Share the Hosted Payment Page in different modes including URL, QR code, embedded iframe, and HTML button.
For more information about configuration options, see Template Configuration.