Crafting Presentations with Basic Slideshow
Often, you may want to add colorful data visualizations, to depict data trends in your presentations. A display of supporting factual aids, reports & dashboards on large TV screens, for a live view of important metrics and trends adds value to your presentation. This is made easy with Zoho Analytics.
Zoho Analytics allows you to do this by publishing the views in your workspace as a slideshow. You can embed as well as create a permalink for the slideshow (to access it standalone) as needed. You can perform the following actions:
Note: This option is only available in the paid plans of Zoho Analytics. To learn how to subscribe to a paid plan, click here.
Create Slideshows
You can easily create a slideshow of your views in Zoho Analytics by following the steps given below.
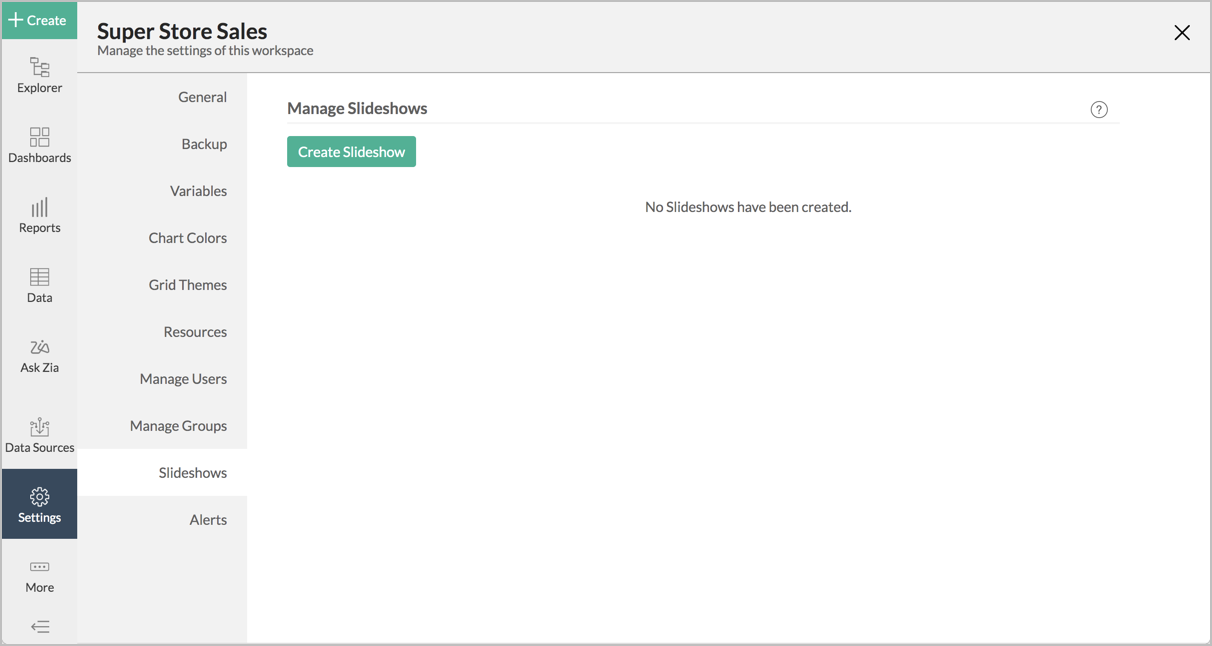
- Open your Workspace. Navigate through Settings icon > Slideshows.
Alternatively, from the required view, you can click Settings > Share > Slideshow.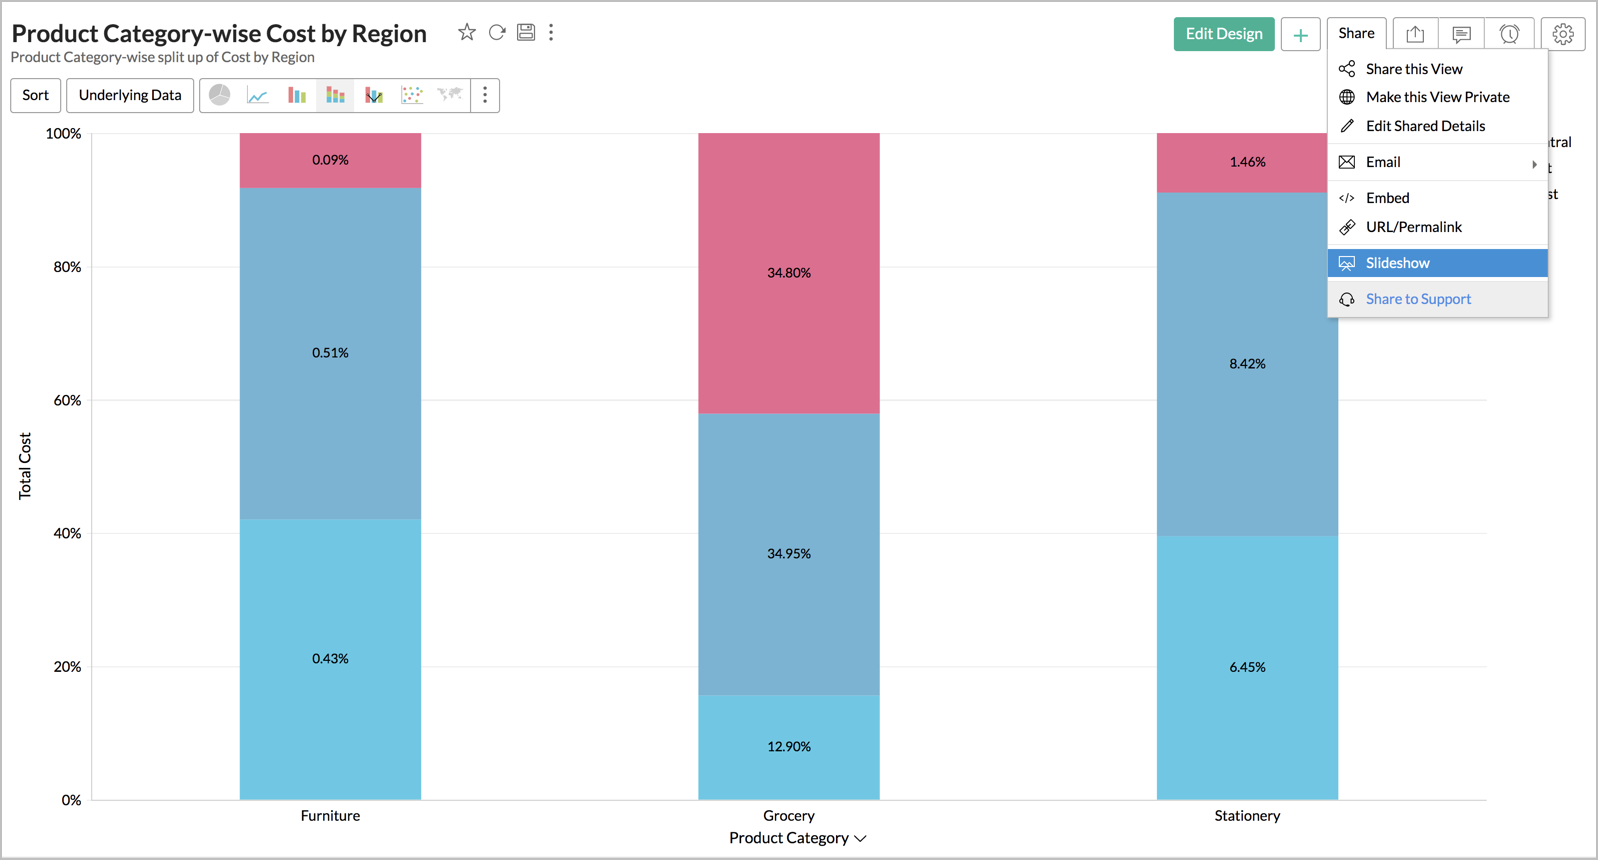
- In the Manage Slideshows page that opens, click Create Slideshow.
- The Create Slideshow dialog will open. Provide the following inputs:
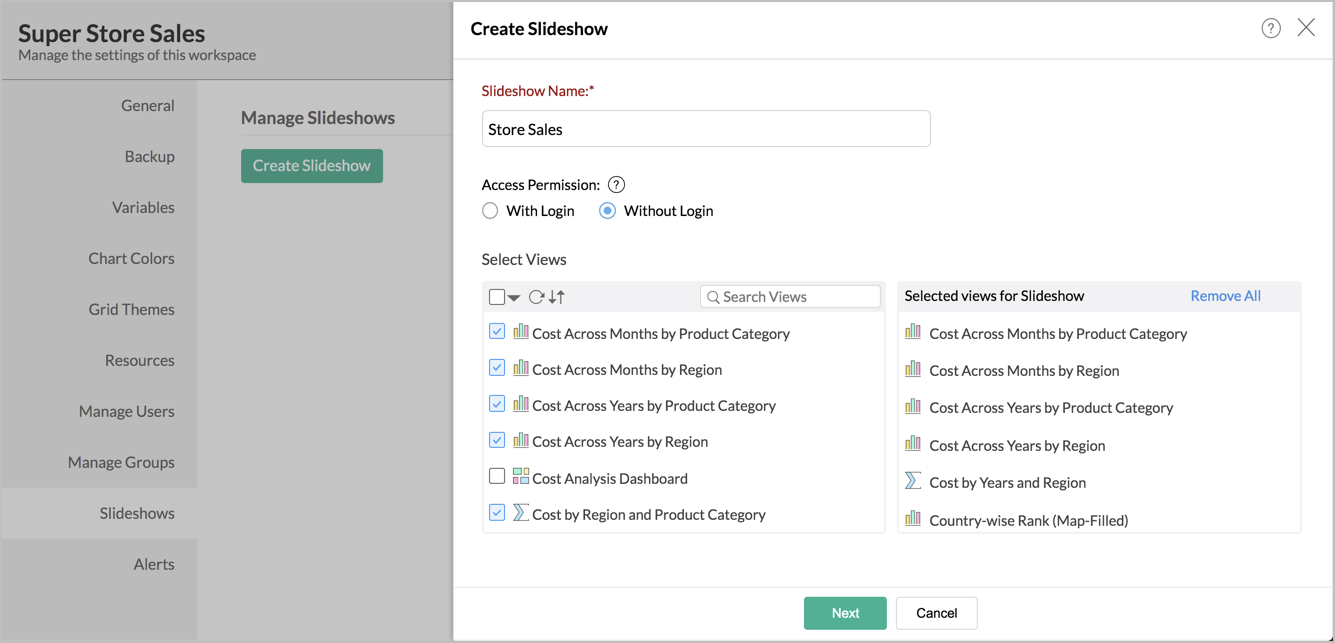
- Specify a Slideshow Name.
- Specify whether the slideshow should be accessed With Login or Without Login in the Access Permission option.
- Select the views to be part of the slideshow from the Select Views list. The selected views will be listed in the field on the right. You can rearrange the views in the desired order by dragging the view names.
- Select the Basic slideshow option in the Choose slideshow type section. Choose the Advanced slideshow option if you want to create compelling analytical stories using our online presentation service - Zoho Show.
- Click Next. You will be navigated to the Copy URL page. From here you can perform the following:
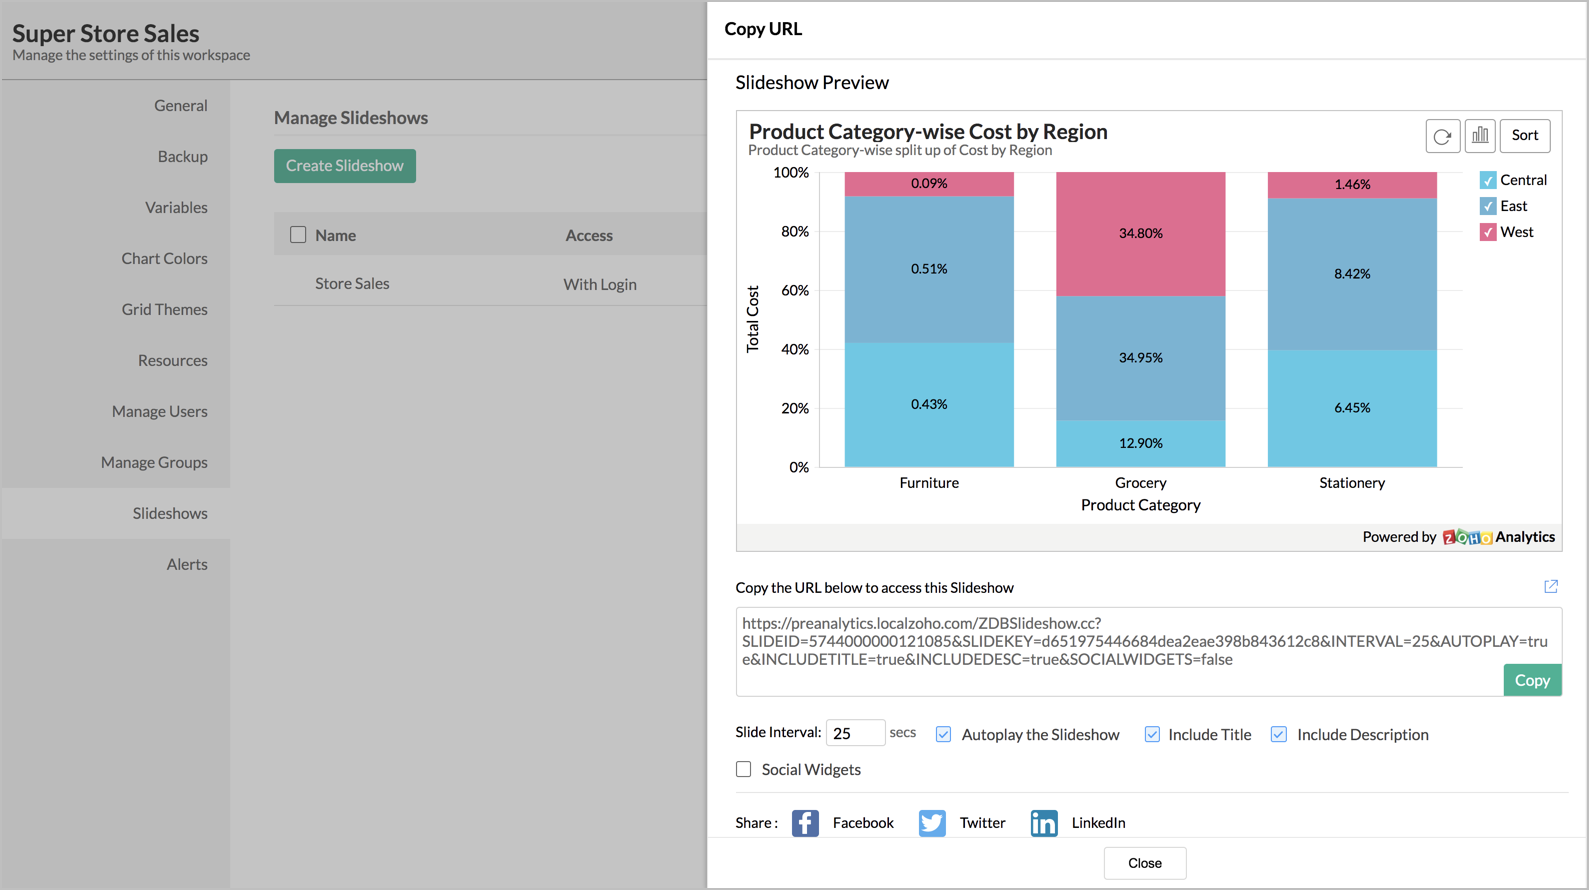
- You can preview your slideshow from the Slideshow Preview section.
- You can set the Slide interval, which mentions the duration between slide transitions.
- You can specify whether the show needs to be auto-played using the option Autoplay the Slideshow. This will be selected by default.
- You can choose to Include Title and Include Description to add title and description in the slide show.
- You can also choose to share the show in your social handles using the Social Widgets option.
- Click Close.


After creating the slideshow, you can access the URL in a browser. This will open a slideshow as shown in the illustration below.
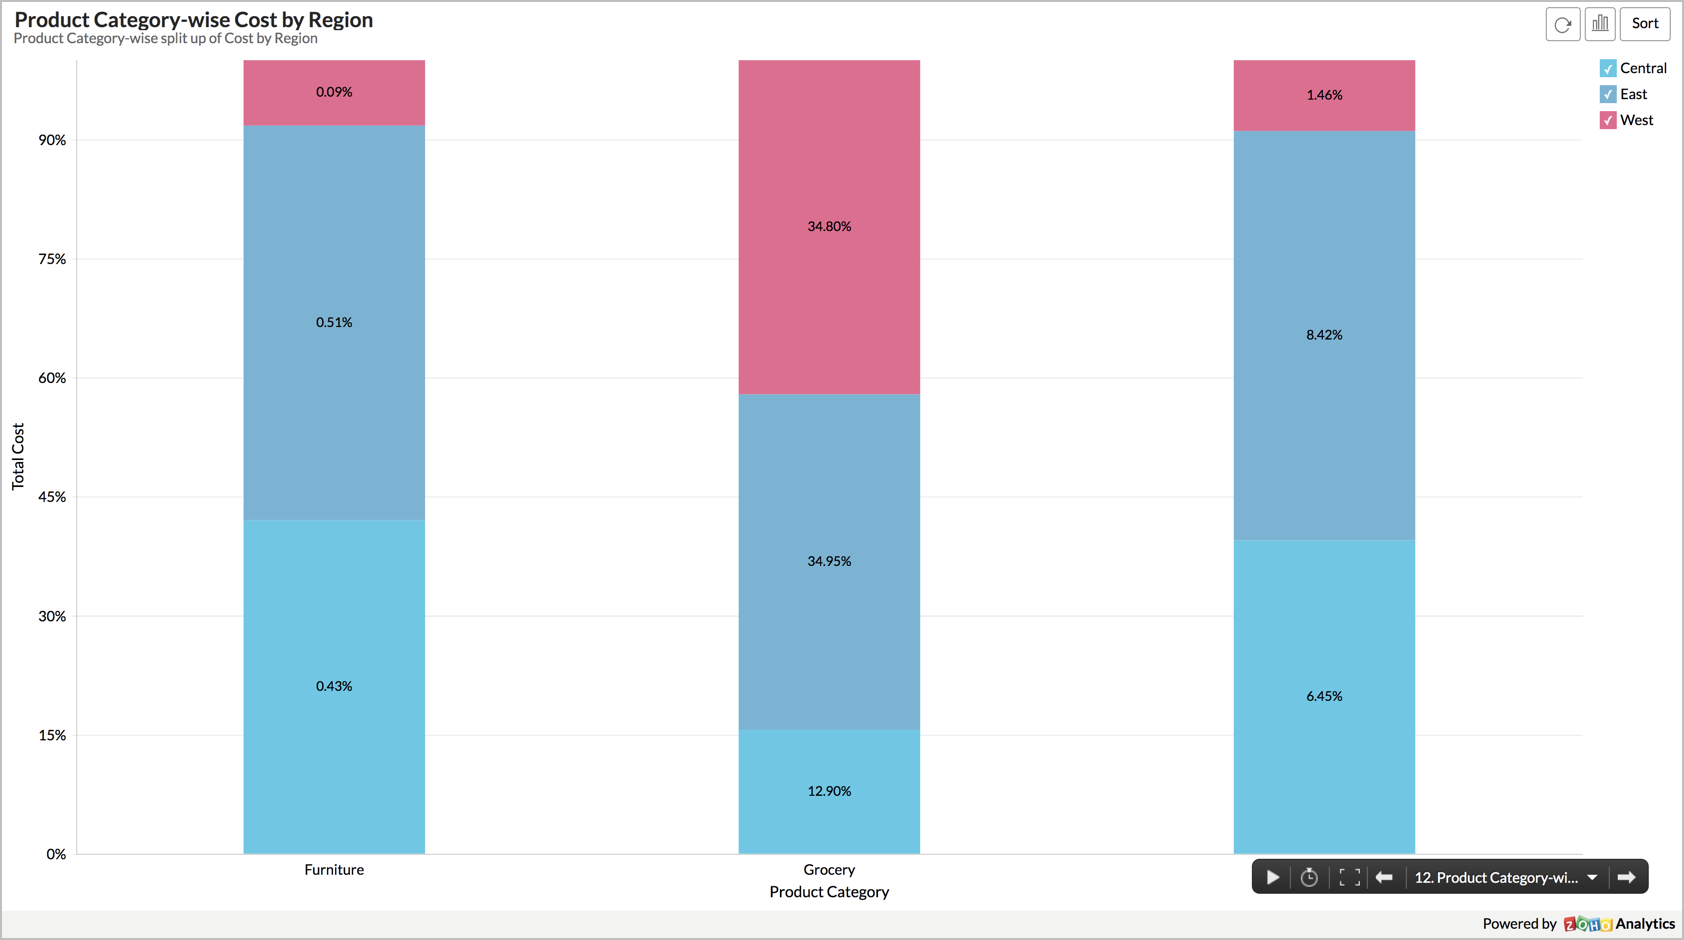
On mouseover, a toolbar will appear with options to play/pause, change slide interval, set to full screen, and navigate to previous, next, or specific view in the list.
View in Big Screen Mode
You can display the slide show on Large TV screens by setting this to full-screen mode. You can do this either using the option in the slide show toolbar or by using the standard full-screen short keys as follow.
- Mac - Cmd+ Shift+F
- Windows and Linux - F11
Managing Sideshows
Zoho Analytics provides options to edit or delete the slideshows at any time in the Manage Slideshow page. You can modify your slideshow settings by following the below steps:
- From your Workspace, click Settings icon > Slideshows. Or, click Share > Slideshow from any of the views in your Workspace.
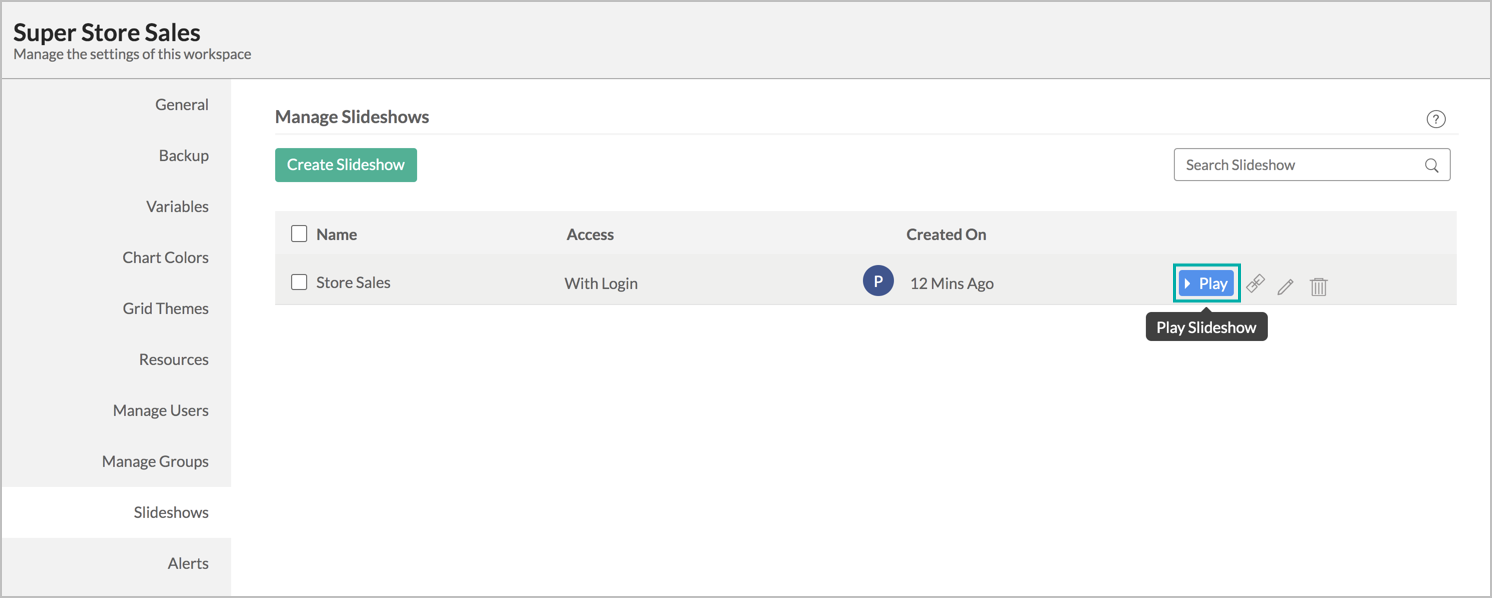
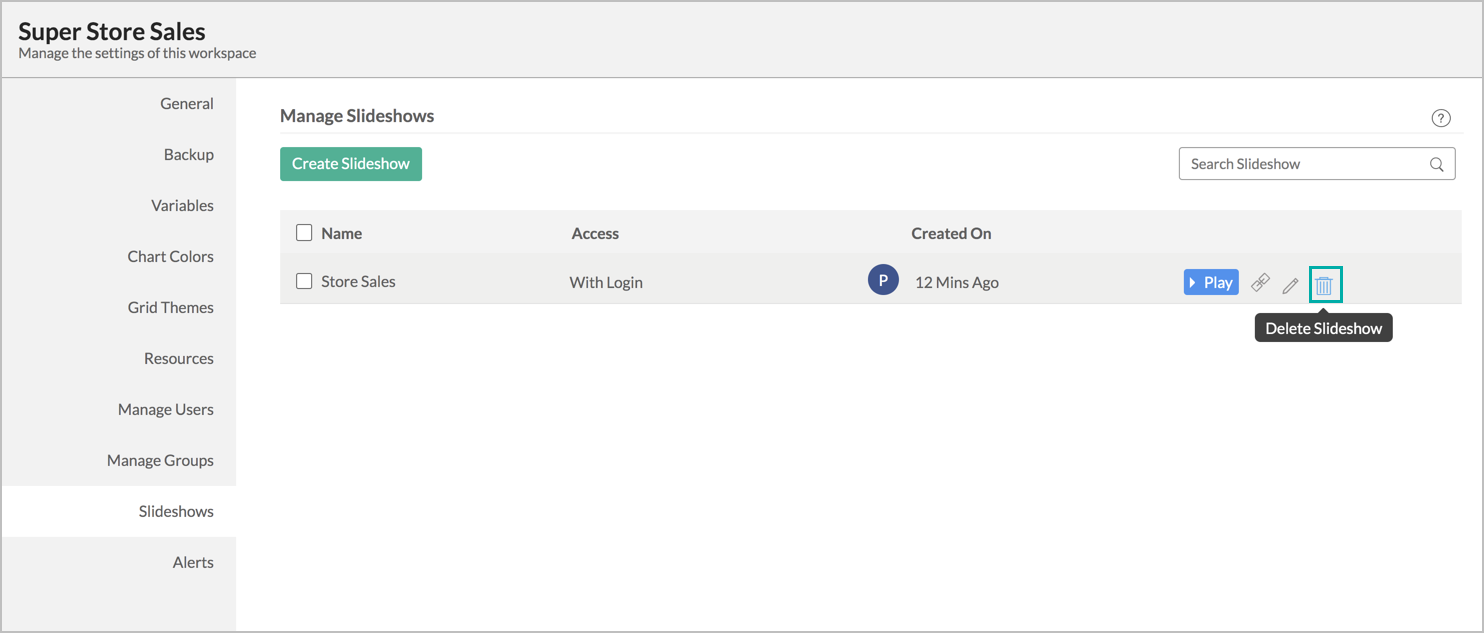
- On the Manage Slideshows page that opens, you can perform the following actions:
- Preview the slideshow using the Play button.
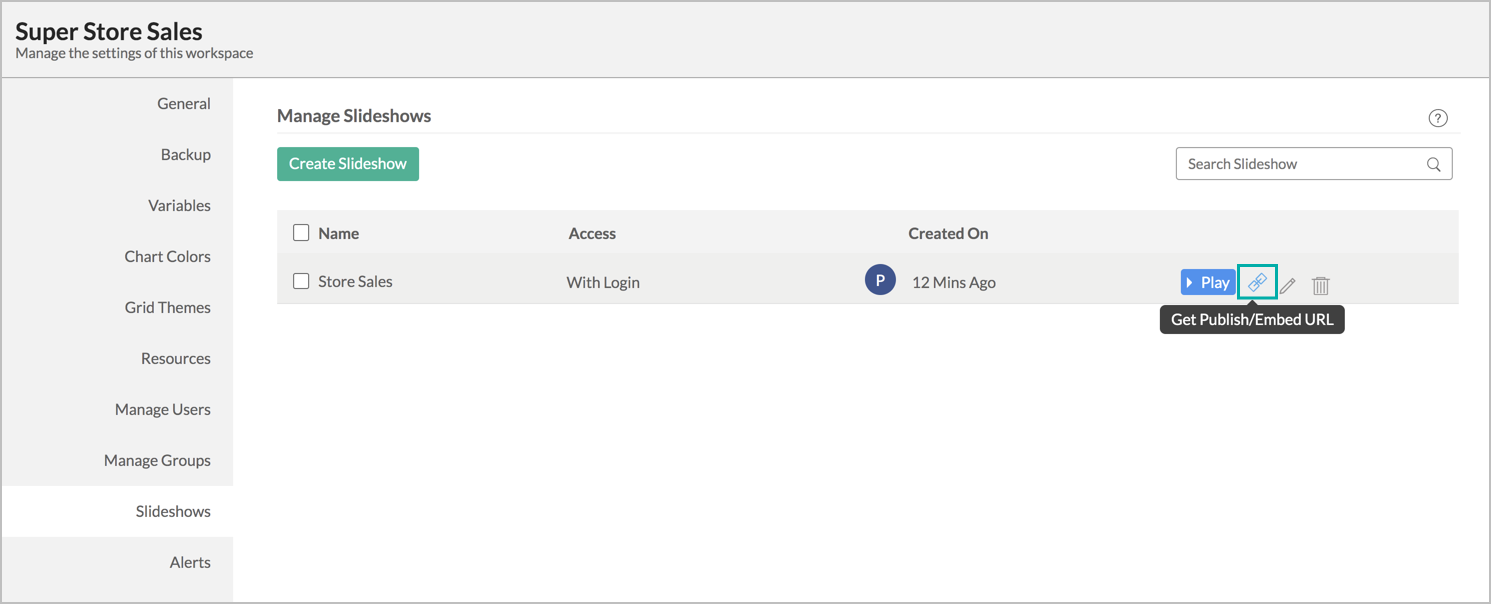
- Get the URL of the existing show using the Get Publish/Embed URL icon.
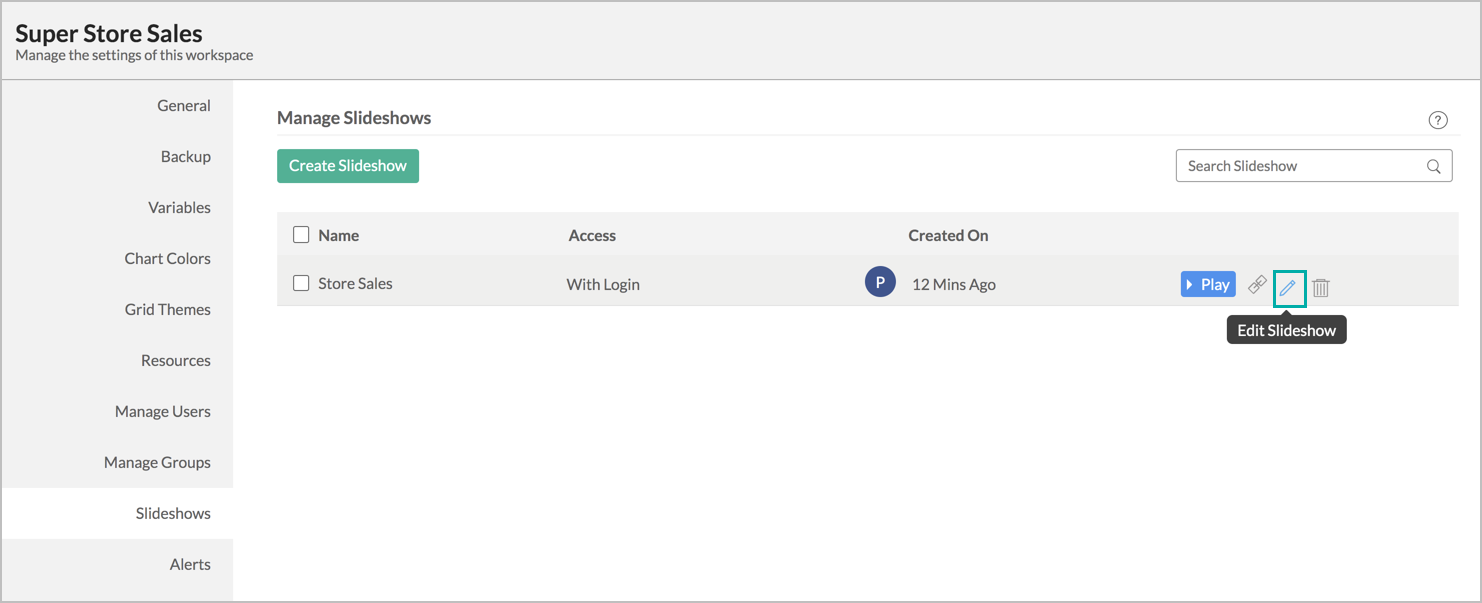
- Modify the slideshow using the Edit icon.
- Remove a slideshow using the Delete icon.
- Preview the slideshow using the Play button.


