iPhone/ iPad IMAP Email Configuration
Zoho Mail App for iPhone
Zoho Mail has a dedicated iOS mobile app for iPhone. It is simple and powerful to use. Apart from Mail, it also syncs your Calendar and Contacts also, without interfering in the device's native calendar and contacts. Download and install the app from the App store.
 .
.
Configure your Zoho Mail Account as IMAP in iPhone/ iPad
- Ensure that IMAP Access is turned on for your account. (Login to Zoho Mail >> Settings >> Mail Accounts >> Email forwarding and POP/ IMAP >> Enable IMAP)
- In your iPhone, Tap Settings >> Accounts and Passwords >> Add Account and choose Other >> Add Mail Account

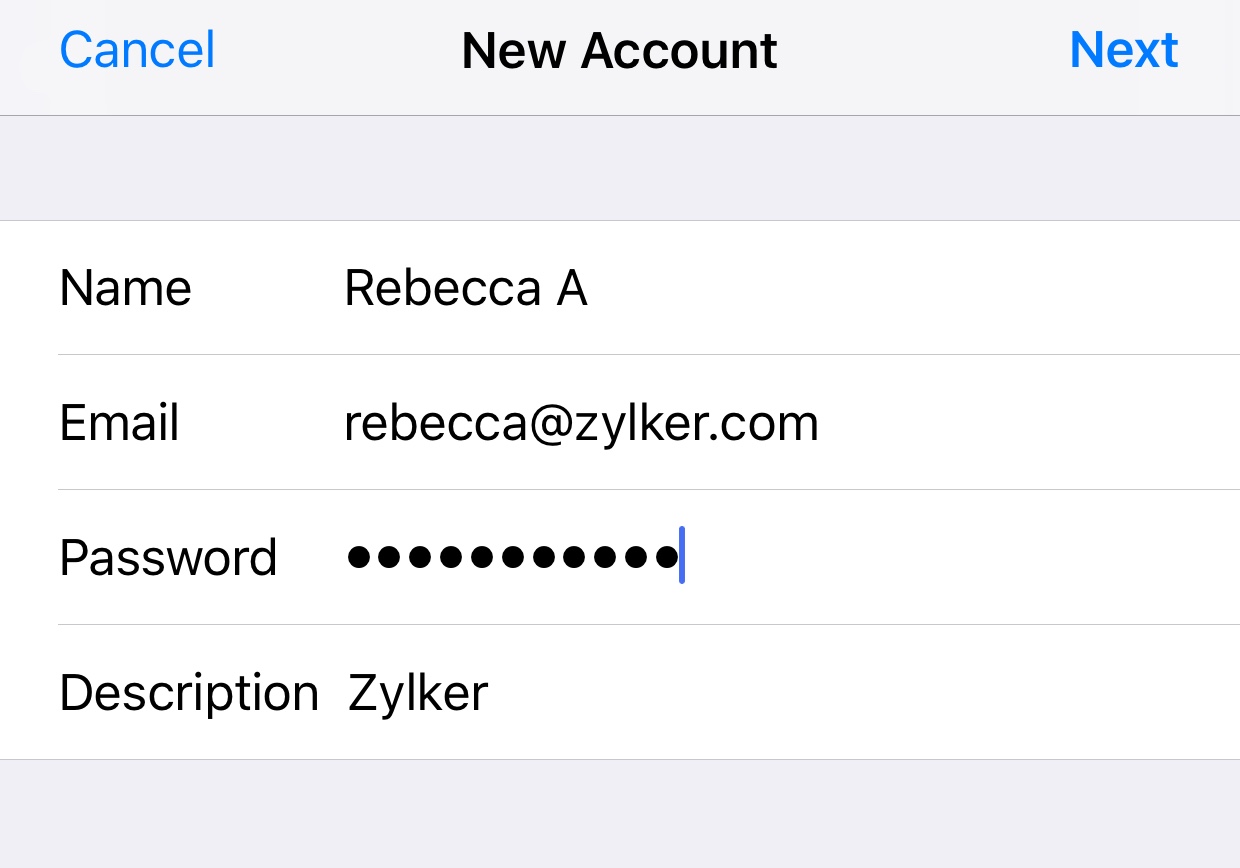
- Provide your Name, Email Address, Password and a short description to the account. Tap Next
- If Two Factor Authentication is enabled for your account, provide Application Specific Password to configure the account.
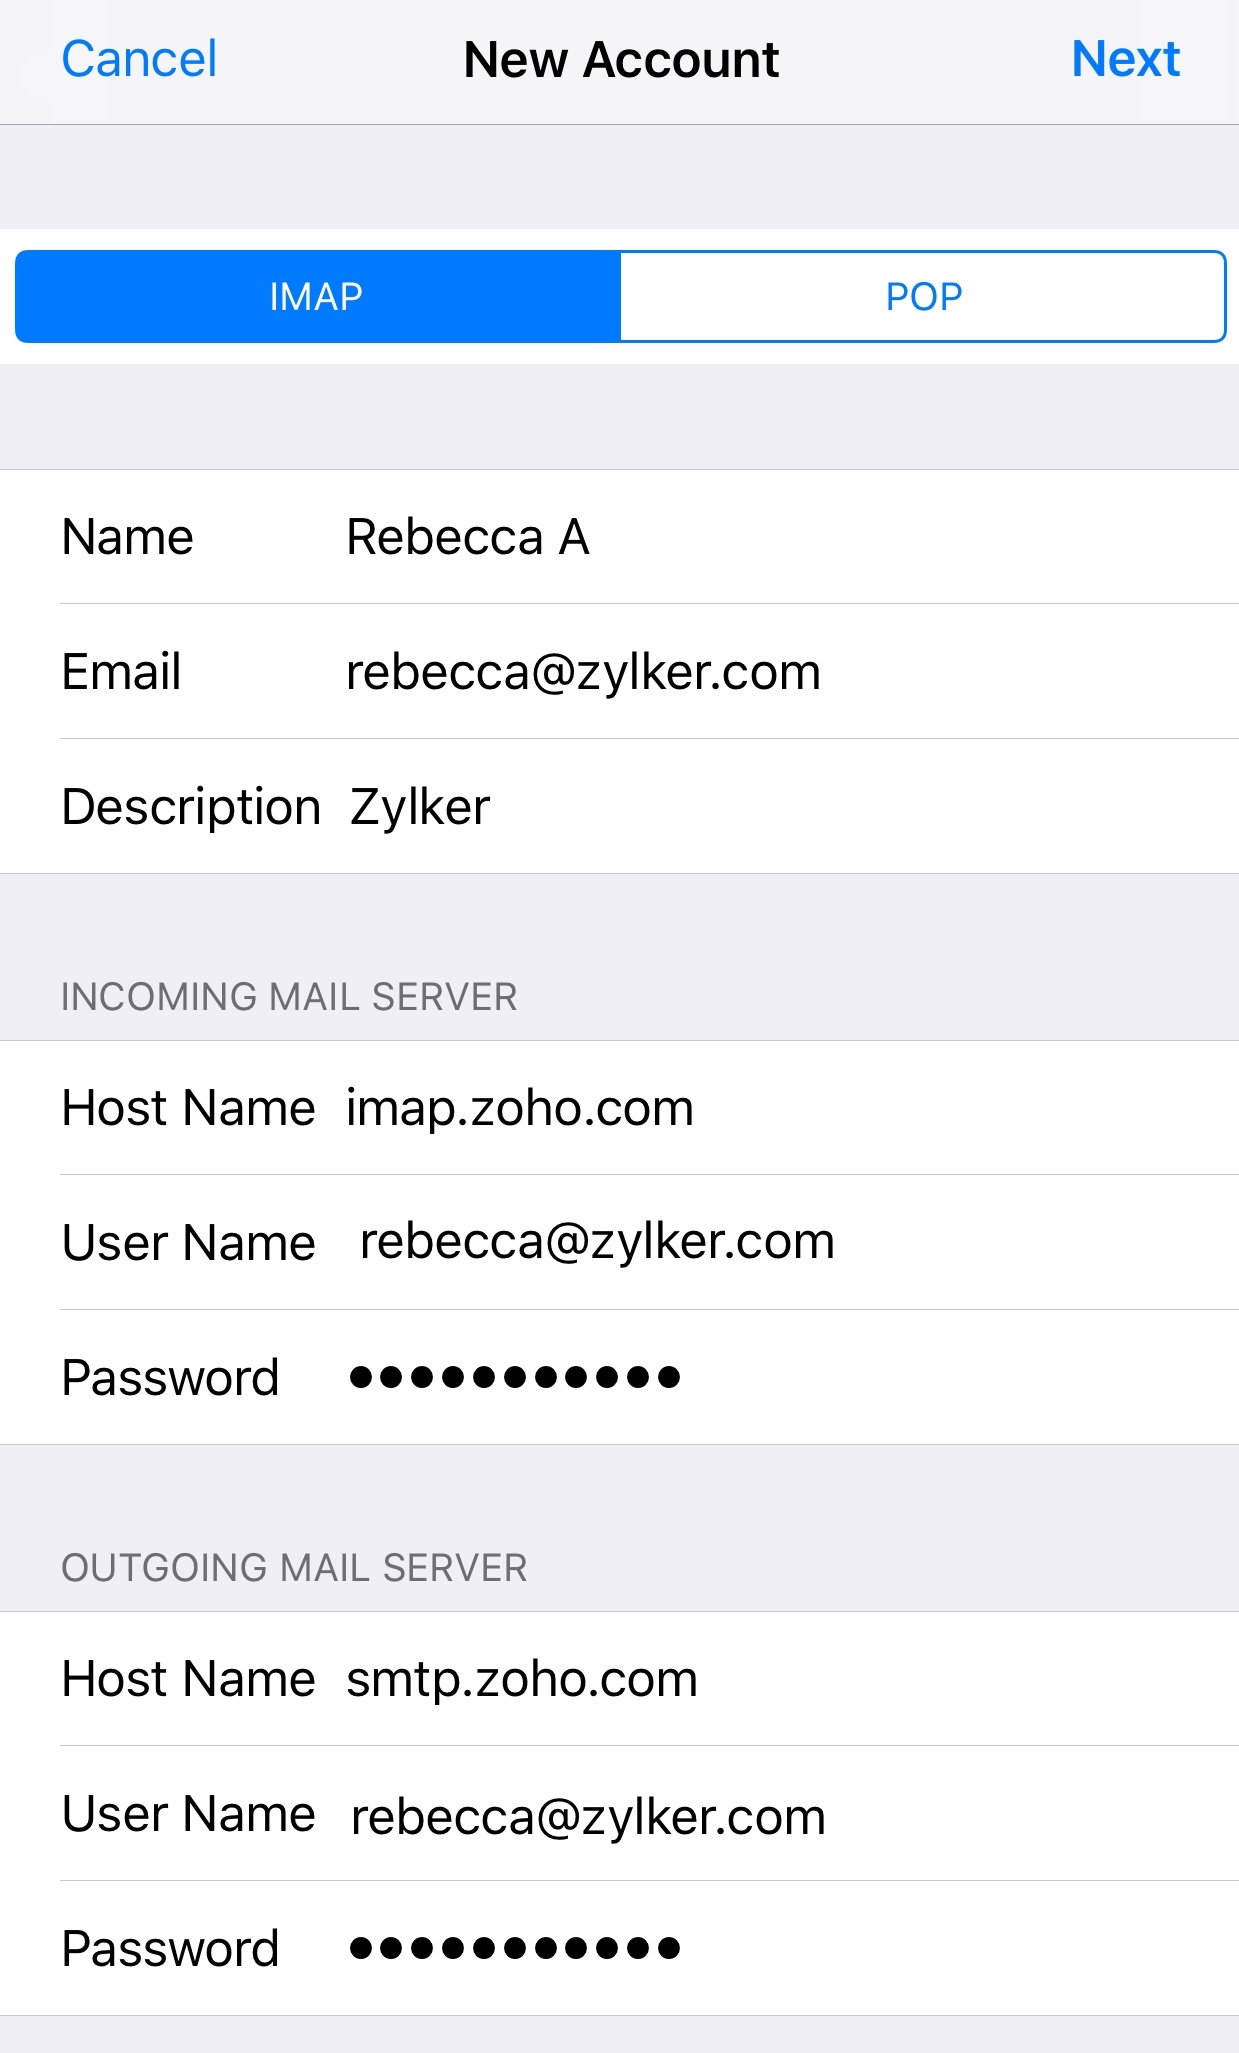
- On the next screen, ensure that IMAP is selected in the top for account type. To configure your account as POP in your iPhone, refer here for configuration details to be used.
- In the Incoming Mail Server section, provide the details below.
- Host Name : imap.zoho.com
- User Name : Your Zoho Email Address
- Password : Your account password. (You may require Application Specific password to set up the account in other devices if Two Factor Authentication is enabled for your account)
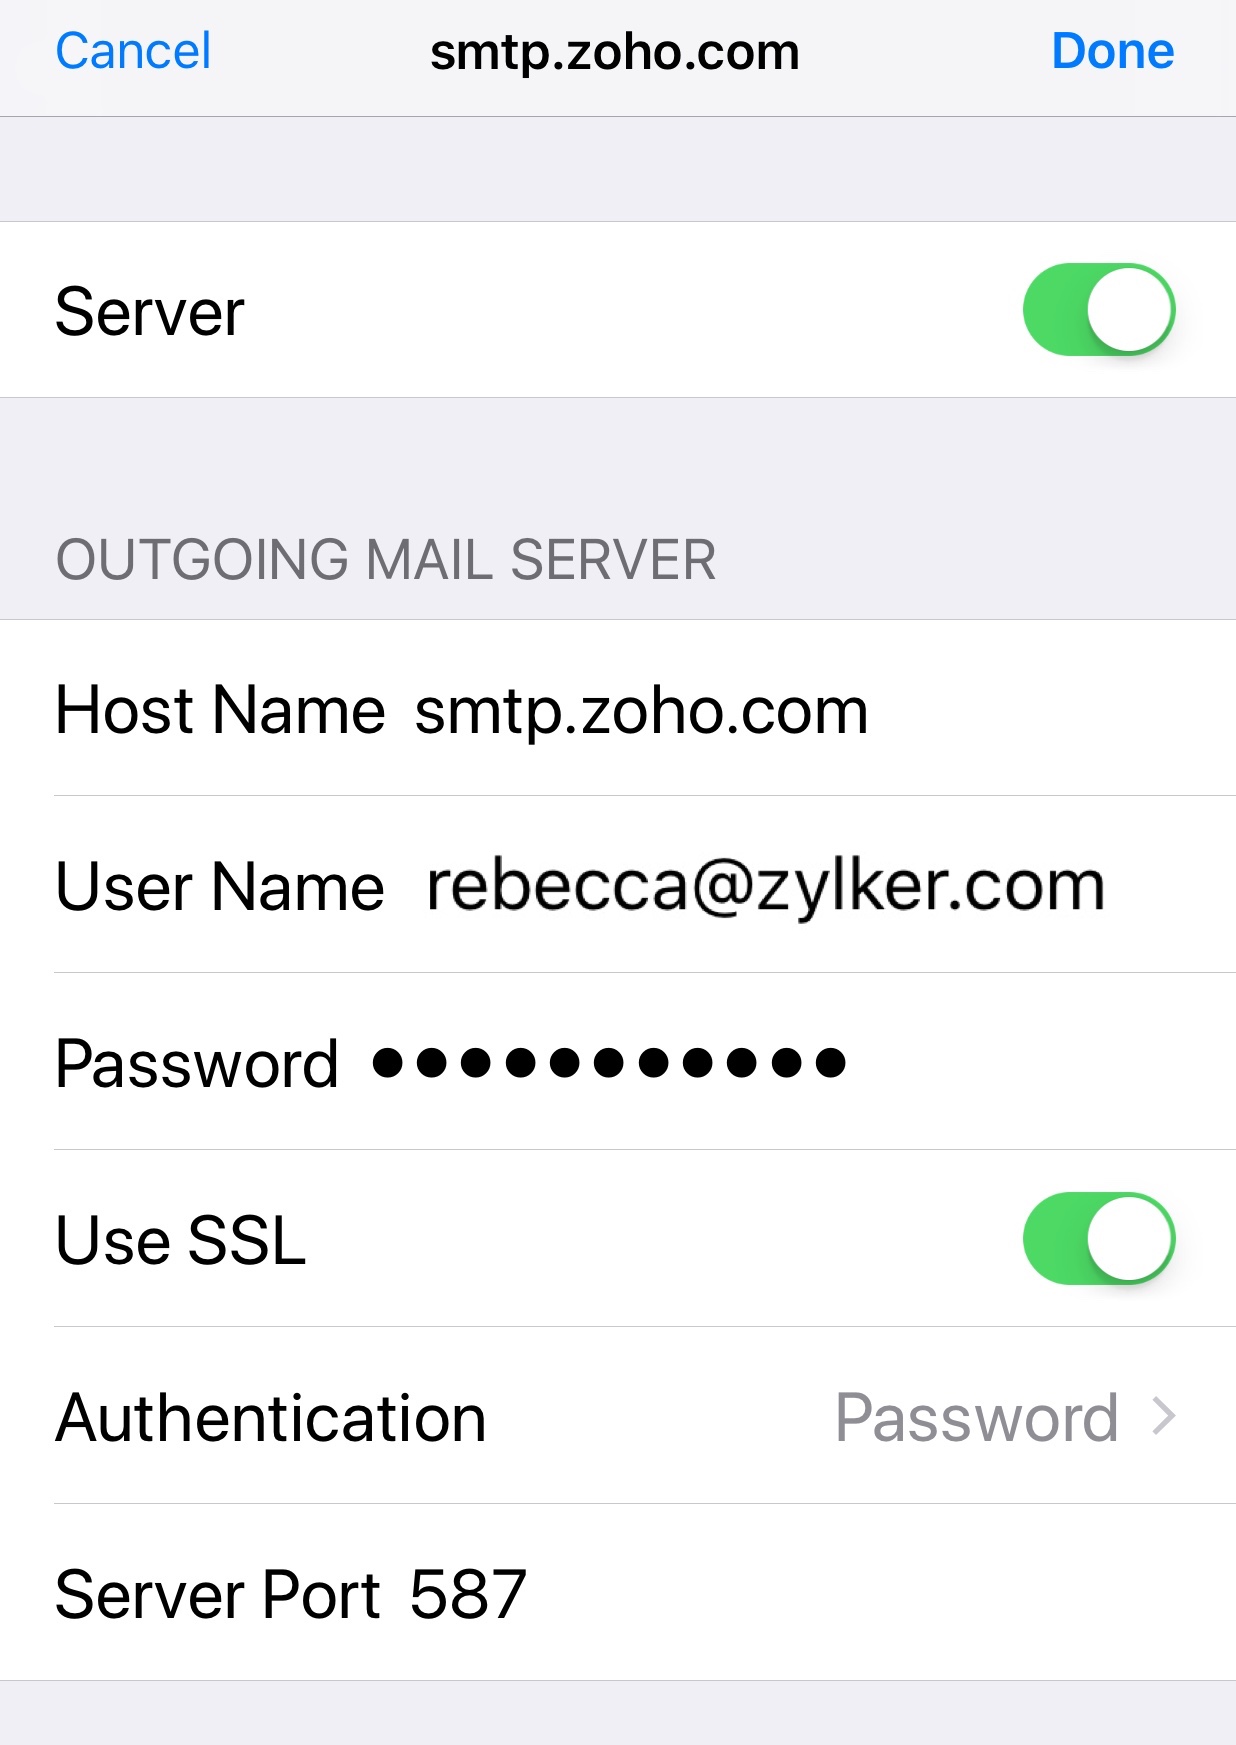
- In the Outgoing Mail Server section, provide the details below
- Host Name : smtp.zoho.com
- User Name : Your Zoho account email address (user@yourdomain.com)
- Password : Your Zoho Password (You may require Application Specific password to set up the account in other devices if Two Factor Authentication is enabled for your account)
- The device connects to the IMAP server and authenticates the credentials provided by you. Upon successful authentication, the IMAP account is set up on your mobile device.


To configure folder settings for synchronization, select the new account and Click Advanced. In Mailbox behaviors, map the iPhone/ iPad/ iPod folders to the folders on the Server.
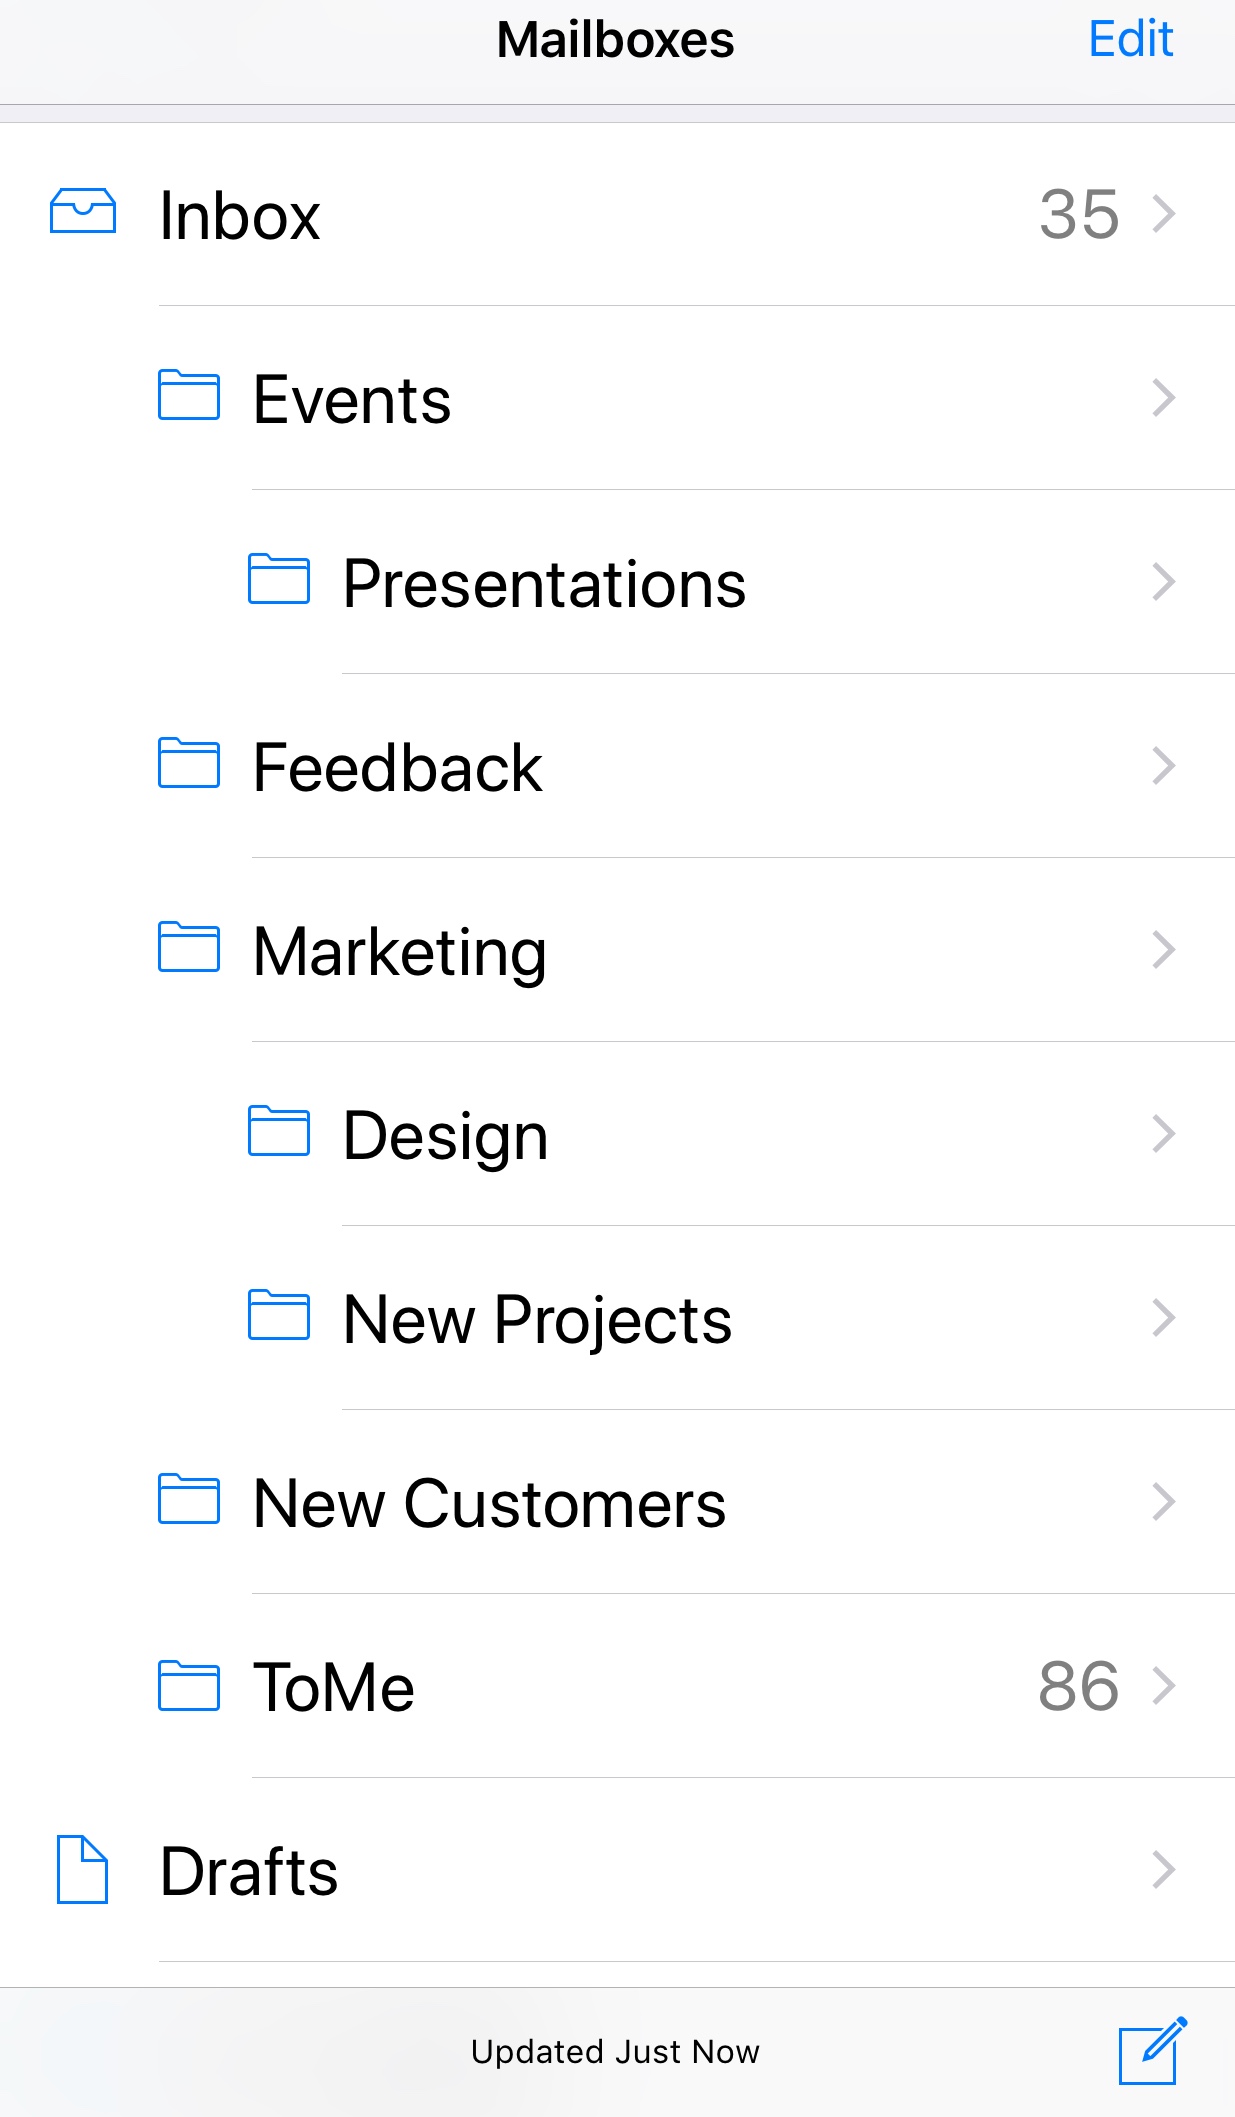
Choose the relevant IMAP Expunge Options in the Zoho Mail Web Interface.
Troubleshooting IMAP Configuration in iPhone
Incoming Emails not getting synced:
- In case you are unable to connect to the IMAP server imap.zoho.com, you may check the Advanced settings of the Incoming Server. Tap iPhone Settings >> Accounts and Passwords >> Tap the account
- Scroll down and Tap Advanced
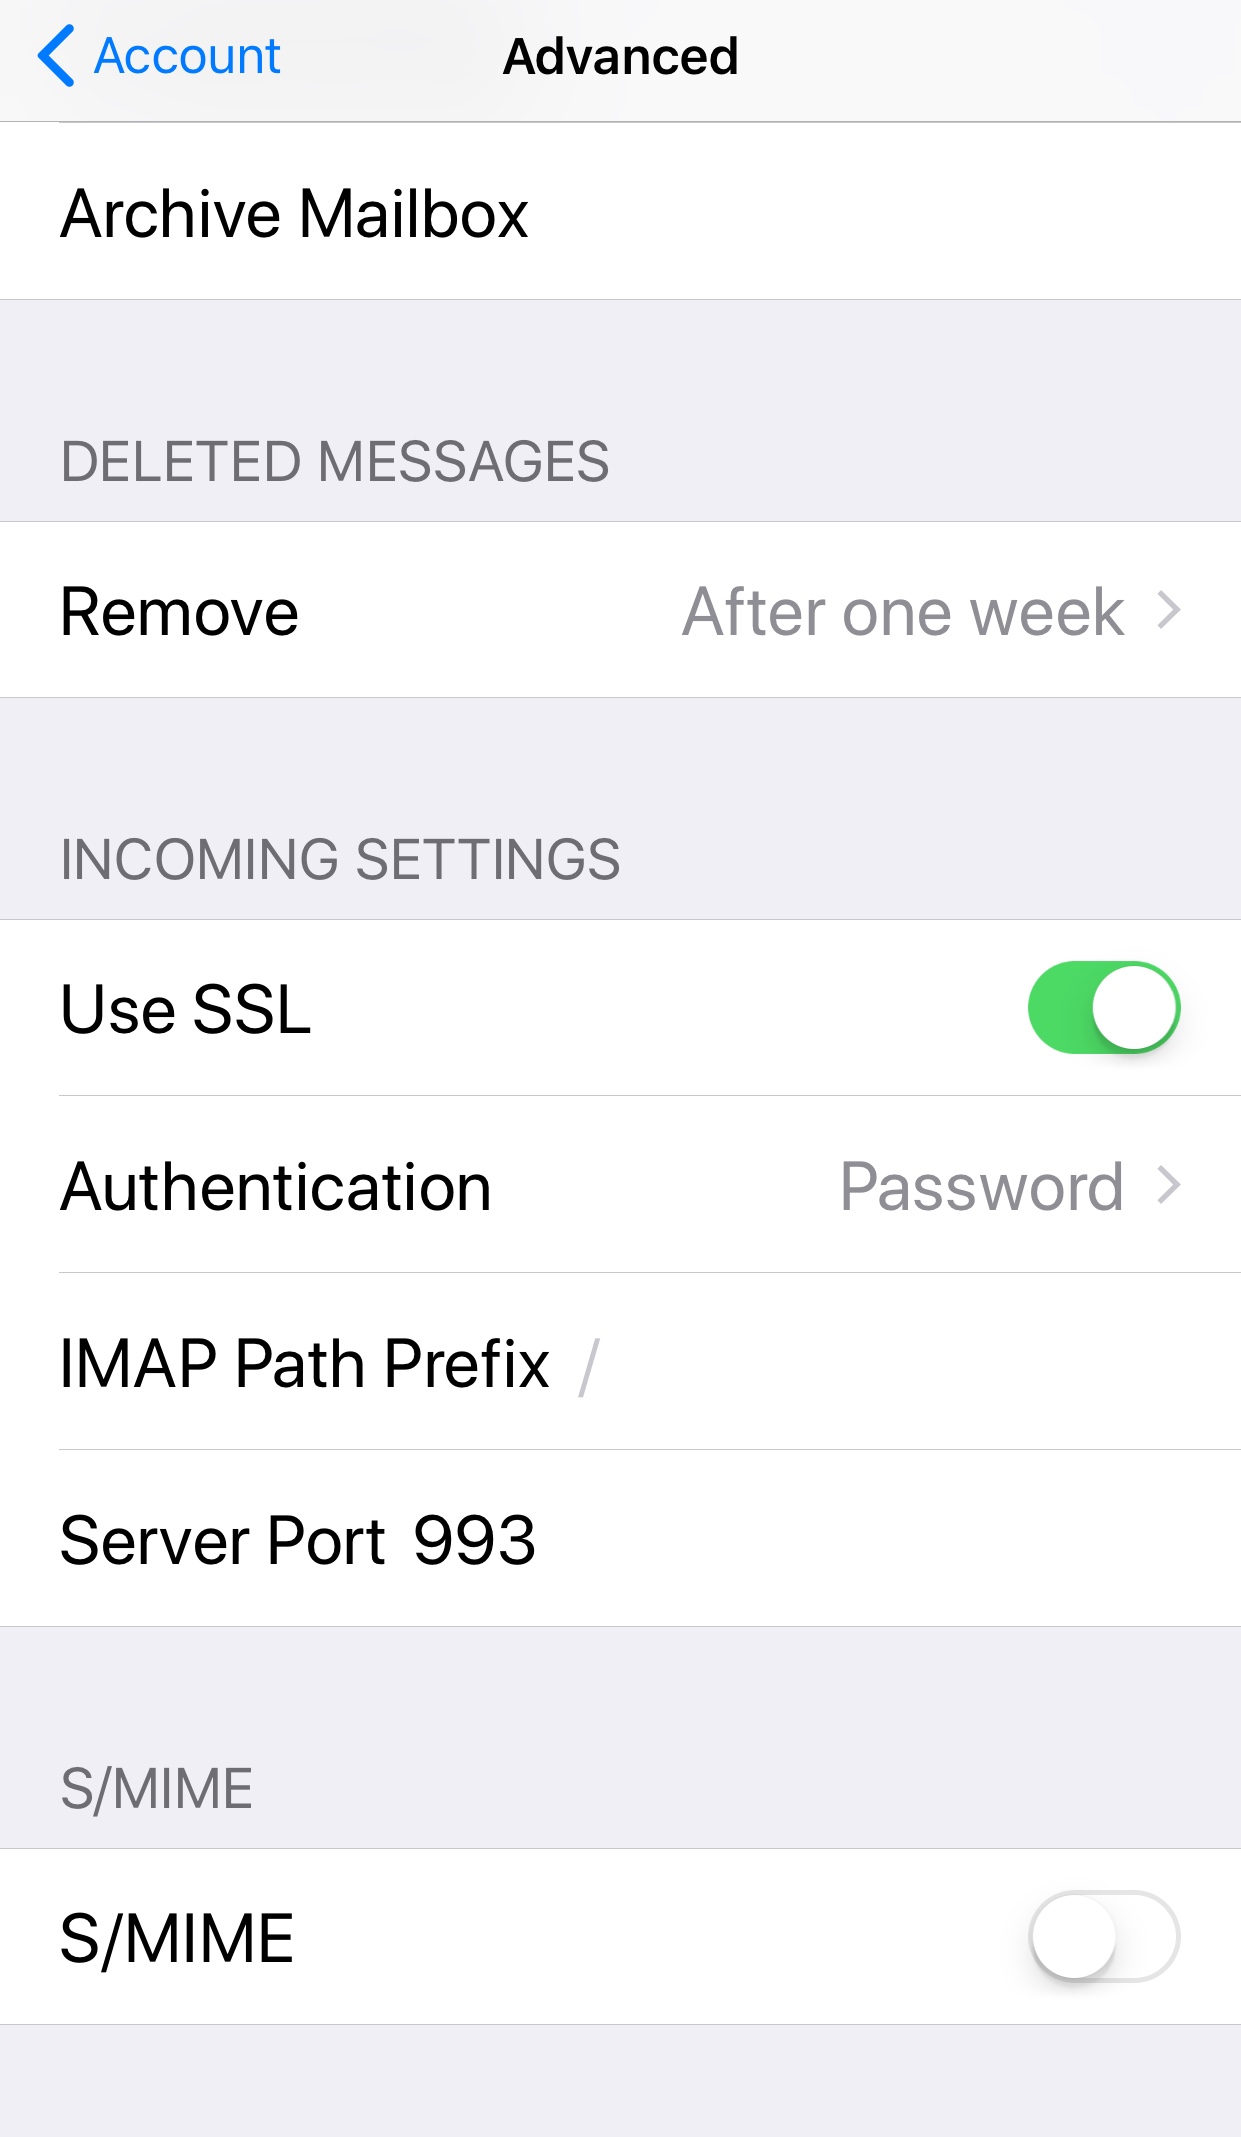
- Make sure that Use SSL is turned on and the port number is 993.

Outgoing emails:
Error Message: Relaying Disallowed
- iPhone Settings >> Accounts and Passwords >> Select the account configured
- Check if you have provided the email address without any typos.
- The email address mentioned should be either the main email address or email alias of the account being configured.
Error Message: Unable to send message. Cannot connect to smtp.zoho.com
- iPhone Settings >> Accounts and Passwords >> Select the account configured
- Scroll down and select "SMTP" to check the SSL and Port details.
- Ensure that Use SSL is turned on and the SMTP port is set to 465.

Note:
If your account is an organization account hosted by Zoho Mail, you can use imappro.zoho.com instead of imap.zoho.com as Host name.