System and Appearance Settings
You can customize the look and feel of the Inbox in Zoho Mail by changing the appearance settings. The options to change the font, display language and other aspects of mailbox are available in the ‘Appearance’ page of the Mail Settings.
Table of Contents
Startup Settings
You can choose where you want to land after you log in to your Zoho Mail account. You can select whether you want to start in a new session or in a particular application in a specific view.
Follow these steps to select where you want to land after each login.
- Log in to Zoho Mail
- Click the Settings icon
- Navigate to General > System settings.
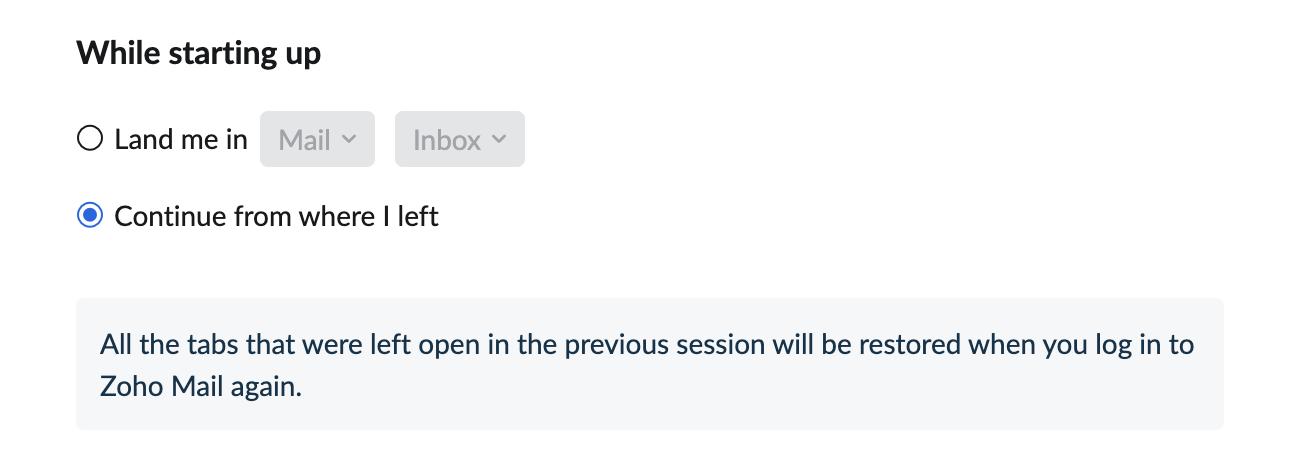
- Under the While Starting up section, select the desired option
- Select the Continue from where I left option if you want to restore your internal mail tabs after accidentally closing your browser tab.
- Select the Land me in option to start in an application of your choice after you log in. Here, you can choose an application and the respective view from the relevant dropdown lists. This view will be useful if you want to view your unread emails as soon as you log in.
Secure Download
Turn ON secure download to encrypt all your downloads with a password.
- Log in to Zoho Mail
- Click the Settings icon.
- Go to General > System > Secure your downloads section.
- Check the Secure all attachment downloads or exports with passwords check box.
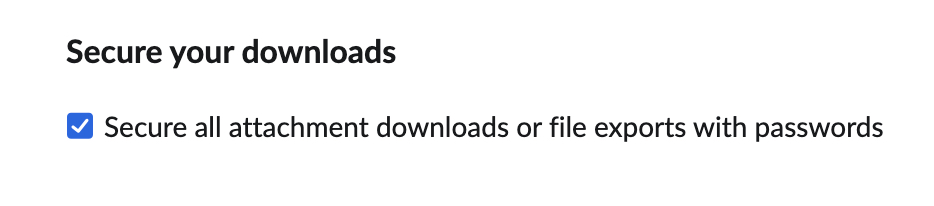
- Any file you download from your account will be encrypted with a password thus ensuring that your downloads are secure.

Display Font
- Login to Zoho Mail
- Click the Settings icon.
- Go to General > System > Font options.
- Choose the Font family and Font size of your choice from the drop-down menus.
- Supported font families: Lato, PT Sans, Arial, and Zoho Puvi
- Font size: Very Small, Small, Medium, Large, and Very large. You can also choose to apply the Browser settings for font size.

- The selected font options will get applied to your mailbox.

Time Format
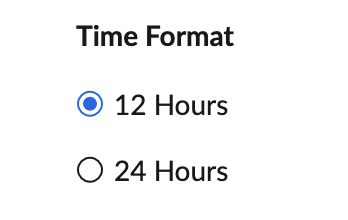
You can choose between a 12-hour or a 24-hour time format as per your preference.
- Log in to Zoho Mail
- Click the Settings icon.
- Navigate to Mail > Mail View Options
- Locate the Time Format option.
- Select 12 hours to list time in 12-hour format with AM / PM.
- Select 24 hours to list time in 24-hour format.

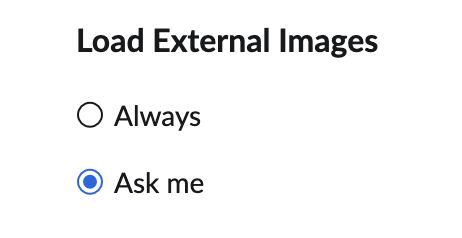
Load External Images
When an email has links to external images, Zoho Mail does not load them, in order to protect you from spammers. So we let you set your preference on loading external images.
- Log in to Zoho Mail
- Click the Settings icon.
- Navigate to Mail > Mail View Options
- Locate Load External Images.
- Select Always to always load images without requesting any confirmation.
- Select Ask Me to always ask for confirmation before loading an external image in the email even if the sender is in your contact list.

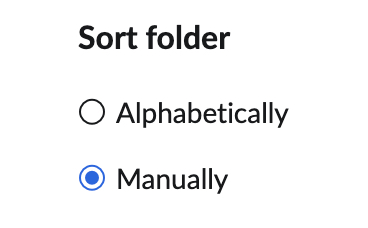
Sorting Folders
You can choose whether you can sort your folders either alphabetically or manually.
- Log in to Zoho Mail
- Click the Settings icon.
- Navigate to Mail > Mail View Options
- Locate the Sort Folders option
- Select the Alphabetically option, and your folders will be sorted automatically in alphabetical order.
- Select the Manually option, and you will be able to arrange your folders as per your convenience by dragging and dropping the order of your choice.

Learn more about rearranging folders here.
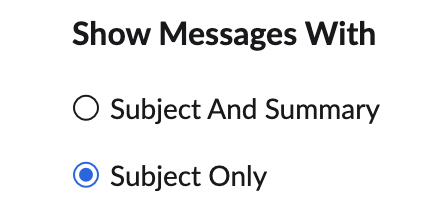
Show Messages with
You can select from the Mail View Settings whether you want the emails to be displayed with just the subject or whether you want the subject and a short summary along with it.
- Log in to Zoho Mail
- Click the Settings icon.
- Navigate to Mail > Mail View Options
- Locate the Show Messages with option
- Select the Subject and Summary option if you want both of them in your email listing.
- Select the Subject only option if you don't want to view the summary in the listing.

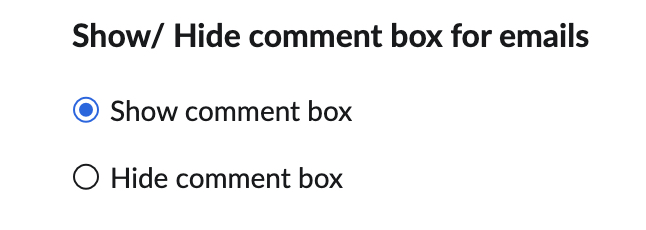
Show/ Hide Comment box for emails
You can choose to either display or hide the comment box for emails.
- Log in to Zoho Mail
- Click the Settings icon.
- Navigate to Mail > Mail View Options
- Locate the Show/ Hide comment box for emails option
- Show comment box - The comment box will be displayed below the email. You can share the email by @mentioning others.
- Hide comment box - The comment box will be hidden. To make the comment box appear for a particular email, click on the Share email option next to Edit as New.

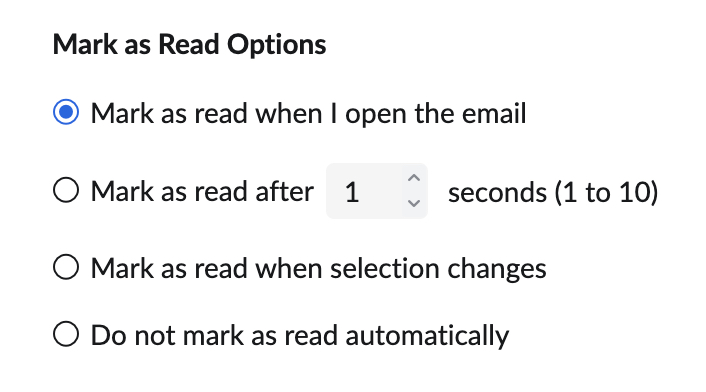
Mark as read options
You can select from the Mail View Options settings when you want the emails to be marked as read.
- Log in to Zoho Mail
- Click the Settings icon.
- Navigate to Mail > Mail View Options
- Locate the Mark as read options section
- Mark as read when I open the email - This option is enabled by default and the email is marked as read as soon as the user clicks/ opens it.
- Mark as read after 'n' seconds (1-10). - The email is marked as read after n number of secs set by you.
- Mark as read when selection changes - The email is marked as read when you select/open another email.
- Do not mark as read automatically - The email is marked as read-only if you manually mark them as read.

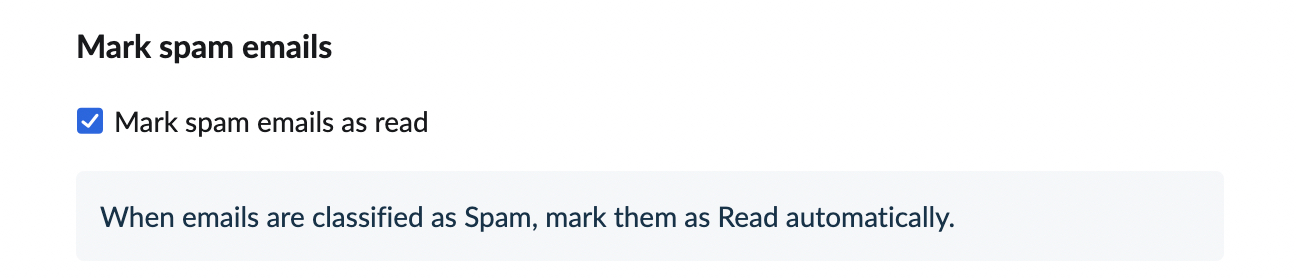
Mark spam emails as read
Whenever you receive spam emails, you might not want unread notifications for the same. You can use this option to automatically mark your spam emails as read.
- Login to Zoho Mail
- Click the Settings icon.
- Navigate to Mail > Mail View Options
- Locate the Mark spam emails as read option and check the check-box.

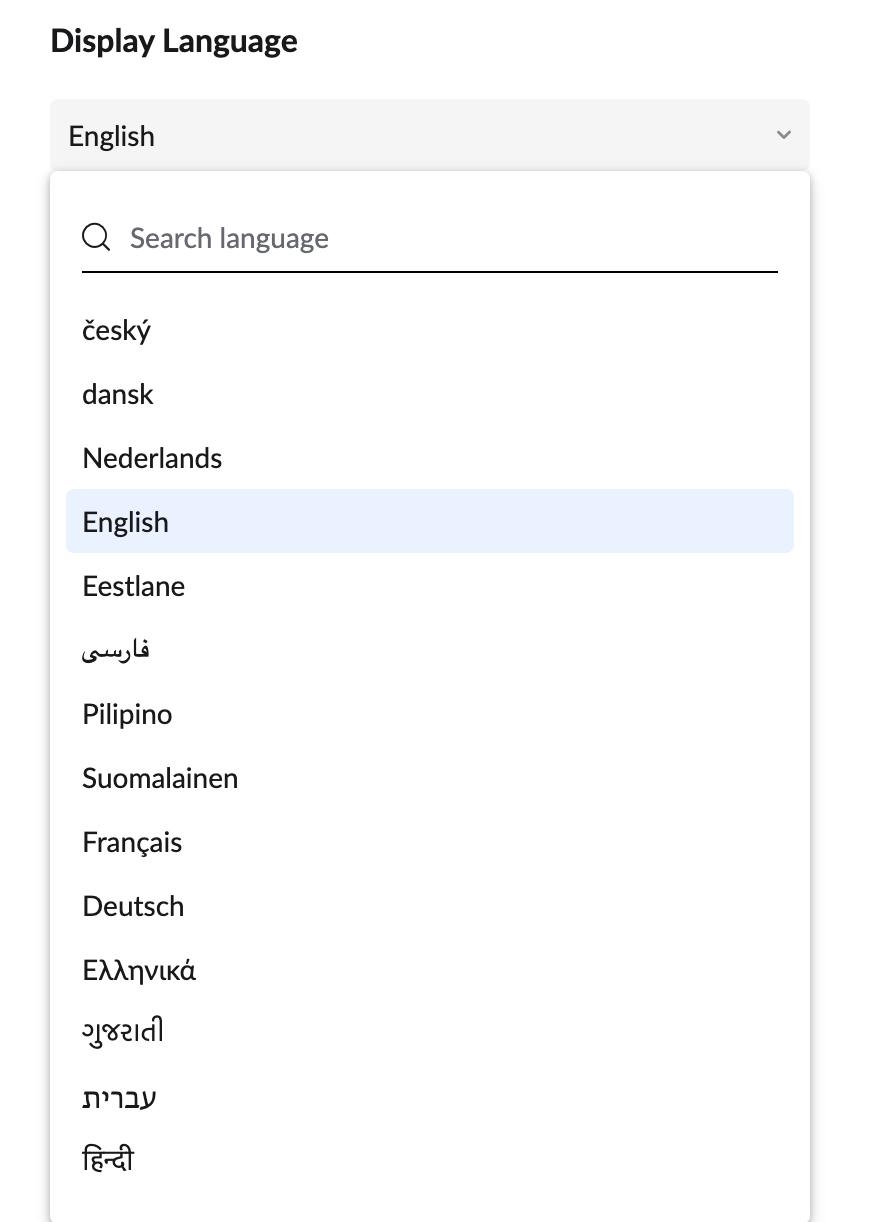
Display Language
Zoho Mail provides emailing service in 73 different languages, for the ease of users across the globe. Check out the list of languages here. You can choose any language of your preference as your display language.
- Log in to Zoho Mail
- Click the Settings icon.
- Navigate to General > System settings.
- Choose a language from the drop-down under Display Language.

Translate emails in other languages
Zoho Mail provides the option to seamlessly translate emails to the language of your choice. To translate your emails:
- Log in to Zoho Mail.
- Navigate to the email you want to translate.
- Select the Translate option in the More options drop-down in the mail preview.
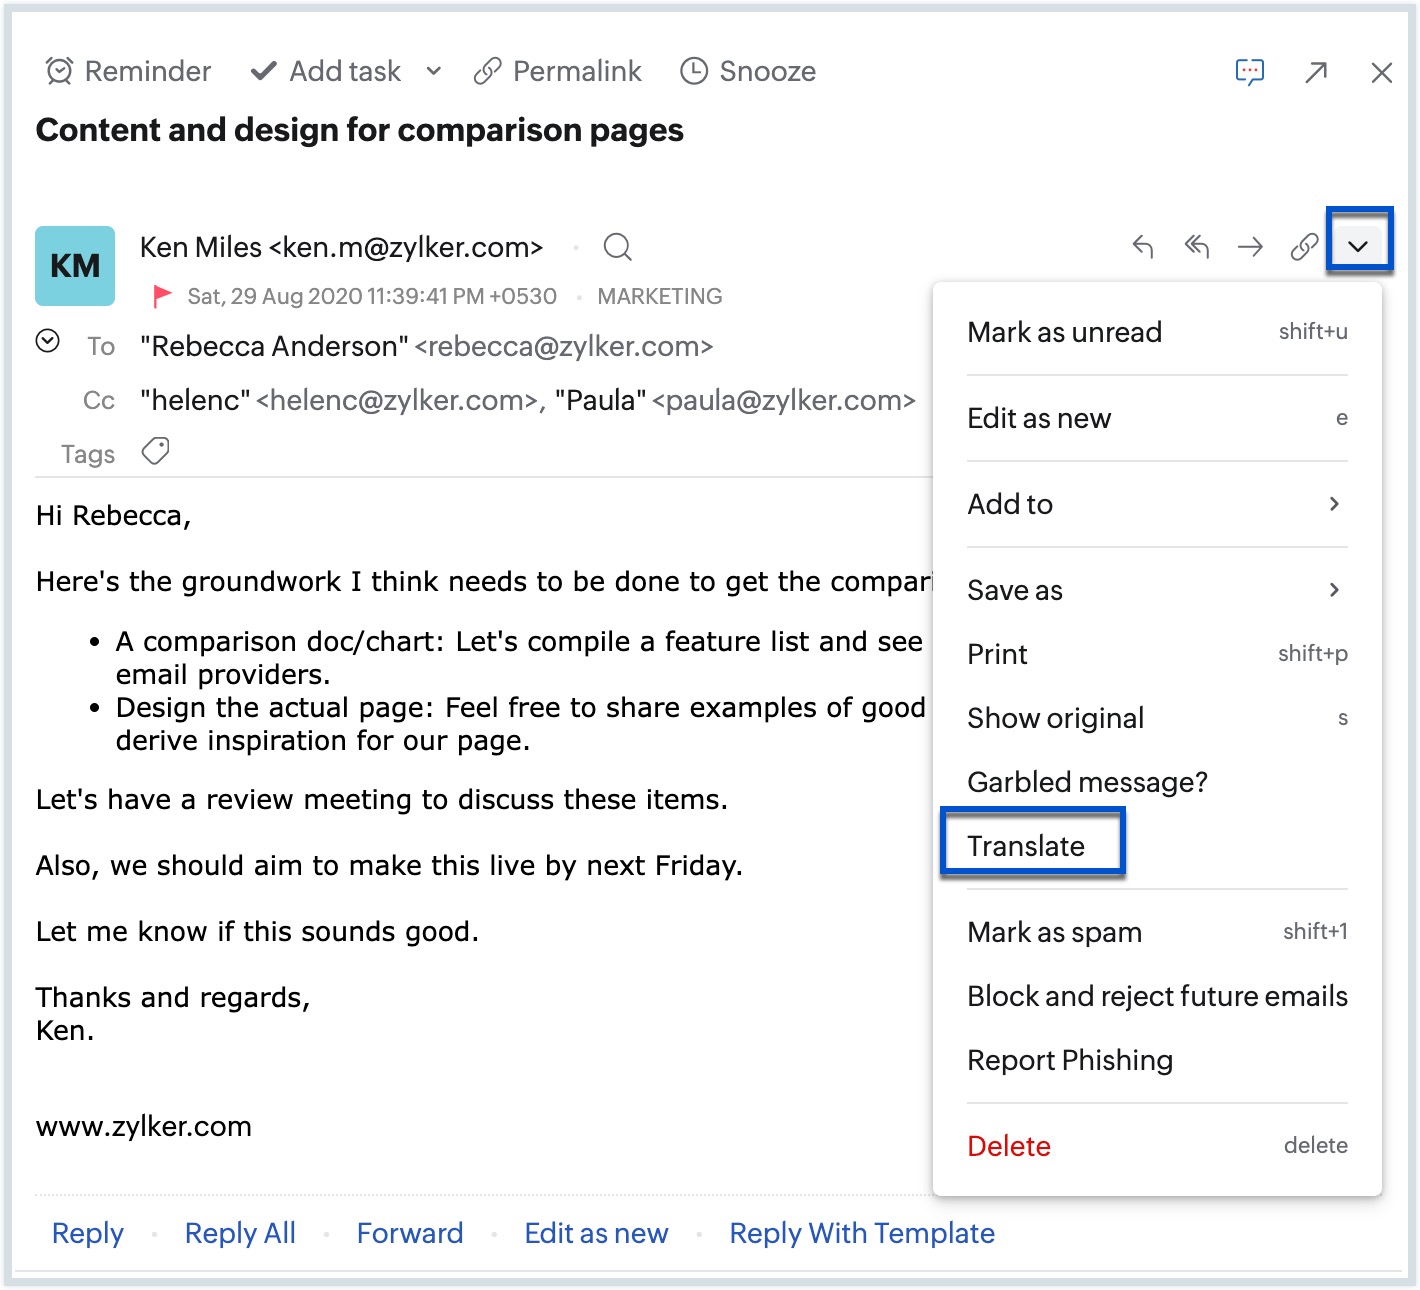
- Select the preferred From/To languages from the drop-down and click Translate.

- Click Back to Original to translate the email back to the original language.


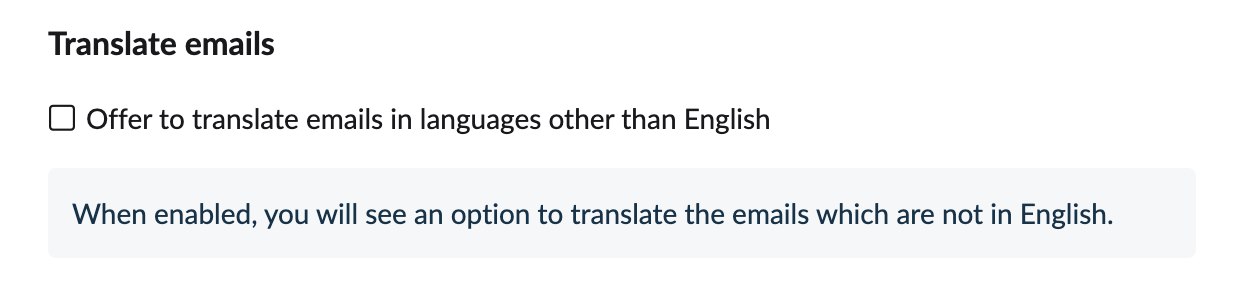
You can also choose to have a translate option to get your non-English emails translated to English. If you have this setting ON, by default, you will receive an option to translate your non-English emails. But, if you want to turn it off,
- Log in to Zoho Mail.
- Click the Settings icon.
- Navigate to Mail > Mail View Options.
- Uncheck the Offer to translate emails in languages other than English check-box.

Avoid duplicate copies of Group emails
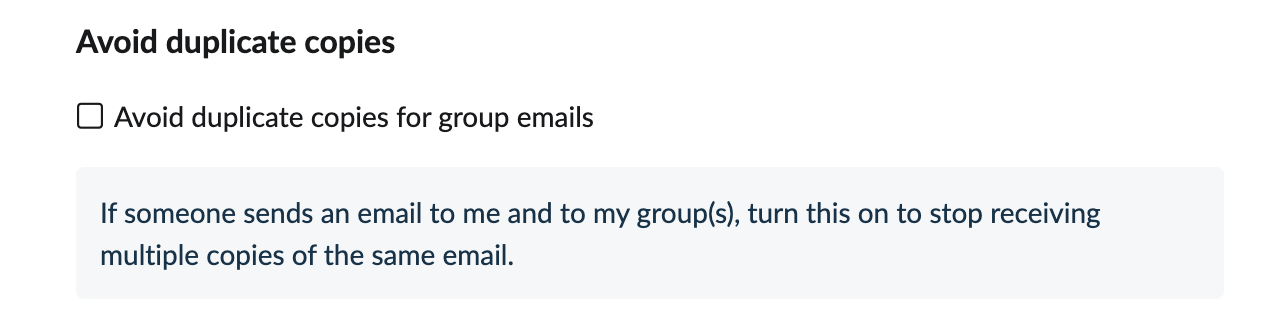
When an email is being sent to your individual email address and to an email group that you are part of, you will receive two copies of the same email. You can avoid getting duplicate copies from the distribution group by using this option.
- Log in to Zoho Mail
- Click the Settings icon.
- Navigate to Mail > Mail View Options
- Check the Avoid duplicate copies for group emails check box.

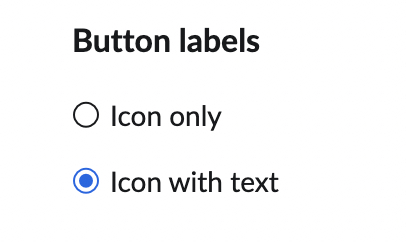
Button Labels
You can choose to view the icons with text Zoho Mail
- Log in to Zoho Mail
- Click the Settings icon.
- Go to General > System
- Under the Button Labels section, select Icon with Text to display the icons with their titles.