Create Print Template

- Edit your app.
- Navigate to the Design page.
- Hover on the preview of the report, then click Open Report Properties.
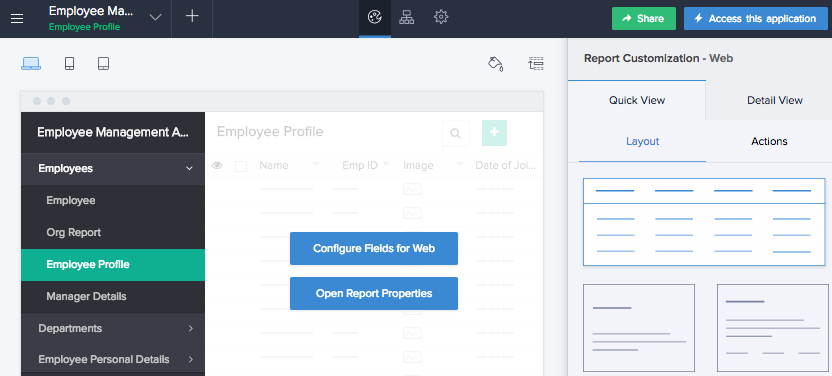
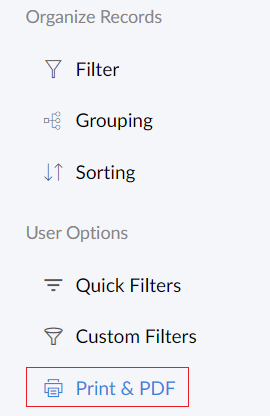
- Click Print & PDF on the left.
- Click Create.
- Select Blank to create the record template yourself from scratch. You may also create it From a template.
- Upon selecting blank, you'll be taken to step 7.
- Upon selecting the template option, you must select one from the template gallery to proceed

- Select the form based on which you want to build your record template.
- Name your template.
- Click Create.

- Design your template as required. You can:
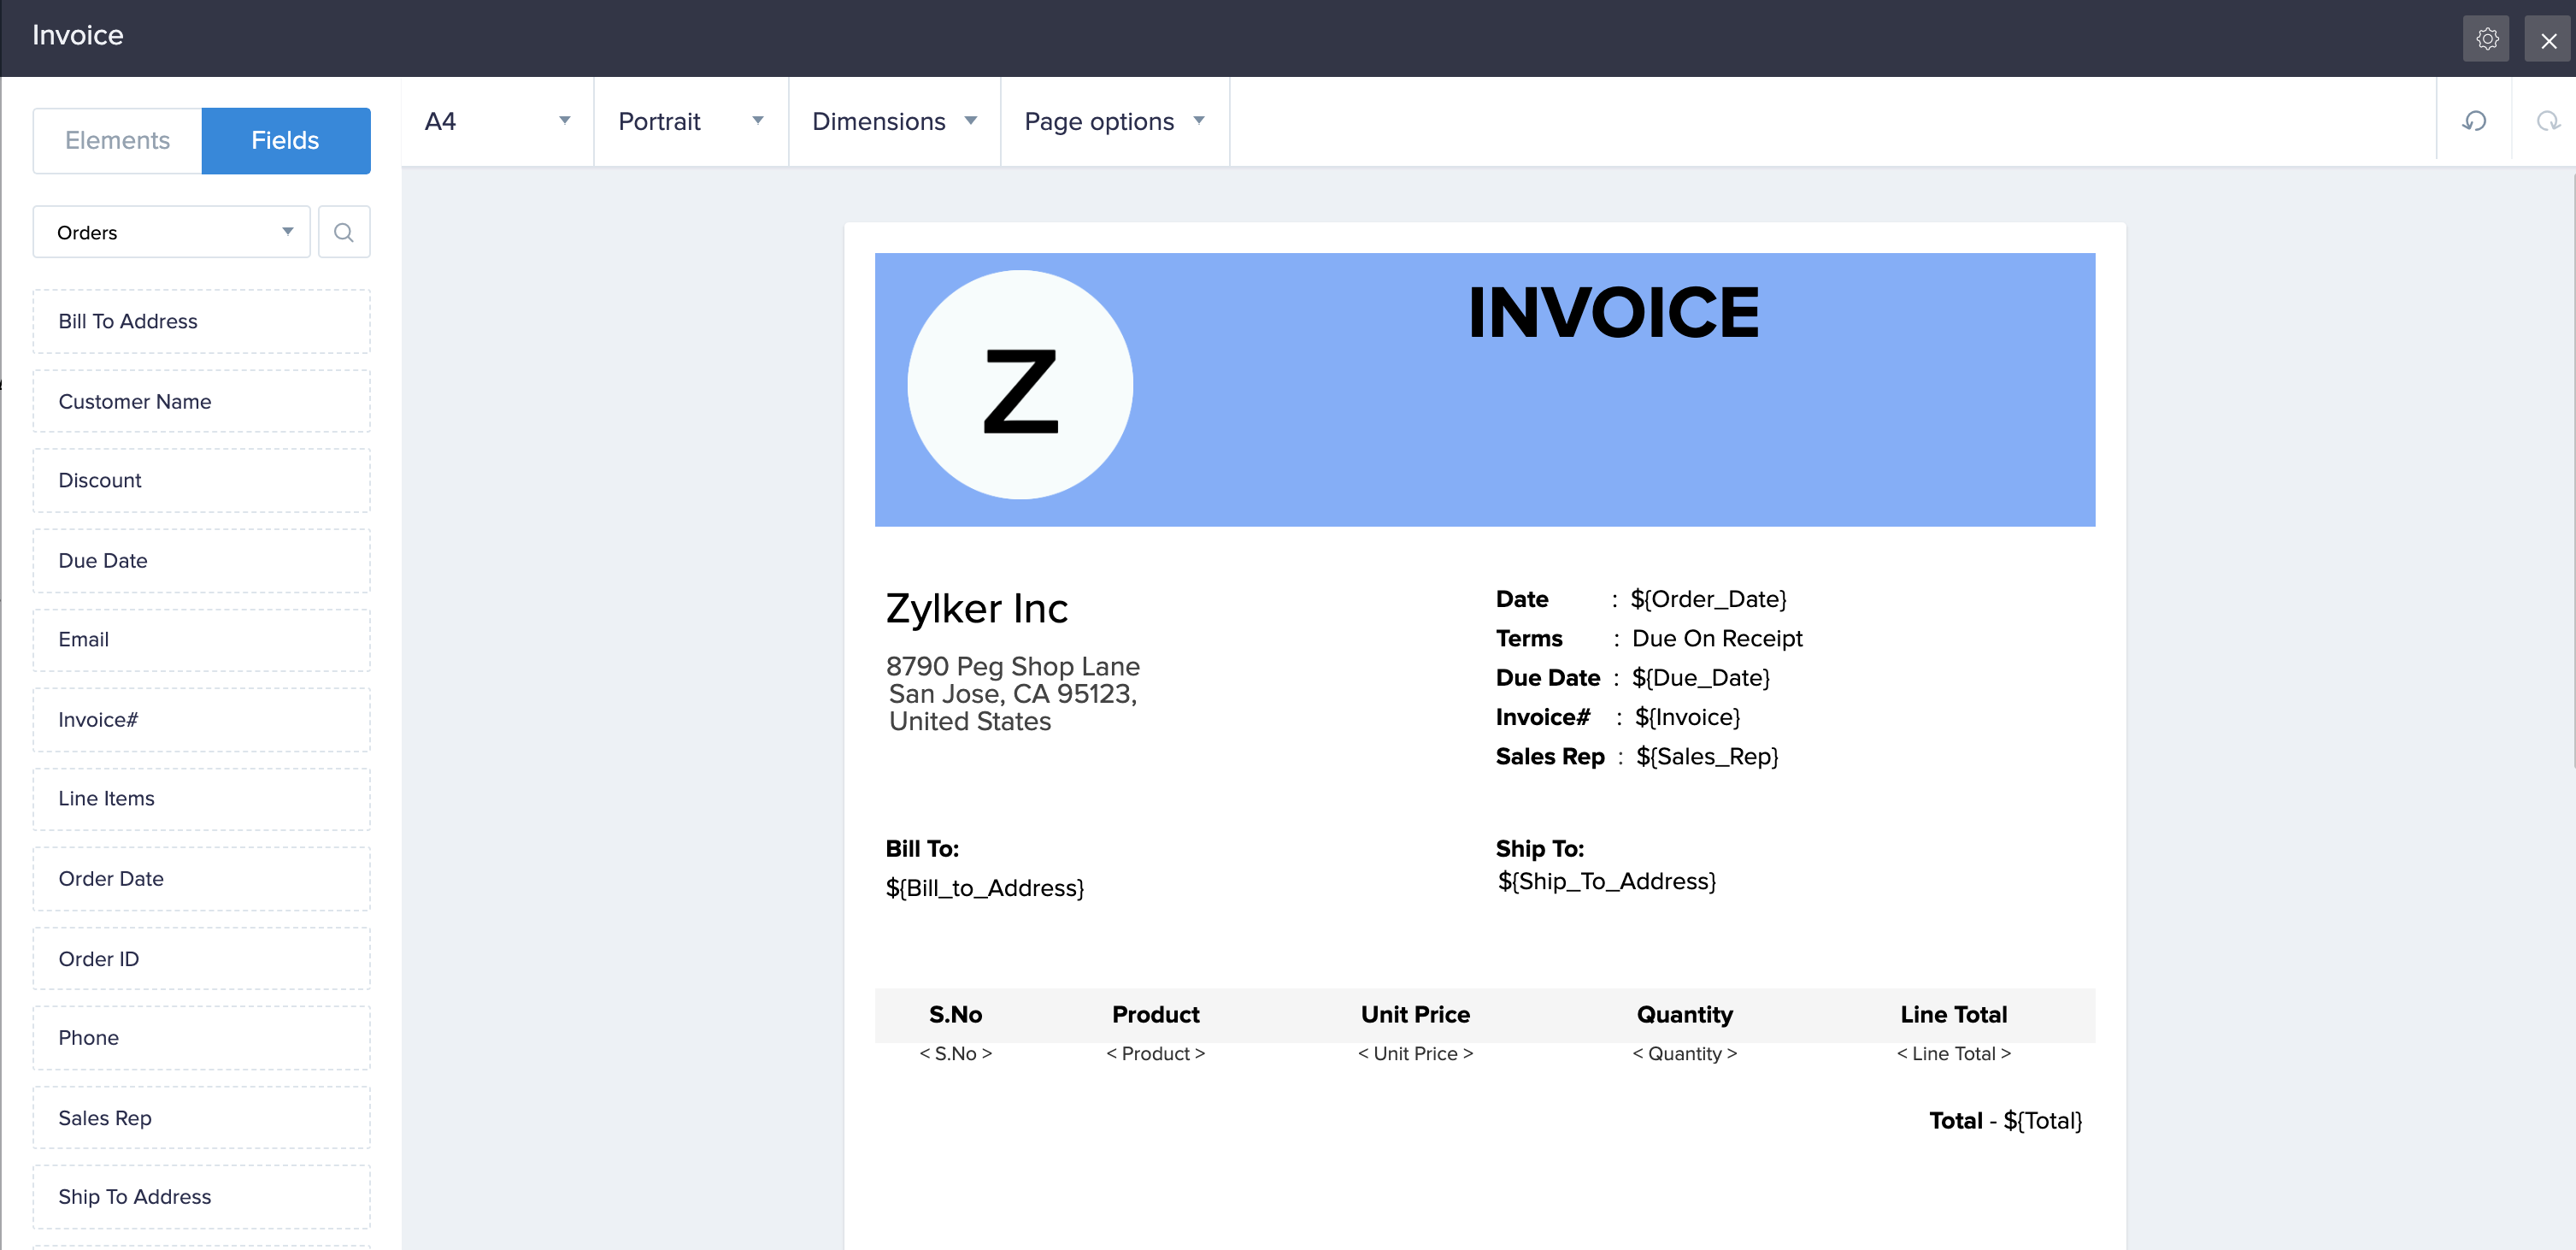
Below is an example of how the record template designer looks like:
Adding an element to your record template
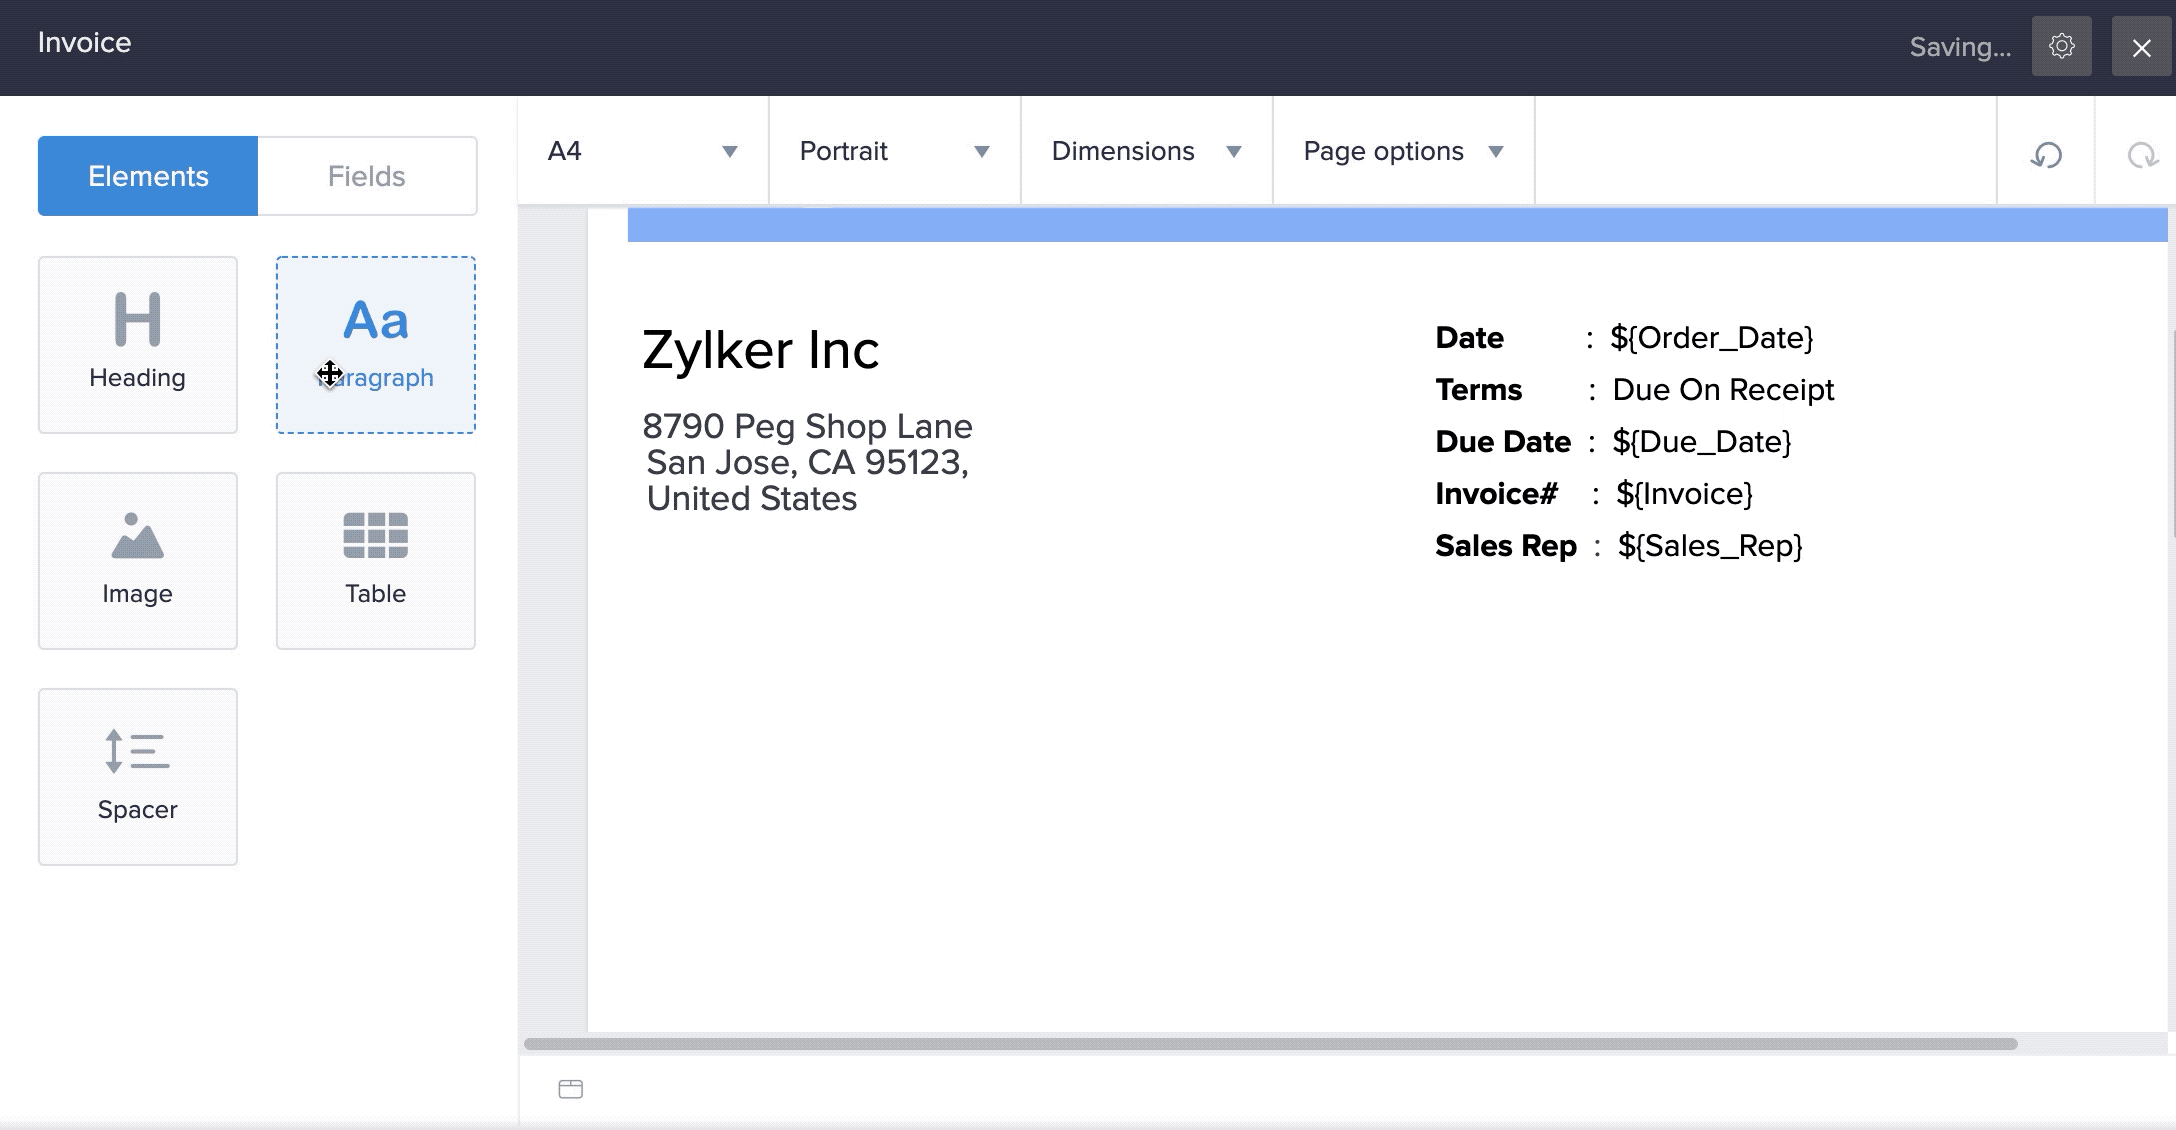
The template designer features predesigned elements that you can drag and drop to the required part of your template. To add one to your template:
- Navigate to the Elements tab on the left.
- Drag and drop the required element onto the template. Alternatively, you can also double click the required element. Its toolbar will appear at the top of the designer:
- Customize the element as required:
- You can add fields, images, URLs
- You can insert HTML code, and edit the HTML code of the entire element
- Images can be sourced from your account's gallery, the web, and also from the image and signature fields:
The following GIF shows the customization of the heading element:

Adding a field to your record template
The fields tab in the template designer lists the fields present in the current form, its inline subforms, and those present in the related forms (related via lookup and subform fields) and other services (related via the integration field). To add a field to your template:
- Navigate to the Fields tab on the left.
- Drag and drop the required field onto the template. Its toolbar will appear at the top of the designer.
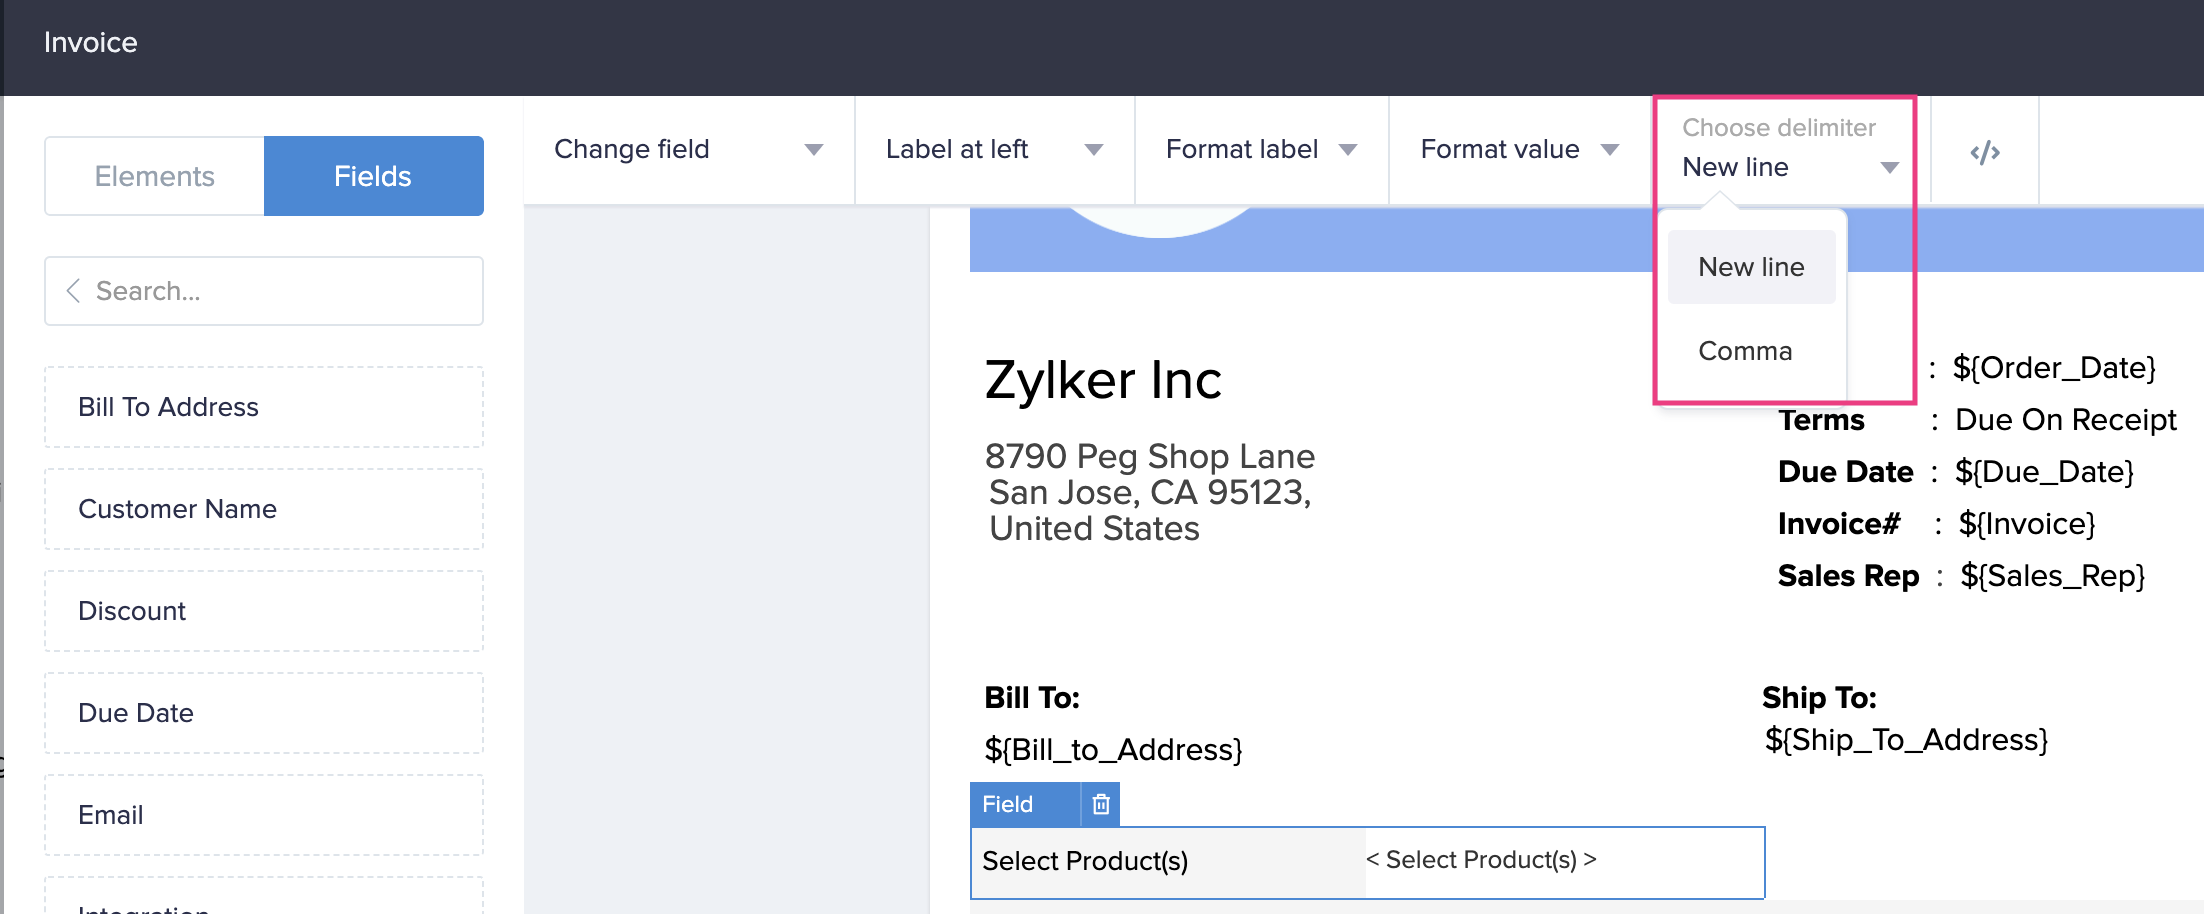
- Customize the field as required:
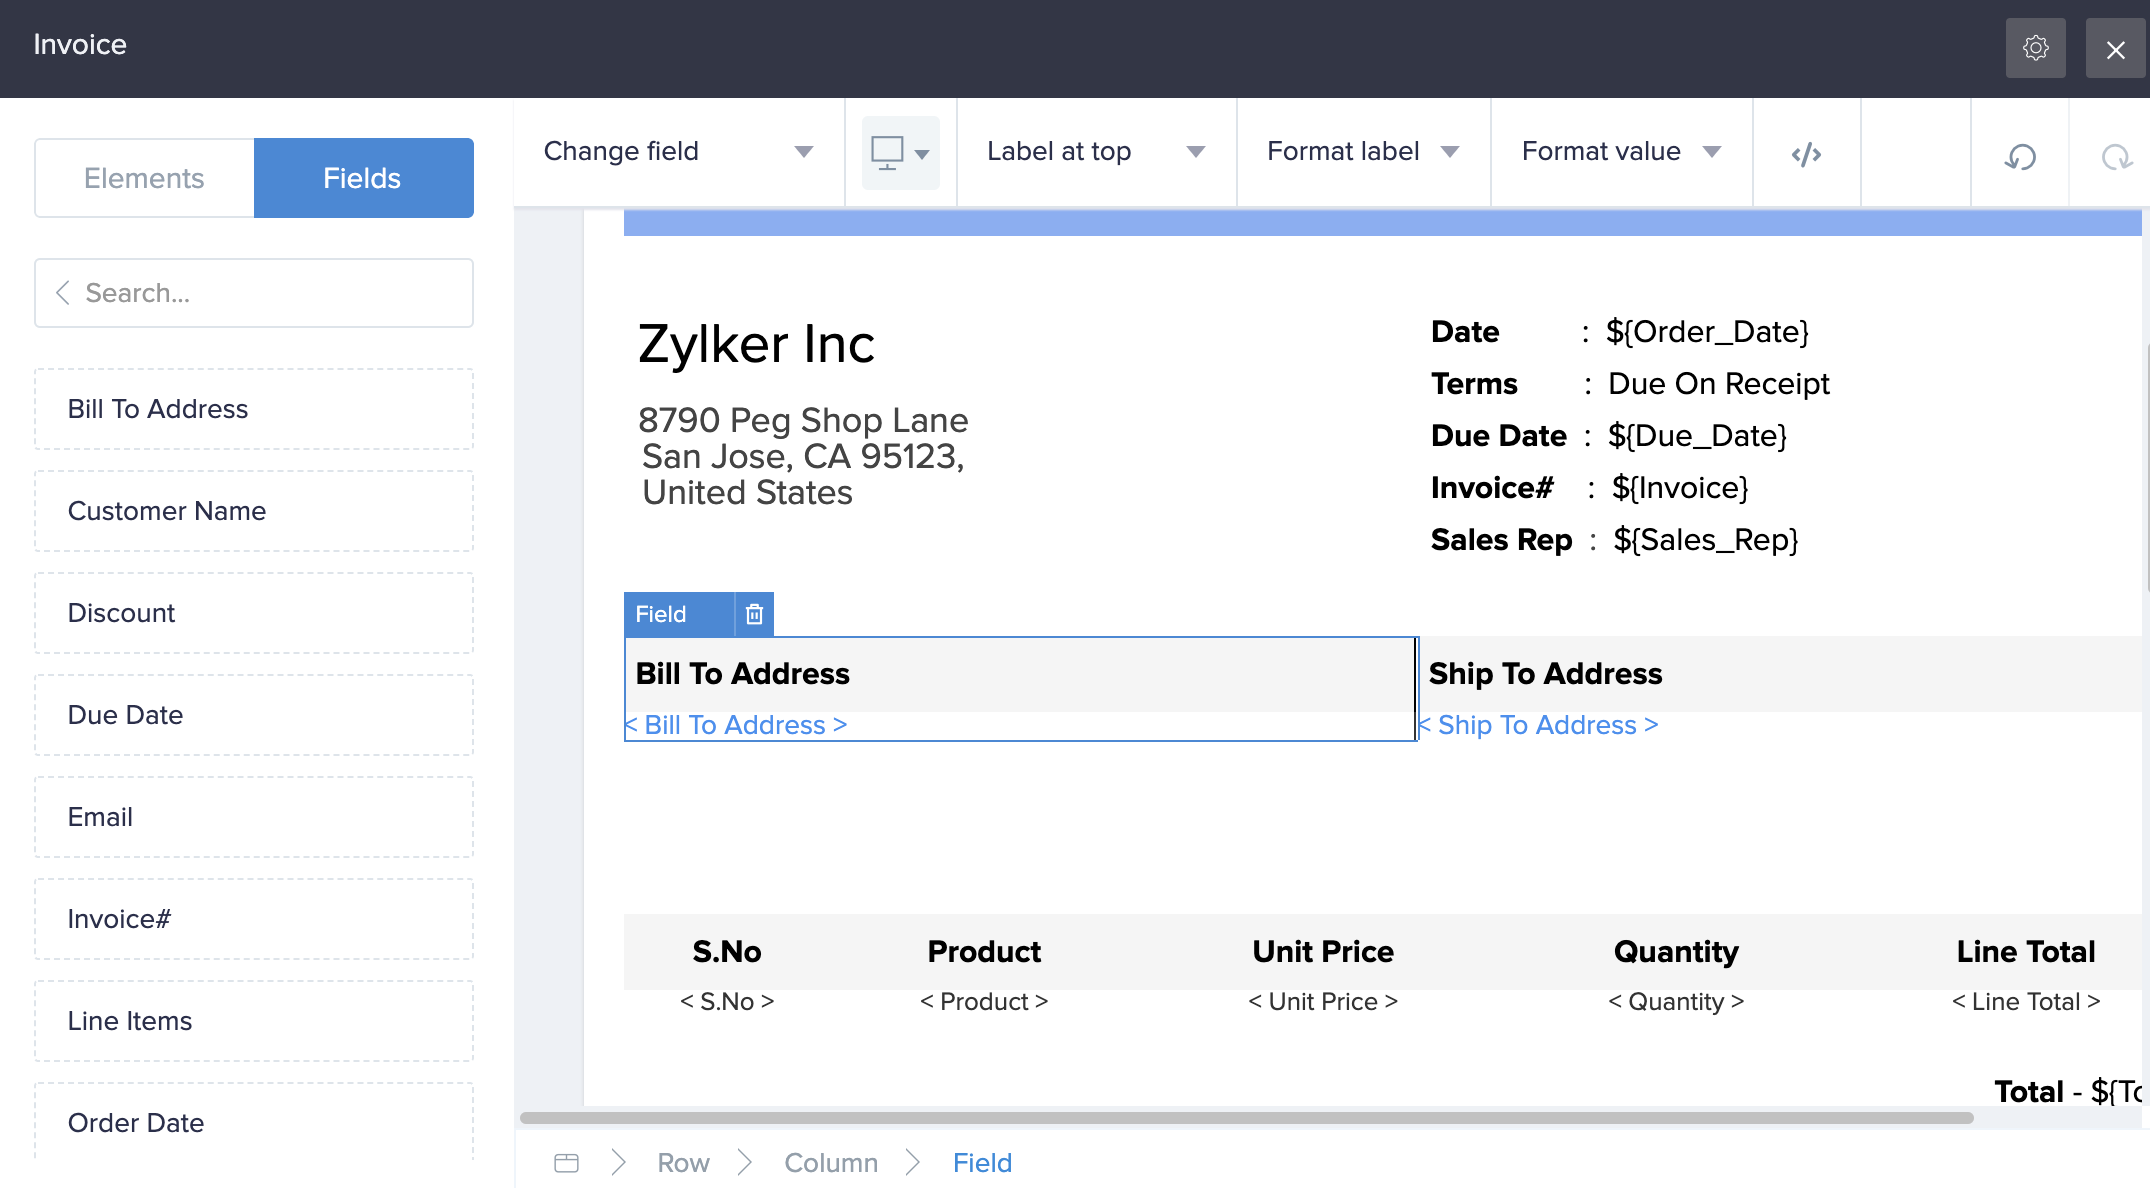
- When you add a multi select, checkbox or lookup (multi select) field to your template, the toolbar lets you choose the delimiter — New line or Comma, to separate the choices.
Adding a subform or lookup field to your record template
The toolbars for the subform and lookup fields in the template designer allow you to add the fields from the related forms to your template. To add a subform or lookup field to your template:
- Navigate to the Fields tab on the left.
- Drag and drop the required field onto the template. Its toolbar will appear at the top of the designer.
- Customize the field as required:
- Click Related fields properties in the toolbar, then check/uncheck the required fields from the related form
- Reorder the fields by clicking the Move icon next to the required field and drag it vertically to the required position
- Customize the field name and value by clicking the Settings icon beside each field
- Display just the field's value (and hide the field's name)
- Edit the HTML code of the entire field
The following GIF shows adding and customizing the Line Items subform in the Invoice template:
Adding an integration field to your record template
You can add an integration field in your form to the template. Imagine that you've built a custom app for order management and that the Orders form sources customer information from your Zoho CRM via an integration field. To add an integration field to your record template:
- Navigate to the Fields tab on the left.
- Drag and drop the required integration field onto the template. Its toolbar will appear at the top of the designer.
- Customize the field as required:
- Display just the field's value (and hide the field's name)
- Customize the field and value by clicking the Format label and Format value dropdown, respectively
- Edit the HTML code of the entire field
The Record Templates page (under Report Properties) will also display the templates you create (for the corresponding form) under your app's Settings > Record Templates. You can edit, delete, and duplicate all templates except Detail View.
Zoho CRM Training Programs
Learn how to use the best tools for sales force automation and better customer engagement from Zoho's implementation specialists.
Zoho DataPrep Personalized Demo
If you'd like a personalized walk-through of our data preparation tool, please request a demo and we'll be happy to show you how to get the best out of Zoho DataPrep.
- Zoho Workerly Home
- Forums
- Connect With Us:


- Zoho Recruit Home
- Forums
- Connect With Us:
You are currently viewing the help pages of Qntrl’s earlier version. Click here to view our latest version—Qntrl 3.0's help articles.


Zoho Sheet Resources
Zoho Forms Resources
Zoho Sign Resources
Sign, Paperless!
Zoho TeamInbox Resources
Zoho DataPrep Resources
Design. Discuss. Deliver.
Related Articles
Understand Predefined Print Template
A print template is a predefined template that can be applied to your report while printing. This template facilitates a structure exclusively applicable to the printed report, unmindful of the layout the report is set to. Along with the required ...Print template
This API service lets you manage the different functionalities in a report. Print template Methods fetchPrintTemplate(forRecordID:ofReport:completionHandler:)This fetches the HTML content of the Print Template of a record in the report. ...Print template
ZCReportAPIUtil This utility lets you make use of the reports of your Zoho Creator applications in your Android apps. Note: Zoho Creator's Mobile SDK is currently a Beta feature. We do not recommend using it for apps in the production stage. Methods ...Print and export as PDF
This help page is for users in Creator 6. If you are in the older version (Creator 5), click here. Know your Creator version. To print multiple templates: Access the Report that the template is based on. Select all or only the required records that ...Create record template
This help page is for users in Creator 6. If you are in the older version (Creator 5), click here. Know your Creator version. Refer to this page to learn about record templates. Navigate to Settings page, then click Record Templates . If you're ...