- Open the form builder.
- Add a subform field to the form. (Refer to this page to learn how to add a field to a form)
- If your app does not have any additional forms, Zoho Creator will add a blank subform
- If there are forms in your app, Zoho Creator will display the following prompt:
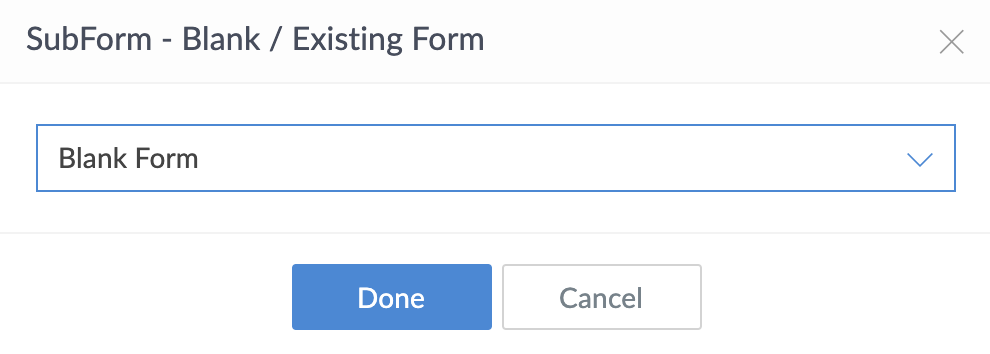
- Select the required choice from the dropdown, then click Done .
Expand/collapse subform

Note:
- For the expand/collapse icon to be visible, the subform field width must be greater than screen width and subform height must be greater than screen height.
- The expand/collapse icon will be available both while adding and editing records
- Navigate to the live mode of your form.
- If the subform field in your form has multiple rows, you can click the Expand icon beside the subform field name.
- The subform field will open in a popup window, where you can scroll up and down and across the field rows.
- You can also add new rows by clicking the +Add New button at the bottom of the popup window.
- To collapse the subform popup, you can click the Collapse button at the top-right.


